Propagating Kalanchoe from Leaves
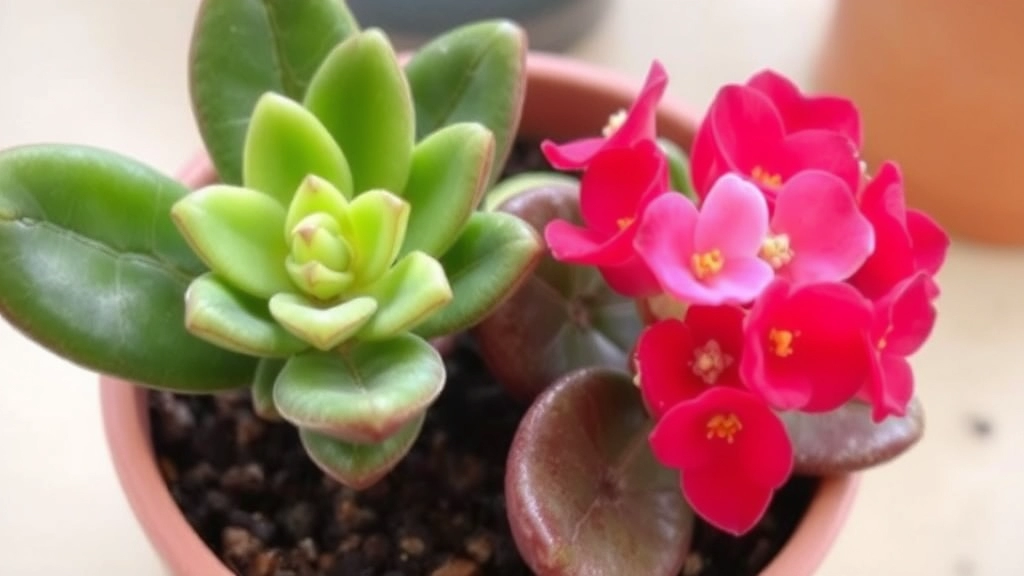
Propagating Kalanchoe from leaves is a fantastic way to expand your succulent collection with minimal effort. I’ve found that choosing the right leaf is the first crucial step. Look for a healthy, mature leaf that’s free from any damage or disease. This ensures a better chance of successful propagation.
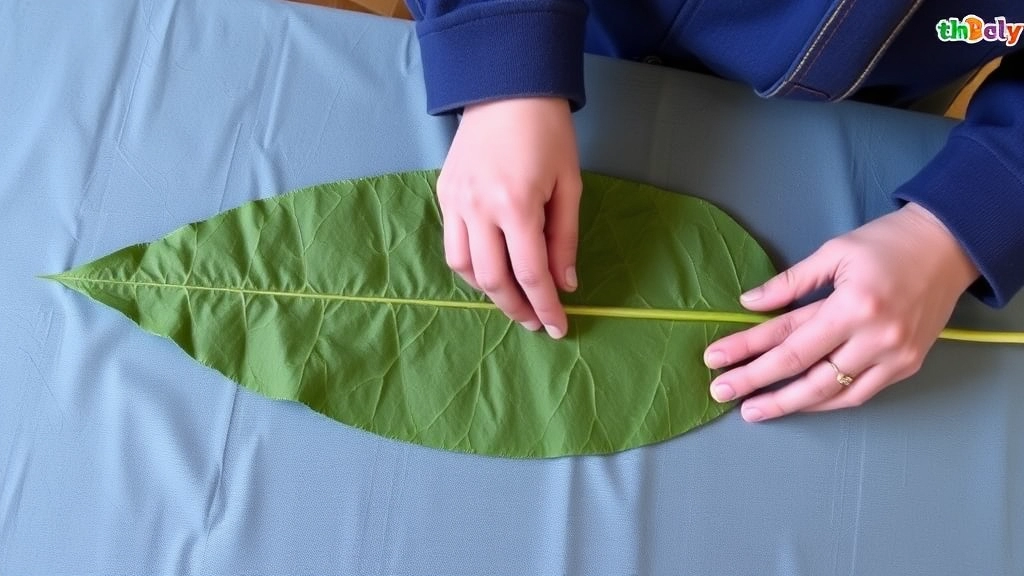
Once you’ve selected your leaf, it’s essential to let it callous over. Lay the leaf on a dry surface for a few days until the cut end forms a protective layer. This helps prevent rot when you plant it. Preparing the right growing medium is also key. A well-draining succulent mix works best to encourage root development. With these simple steps, you’ll be well on your way to propagating Kalanchoe from leaves successfully.
Choosing the right leaf for propagation is essential for successful plant growth. For instance, when propagating succulents like the Kalanchoe, it’s important to select a healthy, mature leaf. You can find detailed care and propagation tips in our [complete care guide for pink butterflies Kalanchoe](https://planthq.org/complete-care-guide-for-pink-butterflies-kalanchoe/).
Different plants require different propagation methods. For example, the [Kalanchoe daigremontiana](https://planthq.org/care-and-propagation-tips-for-kalanchoe-daigremontiana-pink-butterflies/) thrives from leaf cuttings, making it crucial to research your specific plant type. By prioritizing factors like the health of the leaf, time of year, and leaf size, you can significantly enhance your chances of successful propagation.
Preparing the Leaf for Callousing
So, you’ve chosen the perfect leaf for propagation. Now, what’s next?
One crucial step is preparing the leaf for callousing. This is where the magic begins, and it’s essential for successful rooting.
Why Callousing Matters:
- Prevents Rot: Callousing helps seal the cut surface, reducing moisture loss and preventing rot.
- Encourages Rooting: A well-calloused leaf has a better chance of developing roots.
Steps to Prepare Your Leaf:
- Make a Clean Cut:
- Use a sharp, clean knife or scissors.
- Cut the leaf at a slight angle to increase the surface area.
- Allow to Dry:
- Place the cut leaf in a dry, shaded area.
- Let it sit for 24-48 hours. This drying time is crucial for forming a callous.
- Inspect for Damage:
- Check for any bruises or damaged areas.
- If you spot any, trim those parts away to promote healthier growth.
- Optional: Dust with Hormone Powder:
- If you have rooting hormone, lightly dust the cut end.
- This can boost your chances of successful rooting.
Creating the Optimal Growing Medium
After selecting the right leaf for propagation, the next crucial step is to prepare the optimal growing medium.
Creating the ideal environment for your leaf cuttings can make all the difference in their success.
What Should You Consider?
Many people worry about the right mix for their cuttings.
- Drainage: Ensure your medium drains well to prevent root rot.
- Aeration: A mix that allows airflow is vital for healthy root development.
- Nutrients: While cuttings don’t need heavy feeding initially, a light nutrient mix can encourage growth.
Recommended Growing Mediums
You can choose from several types of growing mediums:
- Perlite: Lightweight and excellent for drainage.
- Coconut Coir: Retains moisture while allowing airflow.
- Peat Moss: Provides nutrients but can hold too much water if not mixed properly.
Mixing Your Medium
To create a balanced medium, consider the following ratios:
- 50% Perlite + 30% Peat Moss + 20% Coconut Coir: This mix offers good drainage and moisture retention.
- 60% Coconut Coir + 40% Perlite: Ideal for those in humid climates.
Additional Tips
- Sterilize Your Medium: This prevents pests and diseases from affecting your cuttings.
- Moisten Before Use: Ensure your medium is damp but not soggy to encourage root growth.
For more detailed guidance on growing Kalanchoe plants, check out our guide on propagating Kalanchoe from leaves. If you’re interested in the specific care for different Kalanchoe varieties, visit our exploration of various Kalanchoe species.
Planting the Leaf Cutting
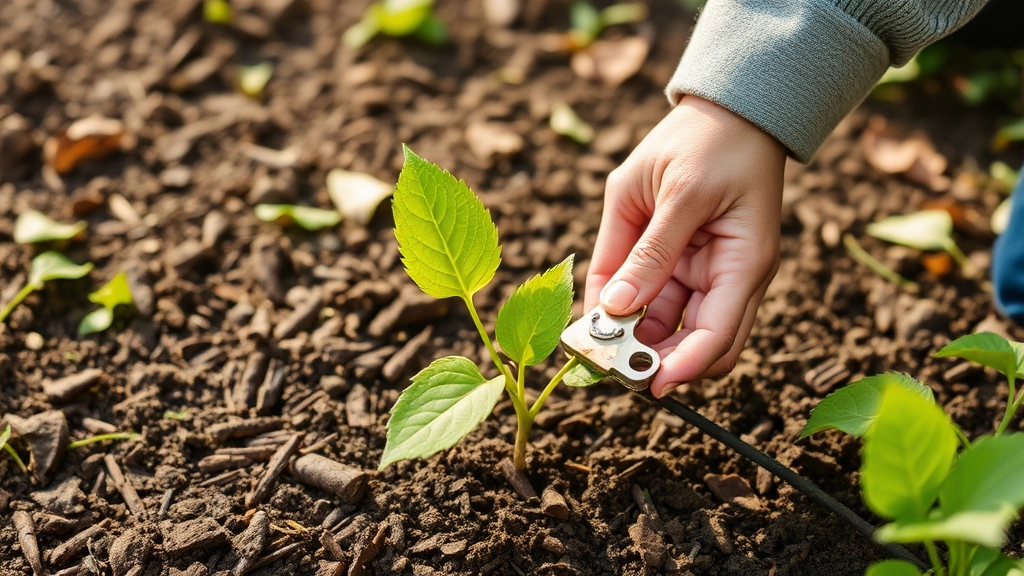
After preparing your leaf cutting for callousing, it’s time to plant it properly for the best chance of success.
Many of us worry about whether we’re planting correctly and if our efforts will yield healthy new plants.
Steps to Plant Your Leaf Cutting
- Choose the Right Container
Use a small pot or seed tray with drainage holes.
Ensure it’s clean to prevent disease. - Fill with Growing Medium
Add your optimal growing medium, ensuring it’s well-aerated.
Lightly compress the medium to create a stable base. - Position the Leaf Cutting
Make a small hole in the medium with your finger or a pencil.
Place the leaf cutting in the hole, ensuring that the cut end is in contact with the medium.
Gently pack the medium around the cutting to support it. - Watering Immediately
Lightly water the medium to settle it around the cutting.
Avoid soaking, as excess water can cause rot. - Label Your Plant
If you’re propagating multiple types, label each cutting for easy identification.
Watering and Humidity Requirements
After ensuring your leaf cutting is well-prepared and planted, the next crucial step is to address its watering and humidity needs.
Understanding Watering Needs
One of the most common concerns for those propagating plants is determining how much water is necessary. Overwatering can lead to rot, while underwatering can hinder growth. Here are some essential tips:
- Check the Soil Moisture: Stick your finger about an inch into the growing medium. If it feels dry, it’s time to water.
- Water Sparingly: Use a spray bottle or a watering can with a narrow spout to provide a gentle stream. Aim for a light misting rather than drenching.
- Frequency: Generally, watering every 7-10 days is sufficient, but this can vary based on environmental conditions.
Humidity Levels
Humidity plays a significant role in the success of your leaf propagation. Many plants thrive in higher humidity levels. Here’s how to maintain an optimal environment:
- Use a Humidity Dome: Covering your leaf cutting with a clear plastic bag or a humidity dome can help retain moisture.
- Mist Regularly: Lightly misting the leaves and surrounding area can boost humidity.
- Group Plants Together: Placing multiple plants close to each other can create a microclimate with higher humidity.
Signs of Improper Watering and Humidity
Keep an eye out for signs that your watering and humidity practices may need adjustment:
- Yellowing Leaves: This often indicates overwatering.
- Crispy Edges: Dry, crispy edges on leaves can signal insufficient humidity or underwatering.
By closely monitoring these factors, you can create a nurturing environment for your leaf cutting. For more detailed plant care, check out our Kalanchoe Synsepala Propagation Guide and our Complete Guide to Kalanchoe Pinnata Air Plant Care.
Light and Temperature Considerations
So, you’ve got your leaf cutting all set up and you’re wondering, “What about light and temperature?”
These two factors are crucial for your plant’s success.
Light Requirements:
- Indirect Light: Most leaf cuttings thrive in bright, indirect light. Direct sunlight can scorch the leaves, so think about placing them near a window with filtered light.
- Duration: Aim for around 12-16 hours of light each day. You can use grow lights if natural light is lacking.
- Rotation: Rotate your cuttings every few days to ensure even growth. Plants can be a bit lazy if they’re leaning towards the light!
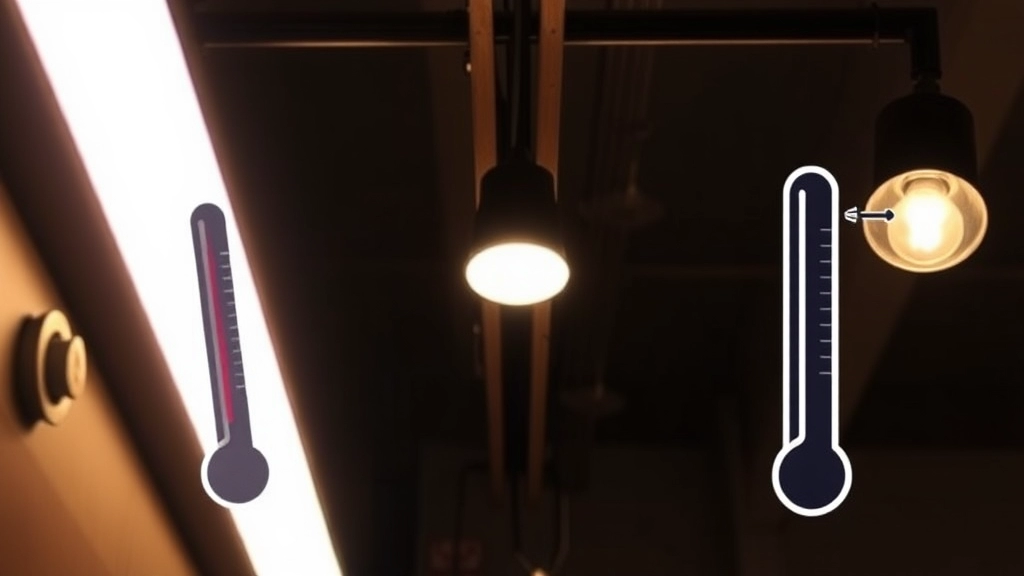
Temperature Needs:
- Ideal Range: Most cuttings prefer a warm environment, typically between 18°C to 24°C.
- Avoid Extremes: Keep them away from drafts, heaters, or air conditioners. Sudden temperature changes can stress your plants.
- Nighttime Drop: A slight drop in temperature at night is fine, just make sure it doesn’t go below 15°C.
With the right light and temperature, your cuttings will be on their way to rooting like champs.
Once you’ve planted your leaf cutting, the next crucial step is monitoring its growth.
You might be wondering, “How will I know when my cutting is ready to transplant?”
Here are some key indicators to look for:
– **Root Development**: Check for roots emerging from the bottom of the pot. This usually takes a few weeks.
– **New Growth**: Look for fresh leaves or shoots. This is a sign that your cutting is thriving.
– **Stability**: Gently tug on the cutting. If it feels firmly anchored, it’s likely ready for its new home.
When you notice these signs, it’s time to think about transplanting.
### Transplanting Tips
1. **Choose the Right Time**: Early morning or late afternoon is ideal for transplanting to reduce stress on the plant.
2. **Prepare the New Pot**: Use a pot that’s slightly larger than the current one, ensuring it has drainage holes.
3. **Use Fresh Soil**: A well-draining potting mix will give your plant the best chance to thrive.
4. **Handle with Care**: Gently remove the cutting from its current pot, taking care not to damage the roots.
5. **Positioning**: Place the cutting in the new pot at the same depth it was previously growing.
After transplanting, it’s essential to keep an eye on your plant. Monitor its response to the new environment, checking moisture levels and light exposure. For more detailed care instructions, refer to our [post-flowering kalanchoe care guide](https://planthq.org/postflowering-kalanchoe-care-pruning-watering-reblooming-tips/) and [complete guide to growing Kalanchoe Mother of Thousands](https://planthq.org/complete-guide-to-growing-kalanchoe-mother-of-thousands/).
FAQs on Kalanchoe Propagation From Leaves
What is the first step in propagating Kalanchoe from leaves?
The first step is preparing the leaf for callousing. This involves making a clean cut, allowing the leaf to dry, inspecting for damage, and optionally dusting the cut end with rooting hormone powder.
Why is callousing important in leaf propagation?
Callousing is crucial because it helps seal the cut surface, reducing moisture loss and preventing rot. Additionally, a well-calloused leaf has a better chance of developing roots.
How do I prepare my Kalanchoe leaf for callousing?
To prepare your leaf for callousing, make a clean cut at a slight angle, allow the leaf to dry in a shaded area for 24-48 hours, inspect for any damage, and optionally dust the cut end with rooting hormone powder.
What type of container should I use for planting the leaf cutting?
Use a small pot or seed tray with drainage holes. Ensure the container is clean to prevent disease.
What kind of growing medium should I use?
Use a well-aerated growing medium. Lightly compress the medium to create a stable base for the leaf cutting.
How should I position the leaf cutting in the growing medium?
Make a small hole in the medium with your finger or a pencil, place the leaf cutting in the hole ensuring the cut end is in contact with the medium, and gently pack the medium around the cutting to support it.
How should I water the leaf cutting after planting?
Lightly water the medium to settle it around the cutting, but avoid soaking it as excess water can cause rot.
What are the light requirements for Kalanchoe leaf cuttings?
Leaf cuttings thrive in bright, indirect light. Aim for around 12-16 hours of light each day. You can use grow lights if natural light is lacking. Rotate the cuttings every few days to ensure even growth.
What is the ideal temperature range for Kalanchoe leaf cuttings?
The ideal temperature range for most cuttings is between 18°C to 24°C. Keep them away from drafts, heaters, or air conditioners to avoid sudden temperature changes. A slight drop in temperature at night is acceptable, but it should not go below 15°C.
Should I label my plant cuttings?
Yes, if you’re propagating multiple types, label each cutting for easy identification.
References
-
How to Propagate Plants from Cuttings
-
Propagating Plants by Cuttings
-
Plant Propagation by Stem Cuttings