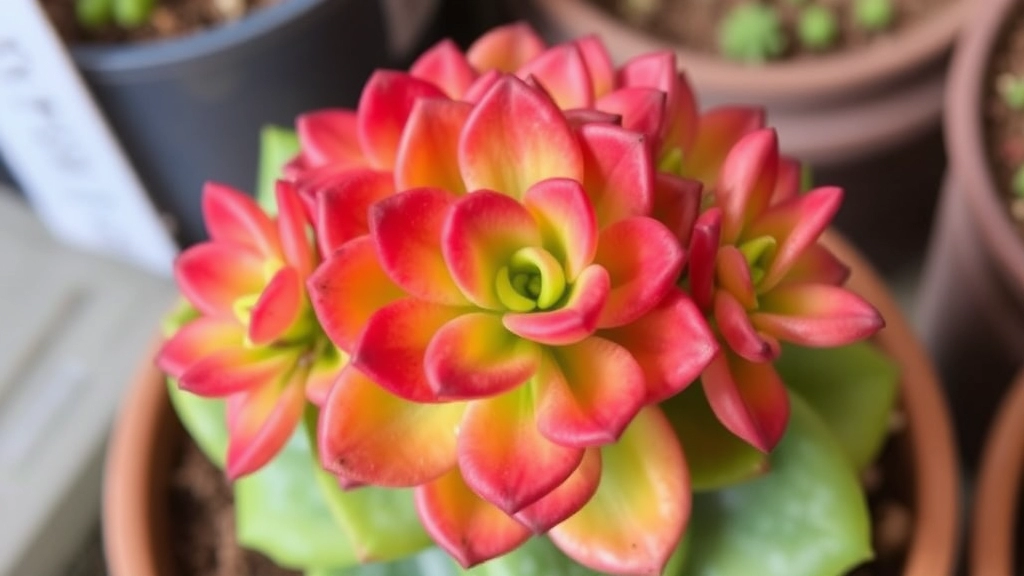
Mastering Millot Kalanchoe Propagation
Looking to master Millot Kalanchoe propagation? You’re in the right place! This guide will walk you through the best methods to propagate your Kalanchoe millotii, whether you’re using stem cuttings, leaf cuttings, or offsets. Let’s dive into the details and get those fuzzy leaves multiplying!
Propagation Methods
First, we’ll explore how to propagate Millot Kalanchoe using stem cuttings. This method is straightforward and yields excellent results. Next, we’ll cover leaf propagation, providing a step-by-step guide to ensure success.
Optimal Conditions
We’ll also discuss the optimal soil and environmental conditions needed for healthy growth and highlight common mistakes to avoid.
Post-Propagation Care
Finally, we’ll wrap up with tips on post-propagation care, seasonal advice, and troubleshooting common issues like rot and pests. Happy propagating!
How to Propagate Millot Kalanchoe Using Stem Cuttings
Are you eager to expand your collection of Millot Kalanchoe? Propagating this delightful succulent through stem cuttings is a straightforward and rewarding process. Many enthusiasts often wonder how to get started, and I’m here to guide you through it.
Step-by-Step Process
- Choose Healthy Stems
Select a healthy stem from an established Millot Kalanchoe plant. Look for stems that are firm and free from any signs of disease or damage. - Make the Cut
Using sharp, clean scissors or a knife, cut a stem approximately 10-15 cm long. Ensure that the cutting has at least a few leaves attached. - Allow to Callous
Place the cutting in a dry, shaded area for a few days. This allows the cut end to callous over, which helps prevent rot when planted. - Prepare the Soil
Use a well-draining potting mix, ideally one designed for succulents. This will provide the right balance of moisture and aeration. - Plant the Cutting
Once the cutting has calloused, insert the cut end into the soil, burying it about 2-5 cm deep. Ensure the leaves are above the soil to avoid rot. - Water Sparingly
After planting, lightly water the soil. Allow it to dry out completely before watering again, as succulents prefer drier conditions.
Encouraging Growth
To encourage root development, place the pot in a warm, bright location but avoid direct sunlight for the first few weeks. This will help the cutting acclimatise without stressing it too much.
For more detailed information on propagating Kalanchoe, you can check out our step-by-step guide on propagating Kalanchoe leaves and our guide on propagating Kalanchoe Blossfeldiana cuttings.
Leaf Propagation: A Step-by-Step Guide
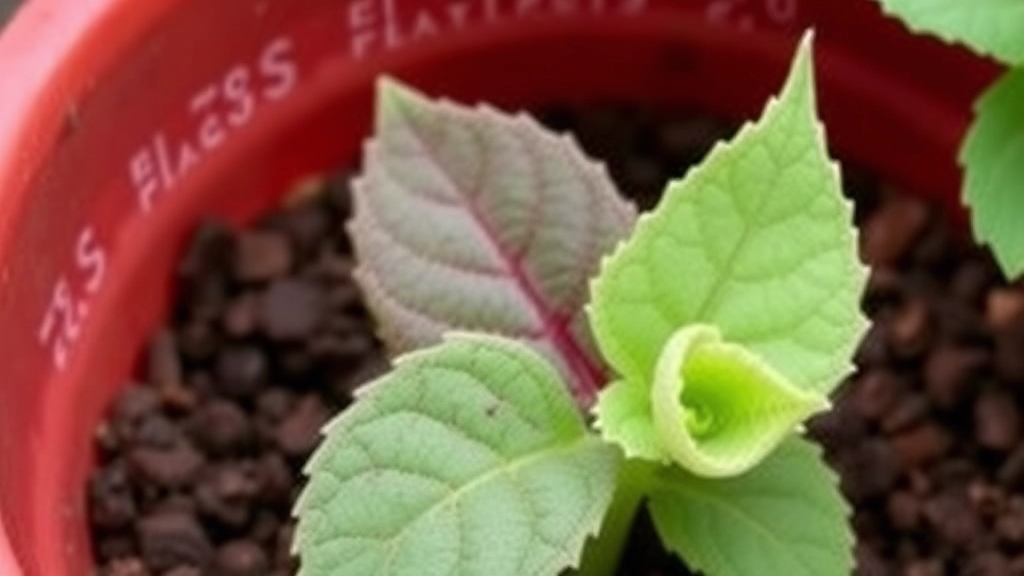
So, you’re keen on propagating Millot Kalanchoe from leaves? You’re in the right place! Leaf propagation is a simple and rewarding way to expand your plant collection. Let’s dive into the nitty-gritty of how to do it successfully.
Step 1: Gather Your Materials
Before you start, make sure you have everything you need:
- Healthy Millot Kalanchoe leaves: Look for plump, vibrant ones.
- Sharp knife or scissors: Clean cuts prevent damage.
- Well-draining soil: A cactus or succulent mix works wonders.
- Containers: Small pots or trays will do just fine.
Step 2: Take the Cuttings
- Choose the leaves: Pick a few healthy leaves from the parent plant.
- Cut carefully: Use your knife or scissors to snip the leaves off at the base.
- Let them dry: Place your cuttings in a warm, dry spot for a day or two. This helps form a callus, which reduces the risk of rot.
Step 3: Plant the Leaves
- Fill your container: Add your well-draining soil to the pot.
- Insert the leaves: Gently press the cut end of each leaf into the soil. You don’t need to bury them too deep—just enough to hold them in place.
- Water lightly: Give them a slight misting, but don’t drown them.
Step 4: Create the Right Environment
- Light: Place your container in a bright, indirect light spot.
- Humidity: A little humidity can help, so consider covering them with a plastic bag or a clear lid to retain moisture. Just remember to ventilate occasionally!
Step 5: Wait for Roots to Form
Patience is key here. It can take a few weeks to a couple of months for roots to develop. You’ll know they’re ready when you see new growth sprouting from the base of the leaves.
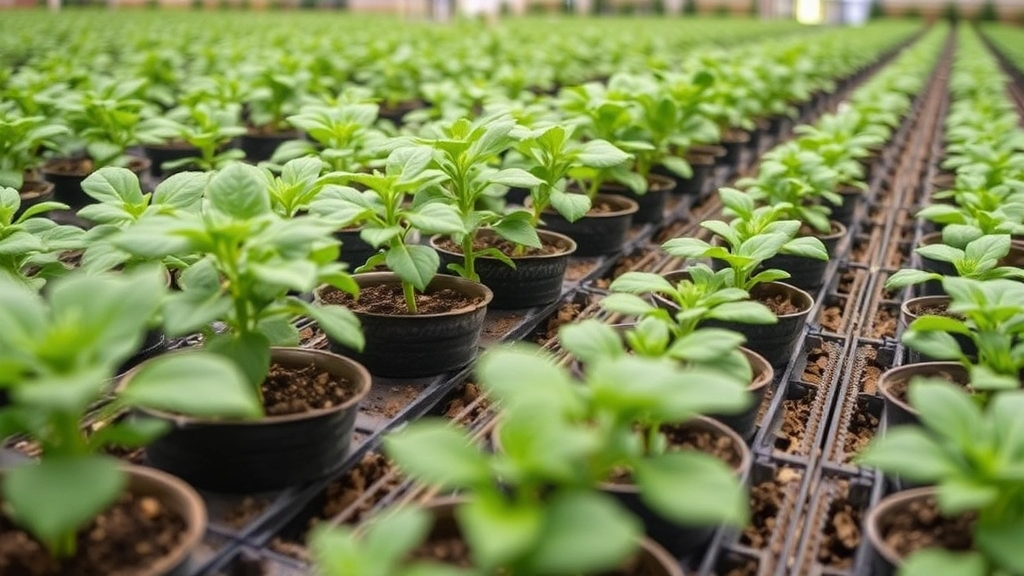
Optimal Soil and Environmental Conditions for Successful Propagation
When propagating Millot Kalanchoe, the right soil and environmental conditions are crucial for success. Many enthusiasts often worry about how to create the perfect environment for their cuttings or leaves to thrive.
Soil Requirements
To start, it’s essential to choose the right soil mix. Millot Kalanchoe prefers well-draining soil to prevent root rot. Here are some ideal options:
- Cactus Mix: This is a great choice as it provides excellent drainage.
- Perlite and Potting Soil Mix: A combination of 50% perlite and 50% potting soil can also work wonders.
- Sand: Adding coarse sand to your mix can enhance drainage further.
Environmental Conditions
Next, let’s talk about the environment. Millot Kalanchoe thrives in specific conditions that mimic its native habitat. Here’s what to focus on:
- Light: Bright, indirect sunlight is best. Too much direct sunlight can scorch the leaves, while too little can hinder growth.
- Temperature: Aim for a temperature range of 18-24°C (65-75°F). Avoid cold drafts or sudden temperature changes.
- Humidity: Low to moderate humidity is ideal. If your home is very humid, ensure good air circulation around the plants.
Watering Tips
Watering is another critical factor. Here’s how to manage it effectively:
- Initial Watering: After planting your cuttings, lightly mist the soil to settle it.
- Wait to Water: Allow the soil to dry out completely before watering again. Overwatering is a common mistake that can lead to rot.
For more detailed advice on caring for your Kalanchoe, check out our expert tips on Kalanchoe care. Additionally, if you’re interested in propagation methods, our Mother of Thousands propagation guide offers step-by-step instructions.
Common Mistakes to Avoid During Propagation
When propagating Millot Kalanchoe, it’s easy to make mistakes that can hinder your success. Understanding these pitfalls can save you time and frustration.
- Overwatering
One of the most common mistakes is overwatering the cuttings. Kalanchoe plants thrive in dry conditions. Ensure the soil is only slightly moist after planting the cuttings. - Using Poor Quality Soil
Not all potting mixes are created equal. A well-draining soil is essential for Kalanchoe propagation. Avoid heavy soils that retain too much moisture. - Ignoring Light Conditions
Millot Kalanchoe requires bright, indirect light for optimal growth. Placing cuttings in direct sunlight can scorch them. - Neglecting Humidity Levels
While Kalanchoe prefers dry air, too low humidity can stress the cuttings. A balanced environment is crucial for successful rooting. - Failing to Use Clean Tools
Using unclean tools can introduce pathogens. Always use sterilised scissors or knives when taking cuttings to ensure a healthy start. - Not Providing Enough Time
Patience is key in propagation. Some cuttings may take longer to root than others. Avoid the temptation to rush the process.
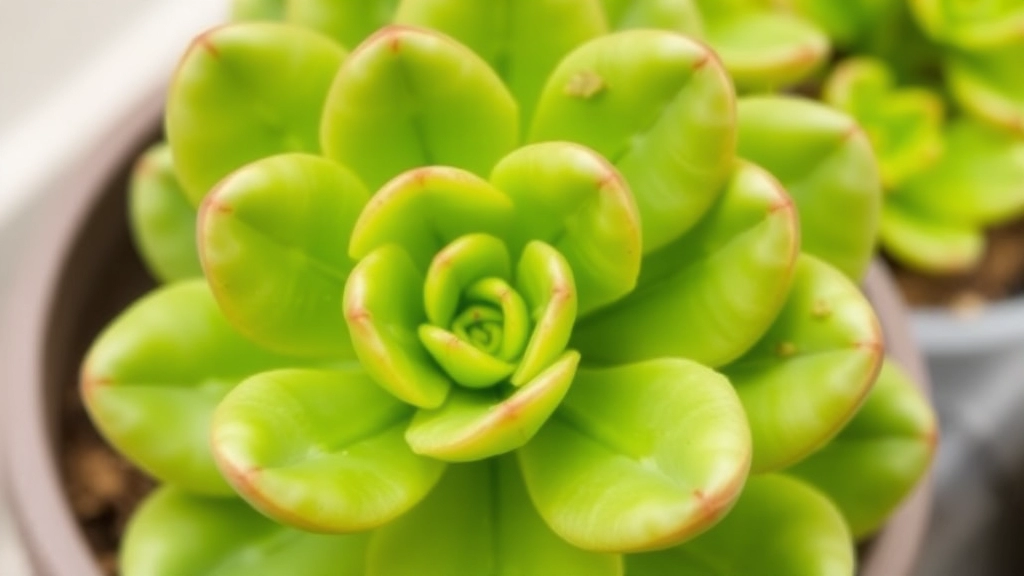
Post-Propagation Care: Ensuring Healthy Growth
After successfully propagating your Millot Kalanchoe, the next crucial step is ensuring its healthy growth. You might be wondering how to nurture your new plants to thrive.
Watering Wisely
- Initial Watering: After propagation, wait a week before watering. This allows the cuttings to establish roots without the risk of rot.
- Frequency: Water only when the top inch of soil feels dry. Overwatering can lead to root rot, a common issue in Kalanchoe care.
Light Requirements
- Bright Indirect Light: Place your new plants in a spot with bright, indirect sunlight. Too much direct sun can scorch the leaves, while too little can stunt growth.
- Rotation: Rotate the pots every few weeks to ensure even growth on all sides.
Temperature and Humidity
- Ideal Temperature: Kalanchoe prefers temperatures between 20-25°C (68-77°F). Avoid exposing them to drafts or sudden temperature changes.
- Humidity Levels: While Kalanchoe is tolerant of various humidity levels, maintaining a moderate humidity can help them adjust better post-propagation.
Fertilisation
- Timing: Start fertilising about a month after propagation. This gives the plants time to settle in.
- Type of Fertiliser: Use a balanced, water-soluble fertiliser diluted to half strength. This will provide the necessary nutrients without overwhelming the young plants.
Monitoring Growth
- Watch for Signs: Keep an eye out for any signs of distress, such as yellowing leaves or wilting. These can indicate issues with watering or light.
- Patience is Key: Remember that growth may be slow initially. Give your Kalanchoe time to establish itself.
Seasonal Propagation Tips: Best Times to Propagate Millot Kalanchoe
So, you’re keen to propagate your Millot Kalanchoe? Timing is everything.
When it comes to propagating this lovely succulent, knowing the best seasons can make all the difference.
Spring and Early Summer: The Sweet Spot
- Ideal Conditions: These seasons provide the perfect balance of warmth and light.
- Why Now?: Plants are actively growing, meaning they’re more likely to root successfully. The longer days and warmer temperatures give your cuttings the boost they need.
Autumn: A Cautionary Period
- Watch Out: While you can still propagate, growth slows down.
- Tip: Keep an eye on light levels; shorter days can stress your cuttings. If you do propagate, consider using a grow light to support them.
Winter: The No-Go Zone
- Avoid This Season: Cold temperatures and low light can lead to rot.
- Why?: Your Millot Kalanchoe is in dormancy, and it’s just not the right time for new growth.
Key Takeaways
- Best Times: Spring and early summer are your best bets for successful propagation.
- Caution: Autumn can work, but be mindful of light.
- Avoid: Winter is a hard pass.
Troubleshooting Propagation: Dealing with Rot, Pests, and Other Issues
When propagating Millot Kalanchoe, you may encounter various challenges that can hinder your success. Understanding these issues is crucial for ensuring healthy growth.
Common Problems in Propagation:
- Rot:
- Causes: Overwatering or using poorly draining soil can lead to root rot.
- Signs: Yellowing leaves, mushy stems, or a foul smell from the soil.
- Solutions:
- Allow the soil to dry out completely between waterings.
- Use a well-draining soil mix, such as a cactus or succulent blend.
- Pests:
- Common Pests: Aphids, mealybugs, and spider mites can invade your cuttings.
- Signs: Sticky residue, webbing, or visible insects on leaves.
- Solutions:
- Inspect your plants regularly.
- Use insecticidal soap or neem oil for treatment.
- Quarantine affected plants to prevent spread.
- Environmental Stress:
- Causes: Sudden temperature changes or inadequate light can stress your cuttings.
- Signs: Wilting or discoloured leaves.
- Solutions:
- Maintain a stable environment with temperatures between 18-24°C.
- Ensure your cuttings receive bright, indirect light.
- Fungal Issues:
- Causes: High humidity and poor air circulation can lead to fungal infections.
- Signs: White, powdery spots or black spots on leaves.
- Solutions:
- Increase air circulation around your plants.
- Avoid overhead watering and keep humidity levels moderate.
By being proactive about these common issues, you can significantly increase your chances of successful propagation. For more detailed advice, check out our step-by-step guide on Kalanchoe Mother of Thousands propagation and our optimal watering tips for healthy Kalanchoe.
FAQs on Millot Kalanchoe Propagation
What is the best time to propagate Millot Kalanchoe?
Spring and early summer are the ideal seasons for propagating Millot Kalanchoe. These periods offer the perfect balance of warmth and light, promoting active growth and successful rooting.
Can I propagate Millot Kalanchoe in autumn?
Yes, you can propagate in autumn, but be cautious. Growth slows down during this season, and shorter days can stress your cuttings. Consider using a grow light to support them if you choose to propagate during this time.
Why should I avoid propagating Millot Kalanchoe in winter?
Winter is not suitable for propagation due to cold temperatures and low light levels, which can lead to rot. Additionally, Millot Kalanchoe plants are in dormancy during this season, making it a poor time for new growth.
What materials do I need for propagating Millot Kalanchoe?
You’ll need the following materials:
- Healthy Millot Kalanchoe leaves
- Sharp knife or scissors
- Well-draining soil
- Containers
How do I take cuttings for propagation?
Follow these steps:
- Choose healthy leaves from the parent plant.
- Cut carefully at the base using a sharp knife or scissors.
- Let them dry for a day or two to form a callus.
What are the common mistakes to avoid during propagation?
Avoid these pitfalls:
- Overwatering: Keep the soil slightly moist.
- Using poor quality soil: Opt for well-draining soil.
- Ignoring light conditions: Provide bright, indirect light.
- Neglecting humidity levels: Maintain a balanced environment.
- Failing to use clean tools: Use sterilised scissors or knives.
- Not providing enough time: Be patient and allow time for rooting.
How long does it take for roots to form?
It can take a few weeks to a couple of months for roots to develop. You’ll know they’re ready when you see new growth sprouting from the base of the leaves.
What light conditions are best for Millot Kalanchoe cuttings?
Place your container in a spot with bright, indirect light. Direct sunlight can scorch the cuttings, so avoid placing them in direct sun.
Do I need to cover the cuttings to maintain humidity?
A little humidity can help, so consider covering the cuttings with a plastic bag or a clear lid to retain moisture. Just remember to ventilate occasionally to prevent mold.
References
-
How To Propagate Kalanchoe Plants
-
How to Propagate Succulents
-
Propagating Kalanchoe