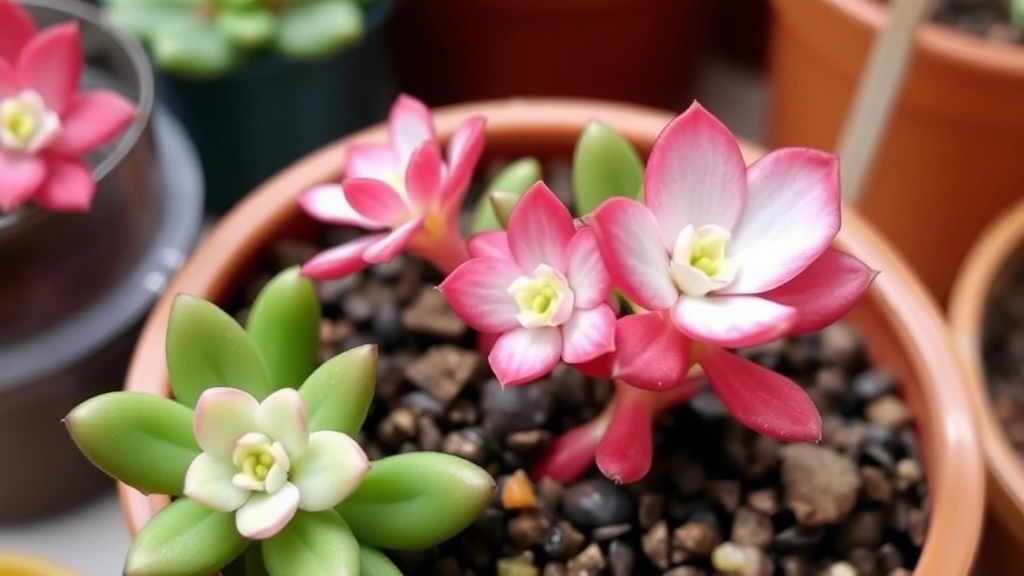
Propagating Kalanchoe Tomentosa (Panda Plant)
Looking to propagate your Kalanchoe Tomentosa, also known as the Panda Plant? You’ve come to the right place. Whether you’re an avid gardener or a succulent enthusiast, understanding the best methods for Kalanchoe Tomentosa propagation can help you expand your plant collection with ease. Let’s dive into the step-by-step process to ensure successful propagation, focusing on leaf and stem cuttings, and the ideal growing conditions.
Essential Tools
- Clean scissors or a sharp knife
- Well-draining soil mix
- Containers with drainage holes
Propagation Methods
Leaf Cuttings
For leaf cuttings, gently twist a healthy leaf from the base of the plant. Allow the leaf to dry for a few days until calloused, then place it on top of the soil.
Stem Cuttings
For stem cuttings, cut a healthy stem and let it dry before planting.
Growing Conditions
Remember, proper light and temperature conditions are crucial for successful propagation. Avoid common mistakes like overwatering and ensure your new plants receive plenty of indirect sunlight. Happy propagating!
When is the best time to propagate Kalanchoe Tomentosa?
This question often weighs on the minds of many plant enthusiasts.
The ideal season for propagation is crucial for ensuring success.
Spring and early summer are the prime times for propagating Kalanchoe Tomentosa.
During these months, the plant is naturally in a growth phase, making it more receptive to new growth from cuttings.
Here are some reasons why this season is optimal:
- Increased Light: Longer daylight hours provide the energy needed for photosynthesis, promoting healthy root development.
- Warmer Temperatures: The mild temperatures create an ideal environment for growth, reducing the risk of stress on the plant.
- Humidity Levels: Spring often brings higher humidity, which can benefit young cuttings.
By choosing the right season, you set the stage for a successful propagation journey. For a more detailed guide on propagation techniques, check out our article on how to propagate Kalanchoe Blossfeldiana cuttings. Additionally, understanding the ideal temperature for Kalanchoe Blossfeldiana growth can further enhance your propagation success.
Essential Tools for Kalanchoe Tomentosa Propagation
So, you’re keen on propagating Kalanchoe Tomentosa, but what do you need to get started?
Having the right tools can make all the difference in ensuring your propagation efforts are successful. Here’s a handy list of essentials you’ll want to gather before diving in:
- Sharp Knife or Scissors: A clean cut is crucial. You don’t want to damage the plant. A sharp blade makes all the difference.
- Small Pots or Seedling Trays: These are perfect for planting your cuttings. Make sure they have drainage holes to prevent waterlogging.
- Cactus or Succulent Soil: This type of soil provides the right drainage and nutrients. You can also mix regular potting soil with sand or perlite for added drainage.
- Watering Can or Spray Bottle: For a gentle misting, a spray bottle is ideal. You want to keep the cuttings hydrated but not soggy.
- Rooting Hormone (optional): While not necessary, rooting hormone can speed up the process and encourage stronger root growth.
- Plastic Wrap or a Humidity Dome: This helps maintain moisture levels, especially in the early stages of propagation. Just don’t forget to remove it once you see new growth!
- Labels: If you’re propagating multiple varieties, labels can help keep everything organised.
Having these tools on hand will set you up for success.
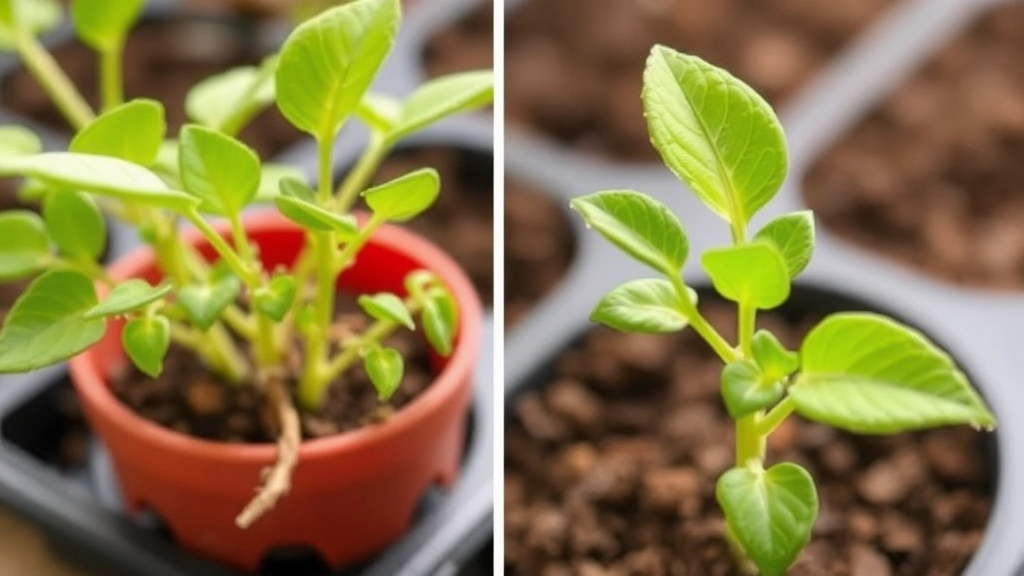
Propagating Kalanchoe Tomentosa from Leaf Cuttings
If you’re looking to expand your collection of Kalanchoe Tomentosa, propagating from leaf cuttings is an exciting and rewarding method. Many enthusiasts often wonder about the best practices to ensure success.
Why Choose Leaf Cuttings?
Leaf cuttings are a popular choice because they are simple and effective. Plus, this method allows you to grow multiple plants from just a single leaf. Here’s how to do it right:
- Select Healthy Leaves
Choose mature, healthy leaves from the parent plant.
Avoid any leaves that show signs of disease or damage. - Prepare the Cuttings
Using a clean, sharp knife or scissors, cut the leaf at the base.
Allow the cut end to dry and callous for 1-3 days. This helps prevent rot when you plant it. - Choose the Right Medium
Use a well-draining soil mix, ideally a cactus or succulent blend. For more detailed soil tips, check out our guide on the best soil for Kalanchoe Blossfeldiana.
You can also create your own mix by combining potting soil with sand or perlite. - Planting the Cuttings
Once the cut end has calloused, place the leaf on top of the soil.
Gently press it down to ensure contact with the soil, but do not bury it. - Watering
Lightly mist the soil to keep it slightly moist.
Avoid overwatering, as this can lead to rot. - Creating the Right Environment
Place the pot in a warm, bright location, but away from direct sunlight.
A temperature range of 20-25°C (68-77°F) is ideal for rooting. For more detailed temperature guidelines, refer to our article on the ideal temperature for Kalanchoe Blossfeldiana growth.
Patience is Key
It may take a few weeks for roots to develop, so don’t be discouraged if you don’t see immediate results.
How to Propagate Using Stem Cuttings
If you’ve been considering propagating Kalanchoe Tomentosa, stem cuttings are a fantastic method to ensure healthy growth and vibrant new plants. Many enthusiasts often wonder about the best techniques to achieve success with this popular succulent.
Step-by-Step Guide to Stem Cutting Propagation
- Select the Right Stem
Choose a healthy stem that is at least 4-6 inches long. Look for one that has multiple leaves and is free from any signs of disease. - Make the Cut
Using clean, sharp scissors or pruning shears, cut the stem just below a leaf node. This is where new roots will form. - Let it Callous
Place the cut stem in a dry, shaded area for a few days. This allows the cut end to callous over, which helps prevent rot when planted. - Prepare the Soil
Use a well-draining soil mix, ideally one designed for succulents. You can also add perlite or sand to enhance drainage. - Plant the Cutting
Once the cut end has calloused, insert it into the soil about an inch deep. Firm the soil around the base to provide stability. - Water Sparingly
Give the cutting a light watering, but avoid soaking the soil. Too much water can lead to rot. - Create a Humid Environment
To encourage rooting, consider covering the cutting with a plastic bag or a clear container. This retains moisture but ensure there’s some airflow to prevent mould. - Monitor and Wait
Place the cutting in a bright, indirect light location. Keep an eye on it, watering only when the top inch of soil feels dry. Roots should begin to form in a few weeks.
Key Considerations
- Timing Matters: Spring and summer are ideal seasons for stem cuttings, as the plant is in its active growth phase.
- Patience is Key: It may take several weeks for roots to develop, so don’t rush the process.
Optimizing Soil and Drainage for Healthy Growth
When propagating Kalanchoe Tomentosa, one of the most common concerns is ensuring the right soil and drainage conditions.
Why is Soil Important?
The right soil mix is crucial for the health of your newly propagated plants.
Ideal Soil Composition:
- Cactus Mix: A pre-made cactus or succulent mix is often the best choice.
- DIY Mix: If you prefer a homemade option, combine:
- 2 parts potting soil
- 1 part perlite
- 1 part sand
This blend promotes aeration and allows excess moisture to escape, preventing root rot.
Drainage Solutions:
- Pot Selection: Choose pots with drainage holes.
- Layering: Consider adding a layer of gravel or small stones at the bottom of the pot to enhance drainage.
- Avoid Soggy Soil: Ensure that the soil dries out between waterings.
Signs of Poor Drainage:
- Yellowing leaves
- Wilting despite adequate watering
- Root rot, which can be fatal
By focusing on these soil and drainage tips, you can significantly increase your chances of successful propagation. For more detailed guidance, check out our best soil for Kalanchoe Blossfeldiana care tips and how to propagate Kalanchoe Blossfeldiana cuttings.
### Proper Light and Temperature Conditions for Propagation
So, you’ve got your Kalanchoe Tomentosa cuttings ready. But have you thought about where you’re going to place them?
Light and temperature are crucial for successful propagation. If you want those little guys to thrive, here’s what you need to keep in mind:
#### Light Requirements
- Bright, Indirect Light: Kalanchoe Tomentosa loves bright light, but direct sunlight can scorch those tender leaves.
- South or West-Facing Windows: These are ideal spots. They provide plenty of light without the risk of burning.
- Supplement with Grow Lights: If natural light is scarce, consider using grow lights. They can work wonders, especially during the darker months.
#### Temperature Needs
- Ideal Range: Aim for a temperature between 20°C to 25°C (68°F to 77°F). This range mimics their native environment.
- Avoid Cold Drafts: Keep your cuttings away from chilly windows or air conditioning vents. They don’t like sudden temperature drops.
- Humidity Levels: Kalanchoe prefers lower humidity. If you live in a humid area, ensure good air circulation around your plants.
When propagating Kalanchoe Tomentosa, it’s easy to overlook key details that can hinder your success. Many new plant parents face challenges that could easily be avoided with a little knowledge. Here are some common mistakes to steer clear of:
– **Ignoring the Right Season:** Propagating during the wrong season can lead to poor growth. Aim for spring or early summer for the best results.
– **Using Inadequate Tools:** Not having the right tools can make the process frustrating. Ensure you have clean, sharp scissors or a knife, as well as pots and well-draining soil.
– **Overwatering:** One of the biggest pitfalls is overwatering your cuttings. Kalanchoe Tomentosa prefers dry conditions. Allow the soil to dry out completely between waterings.
– **Neglecting Light Conditions:** Insufficient light can stunt growth. Place your cuttings in a bright, indirect light location to encourage healthy development.
– **Skipping the Callousing Step:** After taking cuttings, skipping the callousing process can lead to rot. Allow your cuttings to dry for a few days before planting.
– **Forgetting to Monitor Temperature:** Extreme temperatures can stress your plants. Keep them in a warm environment, ideally between 20-25°C.
– **Not Being Patient:** Propagation takes time. Rushing the process or expecting immediate results can lead to disappointment.
By avoiding these common mistakes, you can significantly increase your chances of successful propagation. For more detailed care tips, check out this [guide to Kalanchoe Tomentosa care](https://planthq.org/succulent-kalanchoe-tomentosa-care-tips-and-growing-guide/).
Additionally, if you’re interested in other Kalanchoe varieties, you might find this [complete care guide for Kalanchoe Blossfeldiana](https://planthq.org/complete-care-guide-for-kalanchoe-blossfeldiana-succulent/) helpful.
How to Care for Newly Propagated Kalanchoe Tomentosa
So, you’ve successfully propagated your Kalanchoe Tomentosaâcongratulations! But now what? Caring for your new plants is crucial to ensure they thrive.
Watering Wisely
One of the biggest worries is overwatering. Newly propagated Kalanchoe Tomentosa is sensitive to soggy soil. Here’s how to nail it:
- Wait until the soil is completely dry before watering.
- Use a spray bottle for a gentle misting if the leaves look a bit thirsty.
- Keep an eye out for any signs of wilting; that’s your cue to hydrate.
Light It Up
These beauties love light, but not too much direct sunlight.
- Place your new plants in a bright, indirect light spot.
- If the leaves start to stretch, they might be reaching for more light.
Temperature Check
Kalanchoe Tomentosa isn’t a fan of the cold.
- Aim for a cozy temperature between 20-25°C (68-77°F).
- Keep them away from chilly drafts or heating vents.
Fertilizing
You might wonder if your new plants need food.
- Hold off on fertilizing for the first month after propagation.
- Once they settle in, use a diluted succulent fertilizer during the growing season.
Pest Patrol
Keep an eye out for pests like mealybugs or aphids.
- Regularly inspect the leaves and stems.
- If you spot any unwelcome guests, a gentle wipe with a damp cloth usually does the trick.
Repotting
As your Kalanchoe Tomentosa grows, they might need a bigger home.
- Look for signs like roots coming out of the drainage holes.
- When you repot, choose a slightly larger pot with fresh soil.
For more detailed care tips on other Kalanchoe varieties, check out our Complete Care Guide for Kalanchoe Blossfeldiana. If you’re interested in the health benefits of Kalanchoe plants, don’t miss our comprehensive article on the Health Benefits of Kalanchoe Pinnata.
FAQs on Kalanchoe Tomentosa Propagation
What tools do I need for propagating Kalanchoe Tomentosa?
To successfully propagate Kalanchoe Tomentosa, you’ll need a few essential tools:
- Sharp Knife or Scissors: For clean cuts to avoid damaging the plant.
- Small Pots or Seedling Trays: Ensure they have drainage holes.
- Cactus or Succulent Soil: Provides necessary drainage and nutrients.
- Watering Can or Spray Bottle: For gentle misting.
- Rooting Hormone (optional): Can speed up the rooting process.
- Plastic Wrap or a Humidity Dome: Helps maintain moisture levels.
- Labels: Useful for organizing multiple varieties.
How do I propagate Kalanchoe Tomentosa using stem cuttings?
Follow these steps for successful stem cutting propagation:
- Select the Right Stem: Choose a healthy stem that is 4-6 inches long.
- Make the Cut: Use clean, sharp scissors or pruning shears to cut just below a leaf node.
- Let it Callous: Allow the cut stem to dry in a shaded area for a few days.
- Prepare the Soil: Use well-draining soil, ideally designed for succulents.
- Plant the Cutting: Insert the calloused end into the soil about an inch deep.
- Water Sparingly: Lightly water the cutting, avoiding soaking the soil.
- Create a Humid Environment: Cover with a plastic bag or clear container to retain moisture.
- Monitor and Wait: Place in bright, indirect light and water only when the top inch of soil is dry.
When is the best time to propagate Kalanchoe Tomentosa?
Spring and summer are the ideal seasons for propagating Kalanchoe Tomentosa, as the plant is in its active growth phase during these times.
What light conditions are best for Kalanchoe Tomentosa cuttings?
Kalanchoe Tomentosa thrives in bright, indirect light. South or west-facing windows are ideal, but avoid direct sunlight to prevent leaf scorching. If natural light is insufficient, consider using grow lights.
What temperature is ideal for propagating Kalanchoe Tomentosa?
The ideal temperature range for Kalanchoe Tomentosa propagation is between 20°C to 25°C (68°F to 77°F). Avoid cold drafts and sudden temperature drops, and maintain good air circulation if you live in a humid area.
Do I need to use rooting hormone for Kalanchoe Tomentosa propagation?
Rooting hormone is optional but can be beneficial. It can speed up the rooting process and encourage stronger root growth.
How long does it take for Kalanchoe Tomentosa cuttings to root?
It may take several weeks for roots to develop. Patience is key, so avoid rushing the process and ensure proper care throughout.
References
-
How to Propagate Kalanchoe Tomentosa
-
Kalanchoe Tomentosa (Panda Plant) Care Guide
-
Propagating Kalanchoe