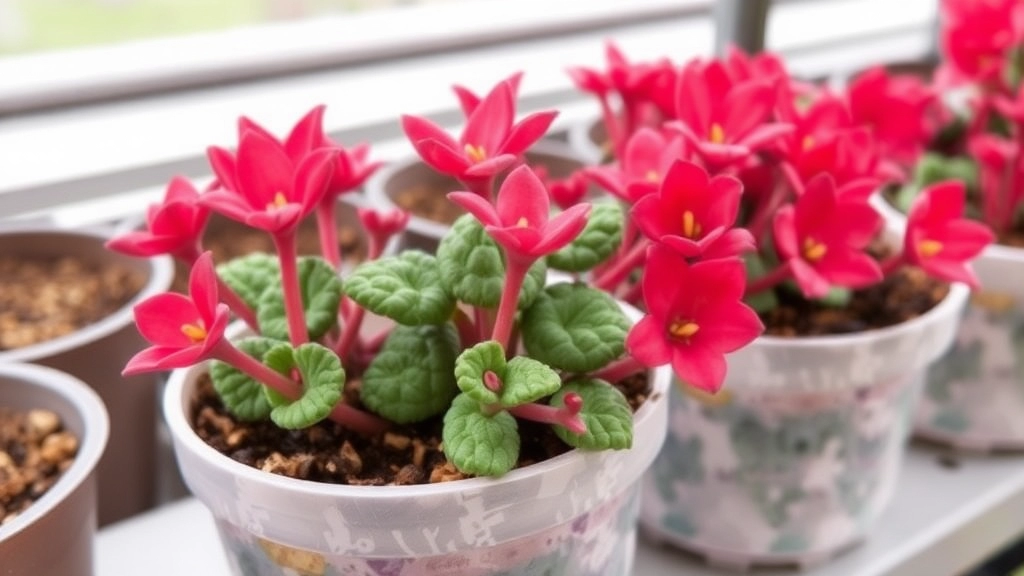
Propagating Kalanchoe Panamensis
Looking to propagate your Kalanchoe Panamensis? You’re in the right place! As a fellow gardening enthusiast, I know how rewarding it is to see new plants thrive. Let’s dive into the best methods for propagating this beautiful succulent, ensuring you get it right from the start.
Choosing Your Propagation Method
First, you’ll need to decide between stem or leaf cuttings. Both methods are effective, but each has its nuances. Preparing the right soil and potting conditions is crucial, as is managing light and temperature to encourage rooting.
Guidance for Success
I’ll guide you through each step, helping you avoid common pitfalls like overwatering and root rot. Ready to get started? Let’s make your Kalanchoe Panamensis propagation a success!
Best Propagation Methods for Kalanchoe Panamensis
Are you looking to expand your collection of Kalanchoe Panamensis? Many enthusiasts often wonder about the best propagation methods for this resilient succulent.
1. Leaf Cuttings
One of the most popular methods is through leaf cuttings. This technique is straightforward and effective. Here’s how to do it:
- Select healthy leaves from the parent plant.
- Allow the cut ends to callous over for a few days.
- Place the leaves on well-draining soil, ensuring they are not buried too deep.
- Mist lightly to provide moisture without soaking.
2. Stem Cuttings
Another reliable method is stem cuttings. This approach can yield quicker results. Here’s a simple guide:
- Cut a healthy stem, ideally around 4-6 inches long.
- Remove the lower leaves to prevent rot.
- Let the cut end dry and callous for a few days.
- Plant the cutting in a suitable soil mix, ensuring it stands upright.
- Water sparingly until roots develop.
3. Offsets
Kalanchoe Panamensis can also produce offsets, which are small plants that grow at the base of the mother plant. Here’s how to propagate using offsets:
- Gently separate the offset from the parent plant.
- Allow it to dry for a day or two.
- Plant it in a well-draining potting mix.
These methods not only promote growth but also allow you to share this beautiful succulent with friends and family. For more detailed care instructions, check out our Kalanchoe Mother of Thousands Care Guide and our Expert Tips on Caring for Kalanchoe Succulents.
Preparing the Ideal Soil and Potting Conditions

So, you’ve decided to propagate your Kalanchoe Panamensis. Exciting times ahead! But before we dive into cutting techniques, let’s chat about soil and potting conditions.
What’s the best mix for your little green friend?
The Right Soil Mix
Kalanchoe loves well-draining soil. This is crucial for preventing root rot. Here’s what you need:
- Cactus Mix: A pre-made cactus or succulent mix works wonders.
- Perlite or Pumice: Add in some perlite or pumice to improve drainage.
- Organic Matter: A touch of organic matter, like compost, can help with nutrient retention.
Mixing these together creates a light, airy environment perfect for rooting.
Choosing the Right Pot
Now, let’s talk pots.
- Drainage Holes: Always opt for pots with drainage holes. This helps excess water escape.
- Size Matters: A smaller pot encourages root growth. Too big, and the soil might stay wet longer than needed.
Potting Tips
When potting your cuttings, keep these tips in mind:
- Fill the Pot: Start by filling your pot with the soil mix to about an inch below the rim.
- Create a Hole: Use your finger or a stick to make a small hole for the cutting.
- Gently Place the Cutting: Pop the cutting in, ensuring it’s secure but not buried too deep.
Final Touches
Once your cuttings are in their new home, give them a light watering.
This helps settle the soil around the roots without drowning them.
Steps for Successful Leaf and Stem Cuttings
After understanding the importance of the right conditions for propagating Kalanchoe Panamensis, it’s time to delve into the practical steps for successful leaf and stem cuttings. Many enthusiasts often worry about the best techniques to ensure their cuttings take root effectively. Let’s break this down into clear, actionable steps.
1. Selecting the Right Cuttings
- Choose Healthy Leaves or Stems: Look for vibrant, plump leaves or firm stems that show no signs of disease or damage.
- Time of Year: Early spring is ideal for taking cuttings when the plant is actively growing.
2. Preparing the Cuttings
- Cutting Technique: Use a clean, sharp knife or scissors to make a clean cut. Aim for a length of about 4-6 inches for stem cuttings.
- Remove Lower Leaves: For stem cuttings, strip the lower leaves to prevent them from rotting in the soil.
3. Allowing Cuttings to Callus
- Drying Time: Place the cuttings in a dry location away from direct sunlight for 1-3 days. This allows the cut ends to callus over, reducing the risk of rot.
4. Planting the Cuttings
- Soil Preparation: Use well-draining soil, ideally a mix of potting soil and perlite or sand. For more details, refer to the best soil for Kalanchoe Blossfeldiana care tips.
- Planting Depth: Insert the cuttings into the soil, ensuring that at least one node is buried.
5. Watering and Maintenance
- Initial Watering: After planting, lightly mist the soil to moisten it without over-saturating.
- Ongoing Care: Water sparingly; let the soil dry out between waterings to prevent root rot.
6. Monitoring Growth
- Watch for Roots: In a few weeks, gently tug on the cuttings to check for resistance, indicating root development. For more detailed guidance, you can follow this step-by-step guide on propagating Kalanchoe Tomentosa.
- Patience is Key: Not all cuttings will root immediately, so be patient and continue to care for them.
Managing Light and Temperature for Rooting Success
When propagating Kalanchoe Panamensis, many enthusiasts often wonder about the optimal conditions for rooting.
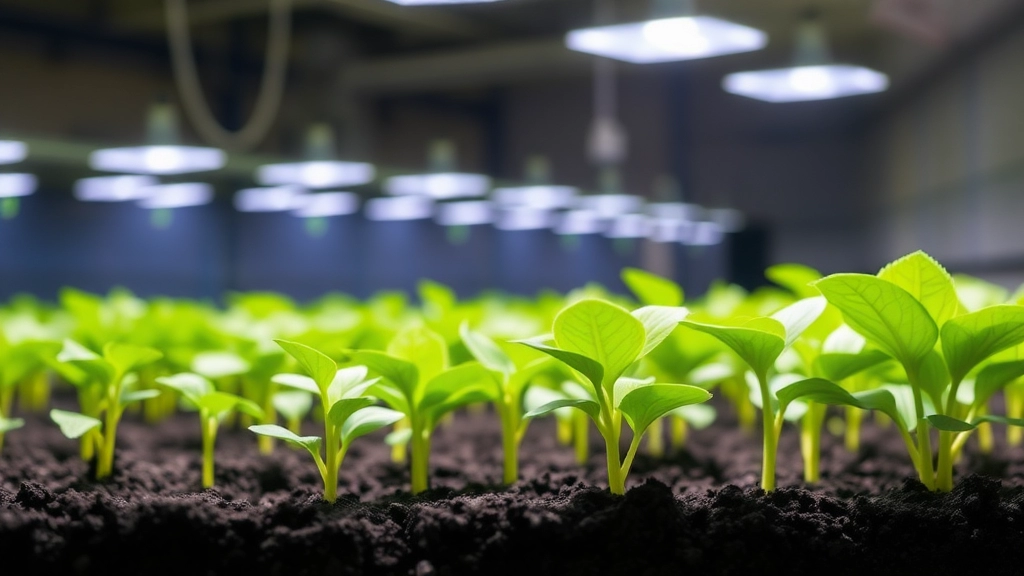
Light Requirements:
- Bright Indirect Light: Kalanchoe Panamensis thrives in bright, indirect light. Direct sunlight can scorch the leaves, hindering the rooting process.
- Duration: Aim for around 12-14 hours of light daily. This can be achieved using grow lights if natural light is insufficient.
- Rotation: Regularly rotate your cuttings to ensure even light exposure, promoting uniform growth.
Temperature Considerations:
- Ideal Range: The ideal temperature for rooting is between 20°C to 25°C (68°F to 77°F). This range encourages healthy root development.
- Avoid Extremes: Keep your cuttings away from cold drafts or heat sources. Sudden temperature changes can stress the plant and slow down rooting.
- Humidity: A slightly humid environment can aid rooting. Consider placing a plastic bag over the cuttings or using a humidity dome to maintain moisture levels.
Monitoring Conditions:
- Check Regularly: Keep an eye on both light and temperature. Adjust as necessary to ensure your cuttings are in the best environment for rooting.
- Signs of Stress: Yellowing leaves or wilting may indicate improper light or temperature conditions. Address these issues promptly to improve rooting success.
Common Challenges and How to Avoid Them in Propagation
When propagating Kalanchoe Panamensis, several challenges may arise that can hinder your success.
1. Overwatering
One of the most common issues is overwatering. This succulent thrives in dry conditions, and excess moisture can lead to root rot.
- Tip: Always ensure the soil is dry before watering again.
- Signs of Overwatering: Yellowing leaves, mushy stems, and a foul smell from the soil.
2. Insufficient Light
Kalanchoe Panamensis requires bright, indirect light. Without adequate light, your cuttings may become leggy and weak.
- Tip: Place your cuttings near a window with filtered sunlight.
- Signs of Insufficient Light: Stretched stems and pale leaves.
3. Pests and Diseases
Pests like mealybugs and aphids can attack your plants, while diseases such as powdery mildew can develop in humid conditions.
- Tip: Regularly inspect your plants and use insecticidal soap if pests are spotted.
- Signs of Infestation: Sticky residue on leaves and visible bugs.
4. Temperature Fluctuations
Kalanchoe Panamensis prefers stable temperatures between 20°C to 25°C. Sudden temperature changes can stress the plant and affect rooting.
FAQs on Kalanchoe Panamensis Propagation
What is the best soil mix for propagating Kalanchoe Panamensis?
For Kalanchoe Panamensis, a well-draining soil mix is crucial. Use a pre-made cactus or succulent mix, add perlite or pumice to improve drainage, and include a touch of organic matter like compost for nutrient retention.
What kind of pot should I use for Kalanchoe Panamensis cuttings?
Choose pots with drainage holes to allow excess water to escape. A smaller pot is preferable as it encourages root growth and prevents the soil from staying wet too long.
How should I pot my Kalanchoe Panamensis cuttings?
Fill the pot with the soil mix to about an inch below the rim. Create a small hole for the cutting, gently place the cutting in the hole, and ensure it’s secure but not buried too deep. Finally, give the cuttings a light watering to settle the soil around the roots.
What light conditions are ideal for rooting Kalanchoe Panamensis?
Kalanchoe Panamensis thrives in bright, indirect light. Aim for around 12-14 hours of light daily, using grow lights if necessary. Regularly rotate your cuttings to ensure even light exposure.
What temperature is best for rooting Kalanchoe Panamensis?
The ideal temperature range for rooting is between 20°C to 25°C (68°F to 77°F). Avoid exposing the cuttings to cold drafts or heat sources, and maintain a slightly humid environment to aid rooting.
How can I maintain optimal conditions for my Kalanchoe Panamensis cuttings?
Regularly check the light and temperature conditions, adjusting as necessary. Watch for signs of stress such as yellowing leaves or wilting, which may indicate improper light or temperature conditions. Promptly address these issues to improve rooting success.
References
-
How to Prepare the Ideal Soil for Kalanchoe Panamensis
-
Managing Light and Temperature for Kalanchoe Panamensis
-
Potting Tips for Kalanchoe Cuttings