Mastering Kalanchoe Copper Spoons Care
Looking to master Kalanchoe Copper Spoons care? You’ve come to the right place. This succulent thrives with the right light, soil, and watering techniques. Indoor or outdoor, knowing the best lighting conditions is crucial. Signs of inadequate lighting can be a telltale sign your plant needs more attention.
Soil and Potting
Proper soil and potting are equally important. Using a well-draining soil mix and clay pots can make a world of difference. Watering frequency changes with the seasons, and understanding how to prevent root rot is key.
Additional Care Tips
From ideal temperatures and humidity to fertilizing schedules and pruning methods, this guide has you covered. Let’s dive into everything you need to know to keep your Kalanchoe Copper Spoons healthy and vibrant.
Light Requirements
When it comes to plant care, one of the most common concerns is ensuring that your plants receive the right amount of light.
Understanding Light Needs
Different plants have varying light requirements, and understanding these can make all the difference in their growth and health.
- Low Light Plants: Some plants thrive in low light conditions, such as snake plants and pothos. These can adapt to dim environments, making them perfect for offices or shaded rooms.
- Medium Light Plants: Others, like peace lilies and spider plants, prefer medium light. They do well in bright, indirect sunlight and can tolerate some direct sun.
- High Light Plants: Then there are those that crave bright, direct light, such as succulents and cacti. These plants flourish in sunny windowsills and need several hours of sunlight each day.
Signs of Inadequate Light
It’s crucial to monitor your plants for signs of insufficient light, which can include:
- Leggy Growth: Stretched stems and sparse leaves indicate your plant is reaching for light.
- Yellowing Leaves: This can be a sign of stress from low light conditions.
- Slow Growth: If your plant isn’t growing as expected, it may not be getting enough light.
Adjusting Light Exposure
To create a thriving environment for your plants, consider the following tips:
- Rotate Your Plants: Regularly rotating your plants can help ensure all sides receive equal light exposure.
- Use Grow Lights: If natural light is limited, investing in grow lights can provide the necessary light spectrum for healthy growth.
- Observe and Adapt: Keep an eye on your plants and adjust their positions based on seasonal changes in light availability.
For more specific care tips, you might find our guide on fixing etiolated Kalanchoe Blossfeldiana helpful. Additionally, if you are dealing with yellowing leaves, check out our article on why Kalanchoe leaves turn soft for potential solutions.
Soil and Potting Needs
So, you’ve sorted out the light situation for your plants. What’s next? Let’s talk soil and potting needs.
Choosing the right soil is like picking the perfect bed for a good night’s sleep for your plants. They need something that allows them to breathe and drain well. Here’s what to keep in mind:
- Drainage is Key: Look for a potting mix that has good drainage. You don’t want your plant sitting in water—it’s a sure way to invite root rot.
- Organic Matter: A mix with organic materials like peat moss or coconut coir helps retain moisture while still allowing air to circulate.
- Nutrient-Rich: Make sure your soil has some nutrients. You can go for a pre-mixed potting soil that’s enriched with compost or consider adding some worm castings for an extra boost.
When it comes to pots, size matters.
- Choose the Right Size: A pot that’s too small can stunt growth, while one that’s too big can hold too much moisture. Aim for a pot that’s about 1-2 inches larger in diameter than the root ball.
- Material Matters: Terracotta pots are great for drainage, but they can dry out quickly. Plastic pots retain moisture better but may not offer the same airflow. Find a balance that works for you.
- Consider Drainage Holes: Always opt for pots with drainage holes. If your pot doesn’t have them, you might as well be inviting trouble.
Watering Guidelines
Many plant enthusiasts often wonder, “How much water does my plant really need?”
Getting the watering right is crucial for plant health.
Understanding Watering Needs
- Check Soil Moisture:
- Always feel the top inch of soil before watering.
- If it feels dry, it’s time to water.
- Watering Frequency:
- Generally, most indoor plants thrive on a weekly watering schedule.
- Adjust based on the season; plants may need more water in warmer months.
- Water Quality:
- Use room temperature water to avoid shocking the roots.
- Rainwater or distilled water is often best, as tap water can contain chemicals.
Watering Techniques
- Deep Watering:
- Ensure water reaches the root zone by watering until it drains from the bottom.
- This encourages deeper root growth.
- Avoid Overwatering:
- Yellowing leaves can be a sign of too much water.
- Ensure pots have drainage holes to prevent root rot.
Signs of Underwatering
- Drooping Leaves:
- If your plant’s leaves are drooping, it may need water. For more information, check out the causes and fixes for drooping Kalanchoe flowers.
- Crispy Edges:
- Brown edges on leaves often indicate a lack of moisture.
Seasonal Adjustments
- Summer:
- Increase watering frequency as plants may dry out faster. Learn more about why your Kalanchoe might not be flowering during this season.
- Winter:
- Reduce watering, as many plants enter a dormant phase.
Temperature and Humidity Preferences

Are you wondering why your plants aren’t thriving?
Temperature and humidity play crucial roles in plant health.
Optimal Temperature Range
- Most indoor plants prefer a temperature range of 18°C to 24°C (64°F to 75°F).
- Avoid placing plants near drafts, heaters, or air conditioners, as sudden temperature fluctuations can stress them.
Humidity Levels
- Humidity levels of 40% to 60% are ideal for many houseplants.
- Use a hygrometer to monitor humidity levels, ensuring your plants are comfortable.
Tips for Maintaining Humidity
- Misting: Lightly mist your plants daily, especially during dry seasons.
- Humidity trays: Place trays filled with water and pebbles beneath your pots to increase moisture in the air.
- Grouping plants: Cluster plants together to create a mini microclimate with higher humidity.
Signs of Unfavourable Conditions
- Yellowing leaves may indicate too much heat or low humidity.
- Brown leaf tips often signal dry air or inadequate watering.
V. Fertilizing Schedule
Are you uncertain about how often to fertilise your plants?
Understanding the right fertilising schedule is crucial for their growth and overall health.
Fertilising your plants correctly can make all the difference.
Here’s what you need to know:
Pruning and Maintenance
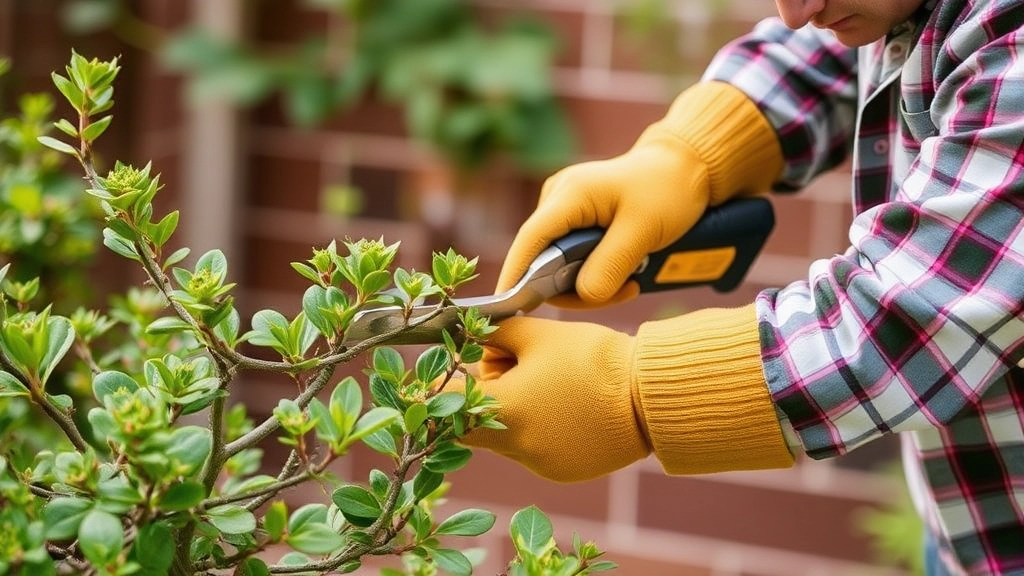
So, you’ve got your plant thriving, but how do you keep it looking its best? Pruning and maintenance are key to ensuring your greenery stays healthy and vibrant.
Why Prune?
- Encourages Growth: Regular pruning helps promote new growth and keeps your plant bushy.
- Removes Dead or Diseased Parts: Snipping away any dead leaves or branches prevents pests and diseases from spreading.
- Shaping: Want that perfect shape? Pruning helps you achieve that ideal look.
When to Prune?
- Seasonal Timing: The best time to prune is usually in spring, just before the growing season kicks off.
- Observe Growth Patterns: If you notice excessive growth or leggy stems, it’s time to grab those shears.
How to Prune?
- Use Clean Tools: Always start with clean, sharp scissors or pruning shears to avoid spreading disease.
- Cut at the Right Angle: Aim for a 45-degree angle when cutting to promote healing.
- Don’t Overdo It: Aim to remove no more than 20% of the plant at a time to avoid shock.
Maintenance Tips
- Regular Checks: Make it a habit to inspect your plant weekly for any signs of stress or pests.
- Dusting Leaves: Wipe down leaves with a damp cloth to keep them clean and free of dust.
- Support Structures: If your plant is tall or leggy, consider using stakes or trellises for support.
Propagation Techniques
Have you ever wondered how to expand your plant collection without spending a fortune? Propagation is a rewarding way to create new plants from existing ones, and it can be easier than you might think.
1. Stem Cuttings
- Select a Healthy Stem: Choose a strong, healthy stem from the parent plant.
- Cut: Use a clean, sharp knife or scissors to take a cutting about 4-6 inches long, ensuring it has a few leaves.
- Rooting Hormone (Optional): Dip the cut end in rooting hormone to encourage faster root development.
- Plant: Place the cutting in a pot with moist soil, ensuring the cut end is buried.
- Water: Keep the soil consistently moist but not soggy.
2. Leaf Cuttings
- Choose a Leaf: Select a healthy leaf from the parent plant.
- Cut: Depending on the plant type, you may cut the leaf into sections or use the whole leaf.
- Plant: Insert the cut end into the soil, ensuring good contact.
- Care: Mist regularly to maintain humidity until roots develop.
3. Division
- Identify Clumps: For plants that grow in clumps, look for sections that can be separated.
- Dig Up: Carefully remove the plant from its pot and gently separate the clumps.
- Replant: Place each division in its own pot with fresh soil.
4. Offsets
- Look for Offsets: Some plants produce small offsets or ‘pups’ at their base.
- Remove: Gently twist or cut the offset away from the parent plant.
- Replant: Place the offset in its own pot with suitable soil.
Propagation not only helps you grow your collection but also strengthens your gardening skills. It’s a fantastic way to share plants with friends or create gifts for loved ones. If you’re interested in learning more about specific plants, check out our guide on caring for Kalanchoe Mother of Thousands or explore the ultimate guide to fuzzy Kalanchoe care tips.
Dealing with pests can feel like a never-ending battle, right?
But don’t worry, I’ve got your back.
Common Pests to Watch For
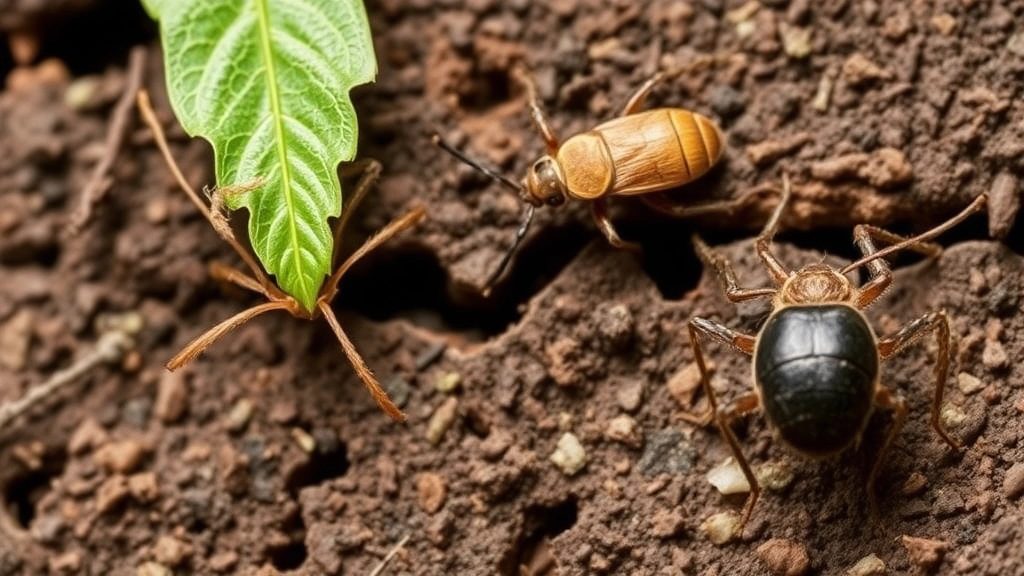
Here’s a quick rundown of the usual suspects that might invade your plants:
- Aphids: Tiny, soft-bodied insects that suck the sap from leaves.
- Spider Mites: These little critters leave fine webbing and can cause leaf discoloration.
- Mealybugs: White, cottony bugs that cling to stems and leaves.
- Fungus Gnats: Small flies that thrive in damp soil.
Signs of Infestation
Keep an eye out for these tell-tale signs:
- Yellowing leaves
- Sticky residue (honeydew)
- Webbing on plants
- Visible bugs
Prevention Tips
Let’s keep those pests at bay. Here’s how:
- Inspect Regularly: Check your plants weekly for any signs of pests.
- Clean Leaves: Wipe down leaves with a damp cloth to remove dust and pests.
- Quarantine New Plants: Always isolate new additions for a few weeks before introducing them to your collection.
Treatment Options
If pests do show up, don’t panic! Here’s what you can do:
- Neem Oil: A natural pesticide that disrupts pest life cycles.
- Insecticidal Soap: Effective against soft-bodied insects like aphids and mealybugs.
- Sticky Traps: These can help catch flying pests like fungus gnats.
When to Seek Help
If your pest problem spirals out of control, it might be time to call in the pros.
Remember, a healthy plant is less likely to attract pests.
Overwintering Tips
As we transition into the colder months, many plant enthusiasts find themselves wondering how to protect their plants from the harsh winter conditions.
Overwintering is crucial for ensuring your plants survive and thrive when spring arrives.
Here are some essential tips to help your plants endure the winter chill:
FAQs on Kalanchoe Copper Spoons Care
What type of soil is best for Kalanchoe Copper Spoons?
For Kalanchoe Copper Spoons, the soil should have good drainage and contain organic matter like peat moss or coconut coir to retain moisture while allowing air to circulate. Nutrient-rich soil, possibly enriched with compost or worm castings, is also beneficial.
What kind of pot should I use for my Kalanchoe Copper Spoons?
Choose a pot that is 1-2 inches larger in diameter than the root ball to avoid stunting growth or retaining too much moisture. Terracotta pots are great for drainage but dry out quickly, while plastic pots retain moisture better but may not offer the same airflow. Always opt for pots with drainage holes.
What is the ideal temperature range for Kalanchoe Copper Spoons?
The optimal temperature range for Kalanchoe Copper Spoons is between 18°C to 24°C (64°F to 75°F). Avoid placing them near drafts, heaters, or air conditioners to prevent stress from sudden temperature fluctuations.
What humidity levels do Kalanchoe Copper Spoons prefer?
Humidity levels of 40% to 60% are ideal for Kalanchoe Copper Spoons. Use a hygrometer to monitor humidity levels and ensure your plants are comfortable.
How often should I prune my Kalanchoe Copper Spoons?
Pruning is best done in spring, just before the growing season. Regular pruning encourages growth, removes dead or diseased parts, and helps shape the plant. Avoid removing more than 20% of the plant at a time to prevent shock.
What are common pests that affect Kalanchoe Copper Spoons?
Common pests include aphids, spider mites, mealybugs, and fungus gnats. Regular inspection and cleaning of leaves can help prevent infestations.
What should I do if I notice pests on my Kalanchoe Copper Spoons?
If pests are detected, you can use neem oil, insecticidal soap, or sticky traps to manage the infestation. Regularly inspect your plants to catch any issues early.
How can I maintain the humidity levels for my Kalanchoe Copper Spoons?
To maintain humidity, you can lightly mist your plants daily, use humidity trays with water and pebbles, or group plants together to create a microclimate with higher humidity.
What signs indicate that my Kalanchoe Copper Spoons are not in optimal conditions?
Yellowing leaves may indicate too much heat or low humidity, while brown leaf tips often signal dry air or inadequate watering. Regular checks can help you catch these issues early.
When should I seek professional help for pest issues?
If your pest problem spirals out of control despite your best efforts, it might be time to call in professional help. A healthy plant is less likely to attract pests, so maintaining overall plant health is crucial.
References
-
Choosing the Right Potting Soil
-
Houseplant Temperature Requirements
-
Aphids: Identification and Control