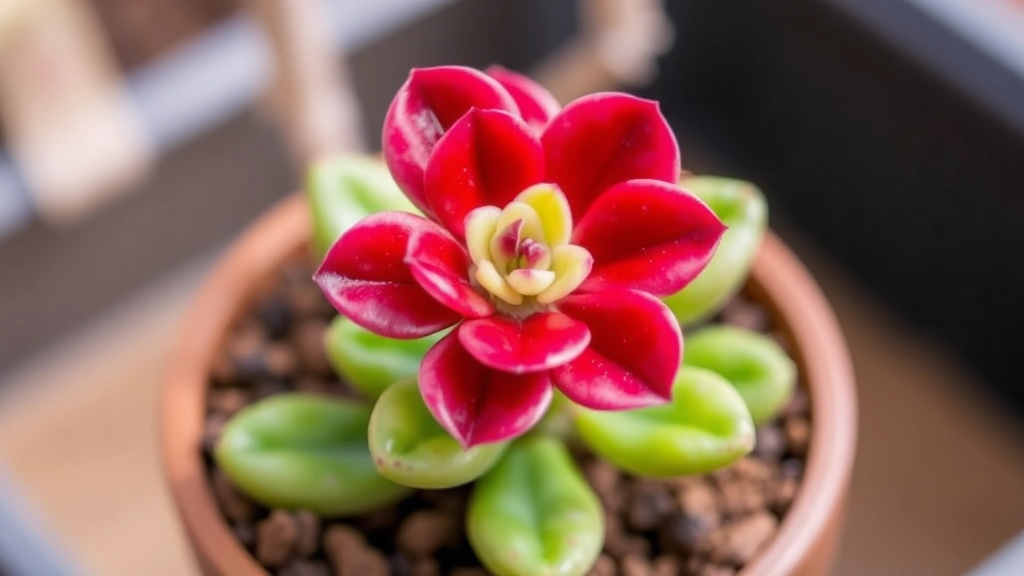
Kalanchoe Chocolate Soldier Propagation
When it comes to Kalanchoe Chocolate Soldier propagation, timing is everything. The best period to propagate these charming succulents is during the growing season, typically in spring or early summer. This ensures optimal growth and root development.
Propagation can be done through stem cuttings or leaf cuttings. For stem cuttings, select a healthy stem and let it dry for a day before planting. For leaf cuttings, choose a mature leaf and allow it to callous over before placing it in well-draining soil. Ensure the soil is prepared adequately and kept moist but not waterlogged. Proper lighting and watering techniques are crucial to successful propagation.
When is the right time to start propagating your plants?
Many gardeners wonder about the optimal timing for propagation to ensure the best results.
The best time for propagation typically falls in the spring or early summer.
During these seasons, plants are actively growing, providing a conducive environment for new roots to develop.
**Key Factors to Consider:**
– **Temperature:** Warmer temperatures encourage growth.
– **Humidity:** Higher humidity levels support root development.
– **Light:** Longer daylight hours promote photosynthesis, essential for new plants.
In spring, many plants are coming out of dormancy, making them more receptive to propagation techniques.
For instance, if you take stem cuttings from a healthy plant, they are likely to root much faster during this period. For specific plants like Kalanchoe, you can follow detailed [step-by-step propagation guides](https://planthq.org/kalanchoe-leaf-propagation-stepbystep-guide/) to ensure success.
Conversely, attempting to propagate in the fall or winter can lead to slower growth or even failure, as plants are often in a dormant state.
**Quick Tips:**
– Monitor local weather patterns.
– Observe your plants’ growth cycles.
– Choose a time when the plant is thriving.
By understanding these factors, you can set yourself up for success. For more in-depth information on propagation techniques, check out this [complete guide to growing and caring for Kalanchoe](https://planthq.org/complete-guide-to-growing-and-caring-for-kalanchoe-pink-butterflies/).
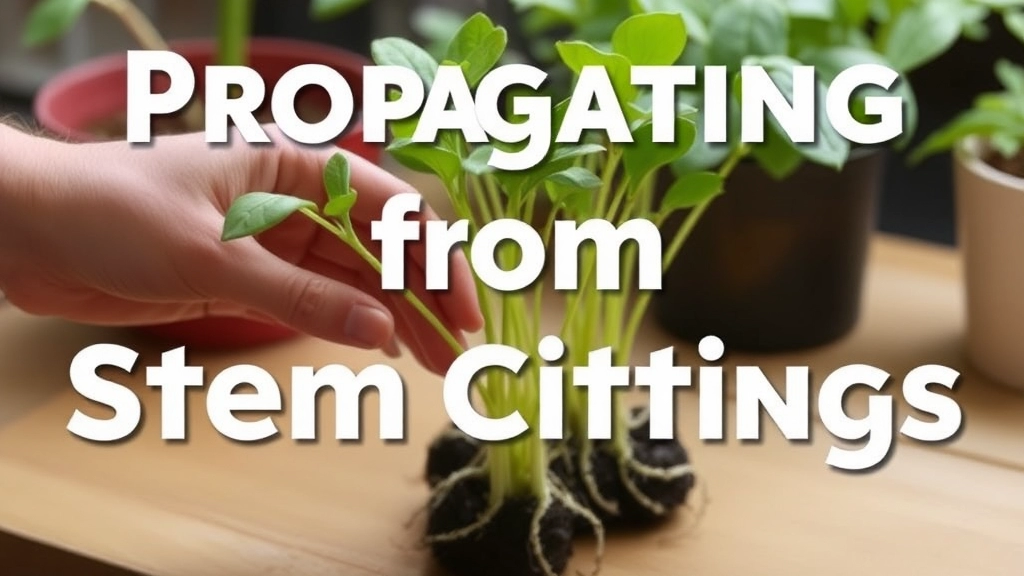
Propagation from Stem Cuttings
So, you’ve got some plants you love, and you’re itching to multiply them.
But how do you do it?
Propagation from stem cuttings is one of the easiest and most effective methods out there.
Here’s the scoop:
What You’ll Need
- Healthy Parent Plant: Choose a robust plant. Look for healthy stems that are free from pests and diseases.
- Sharp Scissors or Shears: Clean cuts are key. You don’t want to crush the stem.
- Potting Mix: A light, well-draining mix is essential. Think about using a mix of peat and perlite.
- Water: Keep it simple. Just water will do for initial rooting.
Steps to Follow
- Select Your Cutting: Aim for a stem that’s about 4-6 inches long. Make sure it has a few leaves on it.
- Make the Cut: Snip just below a leaf node. This is where roots will emerge.
- Remove Lower Leaves: Trim off the leaves on the bottom half to prevent rot when you plant it.
- Dip in Rooting Hormone (Optional): This can give your cutting a boost, but it’s not a must-have.
- Plant the Cutting: Pop it into your potting mix, burying it a couple of inches deep.
- Water Gently: Give it a light drink to settle the soil around it.
Tips for Success
- Humidity is Key: Cover the cutting with a plastic bag or a clear container to keep moisture in. Just remember to ventilate it daily to avoid mold.
- Be Patient: Roots can take a few weeks to form. Don’t rush it!
Common Mistakes to Avoid
- Too Much Water: Overwatering can lead to rot. Keep the soil moist, but not soggy.
- Insufficient Light: Place your cutting in a bright spot but away from direct sunlight.
Propagation through Leaf Cuttings
When considering propagation methods, many plant enthusiasts wonder if leaf cuttings can yield successful results. Leaf cuttings are a fantastic way to propagate certain plants, allowing for new growth from just a single leaf.
Understanding Leaf Cuttings
Leaf cuttings involve taking a healthy leaf from a plant and encouraging it to develop roots and eventually grow into a new plant. This method is particularly effective for succulents and certain houseplants.
Steps for Successful Leaf Cutting Propagation:
- Choose the Right Plant: Not all plants propagate well from leaf cuttings. Consider using plants like African violets, jade plants, or begonias.
- Select a Healthy Leaf: Look for a mature, healthy leaf. Avoid any that are damaged, yellowed, or diseased.
- Cut the Leaf Properly: Use a clean, sharp knife or scissors. Cut the leaf at the base, ensuring you include a small portion of the stem if applicable.
- Let it Callous: Allow the cut end to dry and form a callous for a few hours to a day. This helps prevent rot when placed in soil.
- Planting the Leaf: Insert the calloused end into a well-draining soil mix, burying it slightly. Ensure the leaf is positioned upright.
- Water Sparingly: Initially, water lightly to moisten the soil but avoid overwatering.
Creating the Right Environment
After planting, it’s crucial to provide the right conditions for growth.
- Humidity: Leaf cuttings thrive in a humid environment. Consider using a plastic bag or a humidity dome to maintain moisture.
- Temperature: Keep the cuttings in a warm area, ideally between 20-25°C.
For more detailed steps, you can refer to our guide on how to propagate Kalanchoe from leaves. Additionally, if you are interested in specific varieties, our top Kalanchoe succulent varieties and care tips might be helpful.
Preparing Soil for Propagation
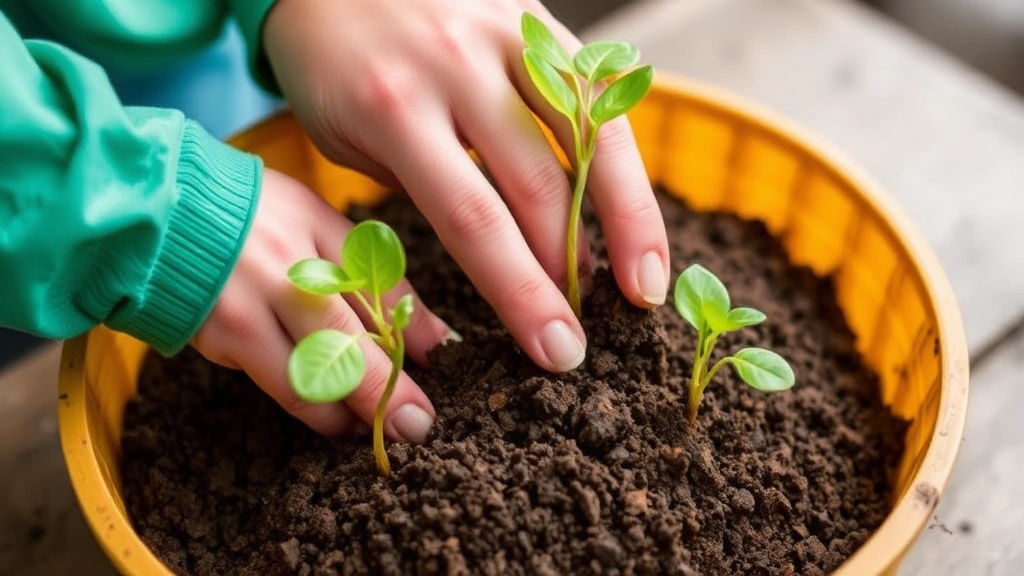
When embarking on your propagation journey, one of the most crucial steps is preparing the right soil.
Have you ever found yourself puzzled over which type of soil to use for your cuttings?
Using the wrong soil can hinder growth and lead to disappointment.
Here’s how to ensure you have the perfect mix:
- Choose the Right Type: Use a well-draining potting mix. A blend designed for seedlings or cuttings is ideal.
- Add Perlite or Vermiculite: These materials improve aeration and drainage, preventing the roots from becoming waterlogged.
- Consider pH Levels: Aim for a slightly acidic to neutral pH (around 6.0 to 7.0) for optimal growth.
- Sterilize Your Soil: This helps eliminate any pathogens that could harm your new plants. You can do this by baking the soil at 180°F (82°C) for about 30 minutes.
- Moisten the Soil: Before planting, ensure the soil is damp but not soggy. This provides a welcoming environment for your cuttings.
By taking these steps, you create a nurturing foundation for your new plants.
Proper Lighting Conditions
When propagating plants, one of the most common concerns is ensuring they receive the right amount of light.
Too little light can lead to weak, leggy growth, while too much can scorch delicate cuttings.
Here’s how to strike the perfect balance:
- Indirect Light is Key: Most cuttings thrive in bright, indirect sunlight. A north or east-facing window is often ideal.
- Duration Matters: Aim for around 12-16 hours of light daily. If natural light is limited, consider using grow lights to supplement.
- Monitor Temperature: Keep the temperature consistent. Ideally, it should be between 18-24°C (65-75°F).
- Rotate Your Plants: To ensure even growth, rotate your cuttings every few days. This helps them grow straight and strong.
For example, when I propagated my succulents, I placed them on a windowsill where they received morning sun but were shaded in the afternoon. This helped them flourish without the risk of burning.
Remember, the right lighting conditions not only support initial growth but also lay the groundwork for a healthy plant. For more detailed guidance, you can check out this step-by-step guide on propagating Kalanchoe leaves.
Additionally, if you’re dealing with specific varieties like the Kalanchoe Copper Spoons, make sure to follow this comprehensive care guide to ensure optimal growth.
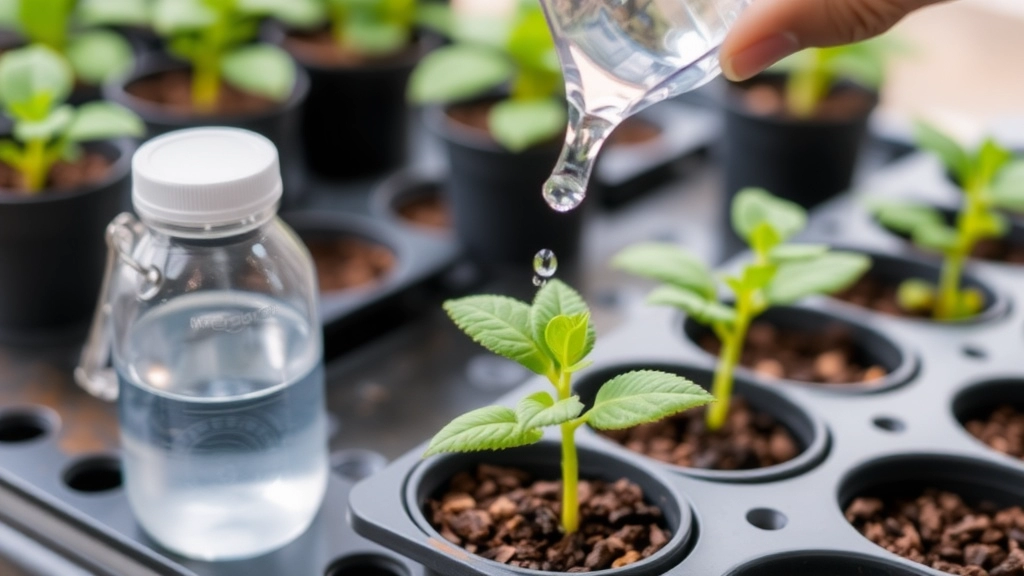
Watering Techniques During Propagation
So, you’ve got your cuttings ready, and now you’re probably wondering: how much should I water them? It’s a common concern, and getting it right can make all the difference in your propagation journey.
Understanding Moisture Needs
When it comes to watering during propagation, the key is balance. Too much water can drown your cuttings, while too little can leave them parched. Here’s how to nail it:
- Check the Soil: Before you water, poke your finger about an inch into the soil. If it feels dry, it’s time to give it a drink.
- Use a Spray Bottle: Misting your cuttings can provide moisture without overwhelming them. It’s gentle and helps maintain humidity.
- Water Sparingly: When you do water, do it slowly. This allows the soil to absorb moisture evenly.
Watering Frequency
Now, how often should you be watering?
- Daily Checks: Make it a habit to check your cuttings daily. The environment can change, and your plants may need different care.
- Adjust for Seasons: In warmer months, you might need to water more frequently. In cooler months, cut back a bit.
Signs of Overwatering or Underwatering
Keep an eye on your cuttings. Here’s what to look for:
- Yellowing Leaves: This could mean you’re overwatering.
- Drooping Leaves: If the leaves are drooping, they might need more moisture.
By paying attention to these signs, you can adjust your watering techniques as needed.
Propagation in Different Seasons
Understanding how the seasons affect plant propagation can make a significant difference in your success rate.
Many gardeners wonder, “When is the best time to propagate my plants?”
The answer often lies in the season.
Spring: The Ideal Time for Propagation
Spring is generally regarded as the best time for propagation.
- Optimal Growth Conditions: As temperatures rise and daylight increases, plants naturally enter a growth phase.
- Root Development: The warm soil encourages faster root development, making stem and leaf cuttings more successful.
- Humidity Levels: Higher humidity levels in spring help to reduce moisture loss in new cuttings.
Summer: A Time for Careful Monitoring
While summer can be a good time to propagate, it requires more attention.
- Heat Stress: High temperatures can stress young plants, so ensure they are kept in a shaded area.
- Water Needs: Increased water evaporation means you’ll need to monitor moisture levels closely.
- Pest Control: Be vigilant for pests that thrive in warm weather.
Autumn: A Transition Period
Autumn can be a tricky time for propagation.
- Cooling Temperatures: As temperatures drop, growth slows, making it less ideal for many plants.
- Preparation for Dormancy: Some plants may prepare for dormancy, so propagation may yield lower success rates.
- Ideal for Certain Varieties: However, certain hardy perennials can still be propagated effectively during this season.
Winter: A Time for Patience
Winter is often viewed as a challenging time for propagation.
- Reduced Light: Shorter days and lower light levels can hinder growth.
- Indoor Propagation: Consider indoor propagation under grow lights to provide adequate light.
- Focus on Hardy Varieties: If you choose to propagate in winter, focus on hardy plants that can withstand cooler temperatures.
For specific tips on propagating Kalanchoe plants, you might find our step-by-step guide to propagating Kalanchoe Flapjack useful. Additionally, check out our complete guide to propagating Kalanchoe Daigremontiana for more detailed information.
Common Problems in Propagation

So, you’ve got your cuttings and soil ready, but what happens when things don’t go as planned?
Let’s dive into some common problems you might face during propagation and how to tackle them.
1. Wilting Cuttings
- Why it happens: This usually indicates that your cuttings are not getting enough moisture.
- Solution: Ensure you’re misting them regularly or placing them in a humidity dome to keep moisture levels up.
2. Rotting Roots
- Why it happens: Overwatering or poor drainage can lead to root rot.
- Solution: Use well-draining soil and check that your containers have drainage holes. Let the soil dry out a bit between waterings.
3. Slow Growth
- Why it happens: If your cuttings are taking ages to grow, they might not be getting enough light.
- Solution: Move them to a brighter spot, but avoid direct sunlight which can scorch them.
4. Pests
- Why it happens: Sometimes, unwanted guests like aphids or spider mites can invade your cuttings.
- Solution: Regularly inspect your plants and treat any infestations with insecticidal soap or neem oil.
5. Yellowing Leaves
- Why it happens: This could be a sign of overwatering, nutrient deficiencies, or poor light conditions.
- Solution: Check your watering schedule and consider adding a diluted fertiliser if the soil seems depleted.
6. Mould Growth
- Why it happens: High humidity and poor air circulation can lead to mould.
- Solution: Ensure good airflow around your cuttings and avoid overcrowding.
Facing these issues can be frustrating, but they’re all part of the learning curve in propagation.
Post-Propagation Care Tips
After successfully propagating your plants, you may wonder how to ensure their long-term health and growth.
Watering Your New Plants
- Consistency is Key: Water your newly propagated plants regularly, but avoid overwatering. The soil should be moist but not soggy.
- Check Soil Moisture: Use your finger to check the top inch of soil. If it feels dry, it’s time to water. For more detailed watering tips, check out our guide on optimal watering tips for healthy florist Kalanchoe.
Optimal Lighting Conditions
- Gradual Introduction: Start by placing your new plants in a spot with indirect sunlight. Gradually introduce them to brighter light over a few weeks.
- Monitor for Stress: Watch for signs of stress, such as wilting or yellowing leaves, which may indicate too much light.
Temperature and Humidity
- Ideal Temperatures: Keep your plants in a stable environment, ideally between 18-24°C (65-75°F).
- Humidity Matters: If your environment is dry, consider using a humidity tray or misting your plants to maintain moisture levels.
Fertilisation
- Wait Before Feeding: Hold off on fertilising until your plants have established roots, usually a few weeks after propagation.
- Use Balanced Fertiliser: When ready, opt for a diluted balanced fertiliser to promote healthy growth. Learn more about complete care for Kalanchoe Chocolate Soldier to ensure your plants thrive.
Pest Control
- Regular Inspections: Check your plants regularly for pests. Early detection can prevent larger infestations.
- Natural Remedies: Consider using neem oil or insecticidal soap as a gentle way to manage pests.
Transplanting
- Timing is Everything: Once your plants have established strong roots, it’s time to transplant them into larger pots.
- Choose the Right Soil: Use a well-draining potting mix to ensure healthy growth.
Encouraging Growth in New Plants
So, you’ve successfully propagated some new plantsâcongratulations! Now, the real fun begins. How do you ensure these little green wonders thrive?
Key Tips for Encouraging Growth
- Right Pot Size
Make sure your new plants have enough room. A pot that’s too small can stunt growth, while one that’s too big can lead to overwatering. - Balanced Fertilization
Use a balanced, water-soluble fertiliser. This gives your plants the nutrients they need without overwhelming them. Start with a diluted solution every couple of weeks. - Humidity Matters
New plants love humidity. Consider grouping them together or using a humidity tray. A simple pebble tray filled with water works wonders! - Temperature Check
Keep an eye on the temperature. Most plants prefer a range between 18°C to 24°C. Avoid placing them near drafts or heat sources. - Regular Pruning
Don’t be afraid to trim back any dead or yellowing leaves. This encourages new growth and keeps your plants looking tidy. - Patience is Key
Remember, growth takes time. Don’t rush the process. Enjoy watching your plants develop at their own pace.
Real-Life Example
I once propagated a few succulents, and I was eager to see them flourish. I kept them in a warm, sunny spot and misted them regularly to boost humidity. It was amazing to watch them grow and thrive!
If you’re looking for more specific advice, check out our ultimate guide to Kalanchoe Flaming Katy houseplant care and learn how to get your Kalanchoe to bloom again for more detailed tips and tricks.
FAQs on Kalanchoe Chocolate Soldier Propagation
What is the best method to propagate Kalanchoe Chocolate Soldier?
One of the easiest and most effective methods is propagation from stem cuttings. This involves taking a healthy stem, preparing it, and planting it in a suitable potting mix.
What materials do I need for propagating Kalanchoe Chocolate Soldier?
You will need a healthy parent plant, sharp scissors or shears, a well-draining potting mix (such as a mix of peat and perlite), and water for initial rooting.
How do I prepare the soil for Kalanchoe Chocolate Soldier propagation?
Use a well-draining potting mix, preferably one designed for seedlings or cuttings. Adding perlite or vermiculite can improve aeration and drainage. Ensure the soil has a slightly acidic to neutral pH (around 6.0 to 7.0) and sterilize it to eliminate pathogens.
How often should I water my Kalanchoe Chocolate Soldier cuttings?
Check the soil daily. If it feels dry an inch below the surface, it’s time to water. Use a spray bottle to mist the cuttings gently and water sparingly to avoid overwhelming them.
What are common mistakes to avoid during propagation?
Avoid overwatering, which can lead to rot, and insufficient light. Place your cuttings in a bright spot but away from direct sunlight.
How can I increase the humidity for my cuttings?
Cover the cuttings with a plastic bag or a clear container to retain moisture. Make sure to ventilate daily to prevent mould growth.
What should I do if my cuttings are wilting?
Wilting usually indicates a lack of moisture. Ensure you are misting them regularly or place them in a humidity dome to maintain moisture levels.
Why are my cuttings developing rotting roots?
Rotting roots are often caused by overwatering or poor drainage. Use well-draining soil and ensure your containers have drainage holes. Let the soil dry out slightly between waterings.
What can I do if my cuttings are growing slowly?
Slow growth could be due to insufficient light. Move your cuttings to a brighter spot, but avoid direct sunlight to prevent scorching.
How can I deal with pests on my cuttings?
Inspect your plants regularly for pests like aphids or spider mites. Treat infestations with insecticidal soap or neem oil.
What causes yellowing leaves on my cuttings?
Yellowing leaves can be a sign of overwatering, nutrient deficiencies, or poor light conditions. Check your watering schedule and consider adding a diluted fertilizer if necessary.
How can I prevent mould growth on my cuttings?
Ensure good airflow around your cuttings and avoid overcrowding. High humidity and poor air circulation can lead to mould, so ventilate the area properly.
References
-
RHS – Propagating plants from cuttings
-
The Spruce – How to Root Plant Cuttings in Water
-
Gardening Know How – How To Root Plant Cuttings