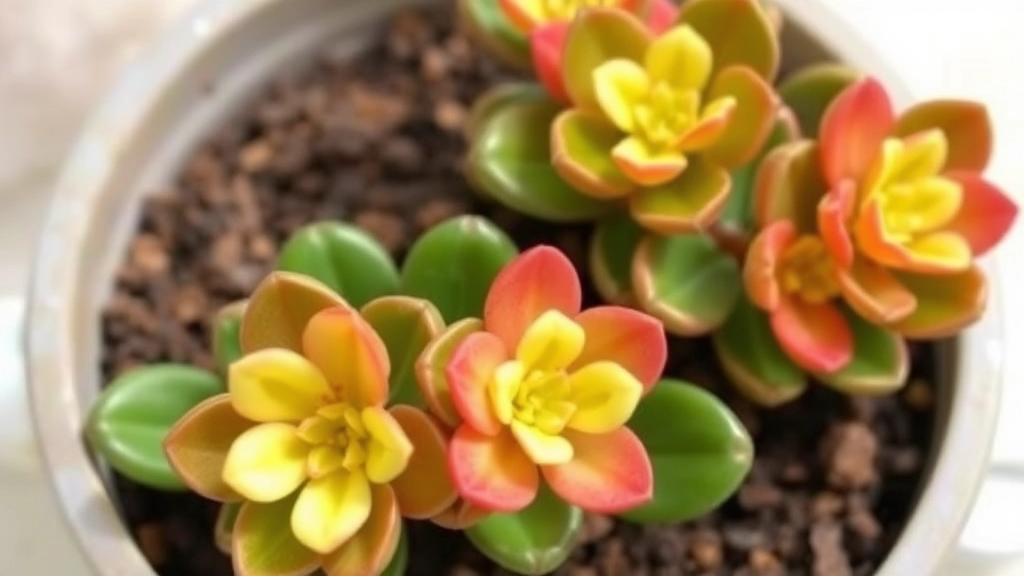
How to Propagate Kalanchoe Tomentosa
Ever wondered how to propagate Kalanchoe Tomentosa? It’s easier than you might think. This fuzzy succulent, also known as Panda Plant, can be multiplied with just a few simple steps. In this guide, I’ll show you how to propagate Kalanchoe Tomentosa, ensuring you have a thriving collection in no time.
Steps for Propagation
First, you’ll need a healthy parent plant and some basic tools. Start by cutting a leaf or stem, then let it dry out for a day or two. Once it forms a callus, plant it in well-draining soil. Keep the soil slightly moist, and soon you’ll see new roots forming. With a bit of patience, you’ll have new Kalanchoe Tomentosa plants to enjoy or share with friends.
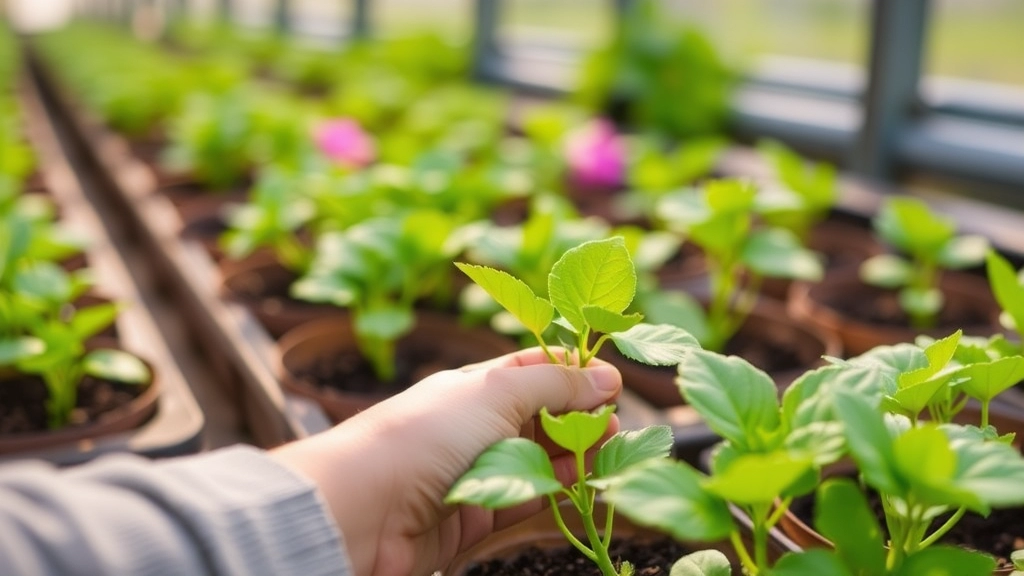
Selecting Healthy Parent Plants
When it comes to propagation, the foundation of your success lies in selecting healthy parent plants.
Why Does It Matter?
Choosing the right parent plants is crucial because their health directly impacts the quality of the cuttings you’ll take. Unhealthy plants can lead to weak cuttings that struggle to root and thrive.
What to Look For:
- Vibrant Leaves: Look for plants with lush, green foliage. Dull or yellowing leaves can indicate stress or disease.
- Strong Stems: Select plants with sturdy stems. Soft or weak stems might not provide the support your cuttings need.
- No Pests or Diseases: Inspect your plants for any signs of pests, such as webs or spots. A pest-free plant is essential for successful propagation.
- Overall Growth: Choose plants that are actively growing. This ensures that the cuttings will be more likely to root successfully.
Personal Experience:
I remember the first time I attempted propagation; I was eager but didn’t pay enough attention to the health of my parent plant. The cuttings struggled, and I learned the hard way that starting with a robust plant is non-negotiable.
For those interested in more specific propagation techniques, you might find this Step-by-Step Guide to Kalanchoe Mother of Thousands Propagation particularly useful. Additionally, understanding the causes and fixes for color loss in Kalanchoe flowers can be beneficial for maintaining the vibrancy of your parent plants.
Choosing the Right Time for Propagation
So, you’re ready to propagate your plants, but when’s the best time to dive in? Timing can make all the difference between a thriving cutting and a sad, wilting one.
Key Factors to Consider:
- Seasonal Changes:
- Spring is often the golden ticket for propagation.
- Plants are waking up from dormancy, and growth hormones are kicking in.
- Weather Conditions:
- Aim for mild temperatures and humidity levels.
- Avoid extreme heat or cold; your cuttings need a comfy environment.
- Plant Health:
- Only propagate when your parent plant is healthy.
- Look for vibrant leaves and strong stems.
- Moon Phases:
- Some swear by lunar cycles.
- The waxing moon is said to encourage growth, while the waning moon is better for pruning.
Now, imagine you’ve got a lush, green plant in your living room. You’re itching to take some cuttings, but it’s mid-winter. Not ideal, right? Waiting for spring might feel tedious, but trust me, it’s worth it.
Before diving into the actual propagation process, it’s crucial to gather all the necessary tools and materials. This preparation not only streamlines your efforts but also sets the stage for successful plant cuttings.
### What Do You Need?
– **Sharp Cutting Tool:** A clean, sharp knife or pair of scissors is essential. This ensures a clean cut, reducing the risk of disease.
– **Containers:** Small pots or seed trays are ideal for planting your cuttings. Ensure they have drainage holes to prevent waterlogging.
– **Potting Mix:** A well-draining potting mix is vital. You can use a mix specifically designed for propagation or create your own by blending peat moss and perlite.
– **Rooting Hormone (Optional):** While not necessary, a rooting hormone can enhance root development and increase success rates.
– **Watering Can or Spray Bottle:** Keeping the cuttings moist is important, so have a means to water them gently.
– **Plastic Bag or Dome:** To maintain humidity, a clear plastic bag or a propagation dome can help create a greenhouse effect.
– **Labels:** If you’re propagating multiple types of plants, labels will help you keep track of what’s what.
### Why Is This Important?
Having everything ready ensures that you can work efficiently and focus on the task at hand without interruptions. It also minimizes the risk of damaging your cuttings due to delays or using subpar materials. For more detailed steps on how to propagate, you can refer to the [step-by-step guide to grow Kalanchoe from leaf cuttings](https://planthq.org/stepbystep-guide-to-grow-kalanchoe-from-leaf-cuttings/).
Additionally, if you’re specifically interested in propagating the popular Flaming Katy variety, you might find the [ultimate guide to caring for Kalanchoe Flaming Katy](https://planthq.org/ultimate-guide-to-caring-for-kalanchoe-flaming-katy/) very useful.
Cutting the Leaves or Stems

When it comes to propagating plants, one of the most critical steps is cutting the leaves or stems correctly.
Many of you might wonder, “How do I ensure my cuttings will thrive?”
Selecting the Right Parts
- Choose Healthy Sections: Always select healthy leaves or stems. Look for:
- Vibrant colour
- No signs of disease or pests
- Firm texture
- Use Clean Tools: A sharp, sterile knife or scissors is essential to prevent infection.
Making the Cuts
- Angle Matters: Make your cuts at a 45-degree angle. This increases the surface area for root development.
- Length of Cuttings: Aim for cuttings that are around 4 to 6 inches long. This length strikes a balance between manageability and the ability to produce roots.
Types of Cuts
- Leaf Cuttings: Ideal for plants like succulents. Ensure the leaf has a small part of the stem attached.
- Stem Cuttings: Suitable for many houseplants. Cut just below a node, where leaves emerge.
Letting the Cuttings Callous Over
After cutting your plant leaves or stems, the next crucial step is allowing the cuttings to callous over.
Many beginners wonder why this step is necessary.
Why Callousing Matters:
- Prevents Rot: Callousing helps to form a protective layer that reduces the risk of rot when the cuttings are planted.
- Encourages Rooting: A calloused cutting is more likely to develop roots quickly, ensuring a successful propagation process.
To let your cuttings callous, follow these steps:
- Place in a Dry Area: Set the cuttings in a warm, dry location away from direct sunlight.
- Time Frame: Allow them to sit for 24 to 48 hours. This duration is essential for the cut ends to dry out and form a callous.
- Check for Moisture: Ensure that the environment is not too humid, as excess moisture can hinder the callousing process.
For more detailed steps on propagation, you might find our guide on propagating Kalanchoe from leaves very helpful. Additionally, understanding the symbolism and uses of Kalanchoe flowers can add a deeper appreciation to your gardening efforts.
VI. Planting the Cuttings in Soil
So, you’ve got your cuttings ready after letting them callous over. Now, you’re probably wondering, “How do I actually plant these little guys?”
Let’s dive into it!
- Choosing the Right Soil
Use a well-draining potting mix.
– Look for one that’s light and airy.
– A mix designed for succulents or cacti works wonders.
– You can also create your own by mixing regular potting soil with perlite or sand. - Preparing Your Pots
Make sure your pots have drainage holes.
– This prevents water from sitting at the bottom and causing rot.
– If you’re reusing pots, give them a good wash to remove any old soil or pests. - Planting the Cuttings
– Use your finger or a pencil to make a small hole in the soil.
– Gently place the cutting in the hole, ensuring the cut end is buried.
– Firm the soil around the cutting to hold it in place. - Spacing is Key
If you’re planting multiple cuttings, give them some space.
– About 2-3 inches apart is ideal.
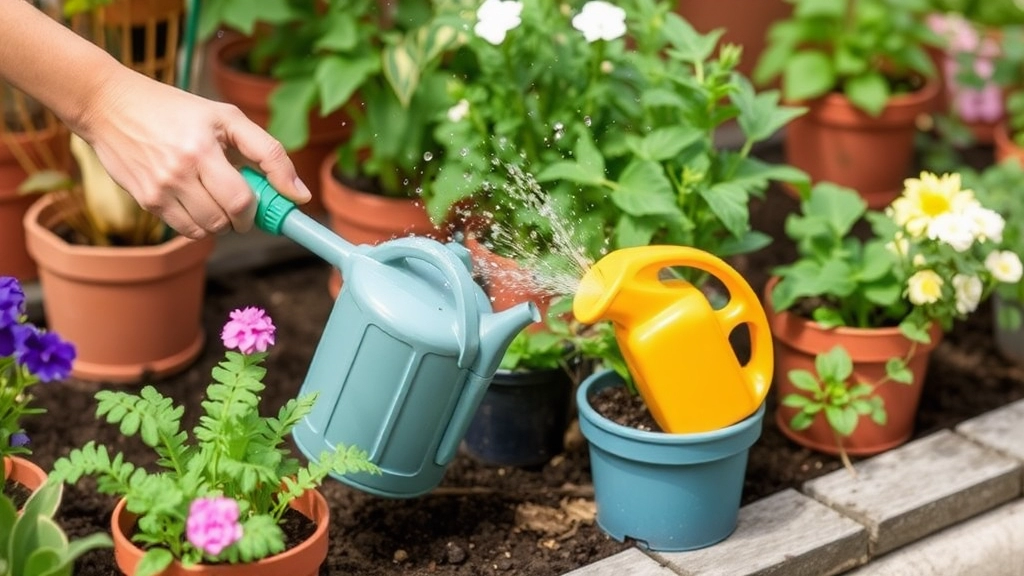
– This allows them to grow without competing for nutrients. - Watering After Planting
After planting, give them a light watering.
– Just enough to settle the soil around the cutting.
– Avoid soaking the soil; we don’t want to drown them!
Providing Optimal Growing Conditions
After successfully planting your cuttings, the next crucial step is to provide optimal growing conditions.
Are you worried about whether your cuttings will thrive? It’s common to feel uncertain, but with the right environment, you can foster healthy growth.
Light Requirements
- Indirect Sunlight: Place your cuttings in a location with bright, indirect sunlight. Direct sunlight can be too harsh and may scorch the delicate leaves.
- Duration: Aim for about 12-16 hours of light each day. A south-facing window is often ideal.
Temperature and Humidity
- Temperature: Maintain a consistent temperature between 20°C and 24°C. Sudden temperature fluctuations can stress the plants.
- Humidity: High humidity levels are beneficial. Consider using a humidity dome or a plastic bag to create a mini-greenhouse effect.
Air Circulation
- Ventilation: Ensure good air circulation around your cuttings. This helps prevent mould and promotes healthy growth. A small fan can assist in maintaining airflow.
Soil Quality
- Well-Draining Soil: Use a potting mix that drains well to prevent waterlogging. A mix of peat, perlite, and vermiculite works wonders.
- Nutrients: Initially, avoid fertilising. Wait until the cuttings establish roots before introducing any nutrients.
For more detailed advice on caring for your plants, check out our optimal watering tips for healthy florist Kalanchoe and our summer care tips for a healthy Kalanchoe plant.
Watering and Care Instructions
So, you’ve got your cuttings all set up and ready to grow. But how do you keep them thriving?
Watering Tips:
- Check the Soil: Before you water, poke your finger about an inch into the soil. If it feels dry, it’s time to give them a drink.
- Water Sparingly: It’s better to underwater than overwater. Too much moisture can lead to rot. Aim for a light watering, allowing excess to drain out.
- Use Room Temperature Water: Cold water can shock the roots, so let it sit out for a bit before using.
Care Instructions:
- Humidity is Key: Cuttings love humidity. You can mist them lightly or cover them with a plastic bag to create a mini greenhouse effect.
- Light Conditions: Place your cuttings in bright, indirect light. Direct sunlight can scorch them, while too little light can stunt growth.
- Temperature Matters: Keep them in a warm spot, ideally between 20-25°C (68-77°F).
- Fertilizer: Hold off on fertilizing until your cuttings show strong growth. Once they’re established, a diluted liquid feed every few weeks will do wonders.
Monitoring for Root Development
After planting your cuttings, the anticipation builds as you wait for them to establish roots.
You might be wondering, “How do I know if my cuttings are developing roots?”
Monitoring root development is crucial for ensuring the success of your propagation efforts. Here are some key indicators to look for:
- Check the Soil: Gently tug on the cutting. If you feel resistance, it’s a sign that roots are forming.
- Observe New Growth: Look for new leaves or shoots. This indicates that the cutting is thriving and likely developing a root system.
- Translucent Containers: If you’re using clear pots, you can visually inspect the roots as they grow. Healthy roots will appear white and firm.
- Timing: Generally, cuttings take a few weeks to develop roots. Be patient and avoid rushing the process.
- Watering: Ensure the soil remains moist but not soggy. Overwatering can lead to rot, while underwatering can stunt root growth.
By keeping an eye on these signs, you can gauge the progress of your cuttings effectively. For more detailed information on propagation, check out our step-by-step guide to grow Kalanchoe from leaf cuttings and learn about the care and propagation of Kalanchoe Tubiflora.
Transplanting Established Cuttings
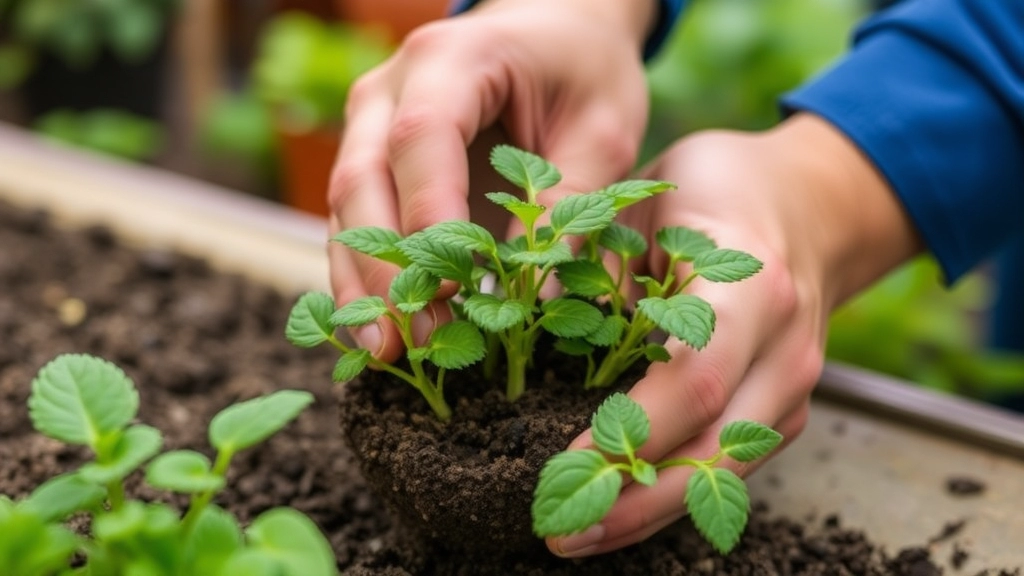
So, you’ve nurtured your cuttings, and they’ve developed roots—great job! Now comes the exciting part: transplanting them into their new homes.
Why is this step crucial?
Transplanting is essential for giving your plants the space they need to thrive.
Here’s how to do it right:
- Choose the Right Pot
- Pick a pot that’s slightly larger than the one they’re currently in.
- Ensure it has drainage holes to prevent waterlogging.
- Use Quality Soil
- Go for a well-draining potting mix.
- You can even mix in some perlite or sand to boost drainage.
- Gently Remove the Cutting
- Carefully take the cutting out of its original pot.
- Be gentle to avoid damaging the roots.
- Position the Cutting
- Place the cutting in the new pot, ensuring the roots are spread out.
- Cover the roots with soil, but don’t bury the stem too deep.
- Water Thoroughly
- After transplanting, give it a good drink.
- This helps settle the soil around the roots.
- Create a Humid Environment
- If possible, cover the pot with a plastic bag or a cloche for a few days.
- This keeps humidity high and helps the plant adjust.
- Monitor the Plant
- Keep an eye on it for the first few weeks.
- Look for signs of stress, like drooping leaves.
Transplanting can feel a bit nerve-wracking, but it’s all part of the journey.
Common Problems and Solutions
Even with the best intentions, issues can arise during the propagation process. Understanding these common problems can help you troubleshoot effectively and ensure your cuttings thrive.
1. Wilting Cuttings
If your cuttings start to wilt, it may indicate inadequate moisture.
- Solution: Ensure the soil is consistently moist but not waterlogged. Mist the cuttings to maintain humidity.
2. Mold Growth
Mold can develop if cuttings are kept in overly humid conditions.
- Solution: Improve air circulation around the cuttings and reduce humidity levels. Remove any affected cuttings to prevent spread.
3. Yellowing Leaves
Yellow leaves can signal overwatering or nutrient deficiency.
- Solution: Check the soil moisture; if it’s soggy, allow it to dry out. If the issue persists, consider a diluted liquid fertilizer.
4. Root Rot
Root rot is a serious problem caused by excessive moisture.
- Solution: Ensure proper drainage and allow cuttings to dry out between waterings. If rot is present, remove the affected roots and repot in fresh, dry soil.
5. Slow Growth
If your cuttings aren’t growing as expected, it could be due to insufficient light or temperature.
- Solution: Place them in a location with bright, indirect light and maintain a warm environment. For more detailed guidance, check out our how-to guide on propagating Kalanchoe Blossfeldiana cuttings.
6. Pests
Pests such as aphids or spider mites can target vulnerable cuttings.
- Solution: Regularly inspect your plants and treat infestations promptly with insecticidal soap or neem oil. If you’re dealing with persistent issues, our complete care and propagation guide for Mother of Thousands Kalanchoe might offer additional insights.
Tips for Successful Propagation
So, you’ve made it this far in your propagation journey. Now, let’s dive into some practical tips to ensure your cuttings thrive.
Common Questions:
- Why are my cuttings wilting?
- How do I know if they’re ready to transplant?
- What if they’re not rooting?
Here are some straightforward tips to make your propagation a success:
FAQs on How to Propagate Kalanchoe Tomentosa
When is the best time to propagate Kalanchoe Tomentosa?
Spring is often the ideal time for propagation as plants are waking up from dormancy and growth hormones are kicking in. Aim for mild temperatures and humidity levels.
What should I consider before taking cuttings?
Ensure the parent plant is healthy with vibrant leaves and strong stems. Use clean, sharp tools to make cuts at a 45-degree angle for better root development.
How should I prepare the cuttings for planting?
After cutting, let the cuttings callous over before planting. Use a well-draining potting mix, ideally one designed for succulents or cacti, and ensure your pots have drainage holes.
What are the steps for planting the cuttings?
Make a small hole in the soil, place the cutting in the hole, and firm the soil around it. Space multiple cuttings about 2-3 inches apart and water them lightly.
How often should I water the cuttings?
Water sparingly. Check the soil moisture by poking your finger about an inch into the soil; if it feels dry, it’s time to water. Use room temperature water to avoid shocking the roots.
What kind of care do the cuttings need after planting?
Maintain humidity by misting or covering the cuttings with a plastic bag. Place them in bright, indirect light and keep them in a warm spot, ideally between 20-25°C (68-77°F). Hold off on fertilizing until they show strong growth.
How do I transplant established cuttings?
Choose a pot slightly larger than the current one with drainage holes. Use a well-draining potting mix and gently remove the cutting from its original pot. Position the cutting in the new pot, spread out the roots, cover with soil, and water thoroughly. Create a humid environment by covering the pot with a plastic bag or cloche for a few days.
What should I monitor after transplanting?
Keep an eye on the plant for signs of stress, such as drooping leaves. Ensure it has adequate light, humidity, and warmth to help it adjust to its new environment.
References
-
Propagation Basics – Gardening Know How
-
Propagation: Getting Started – RHS
-
How to Propagate Plants from Cuttings – The Spruce