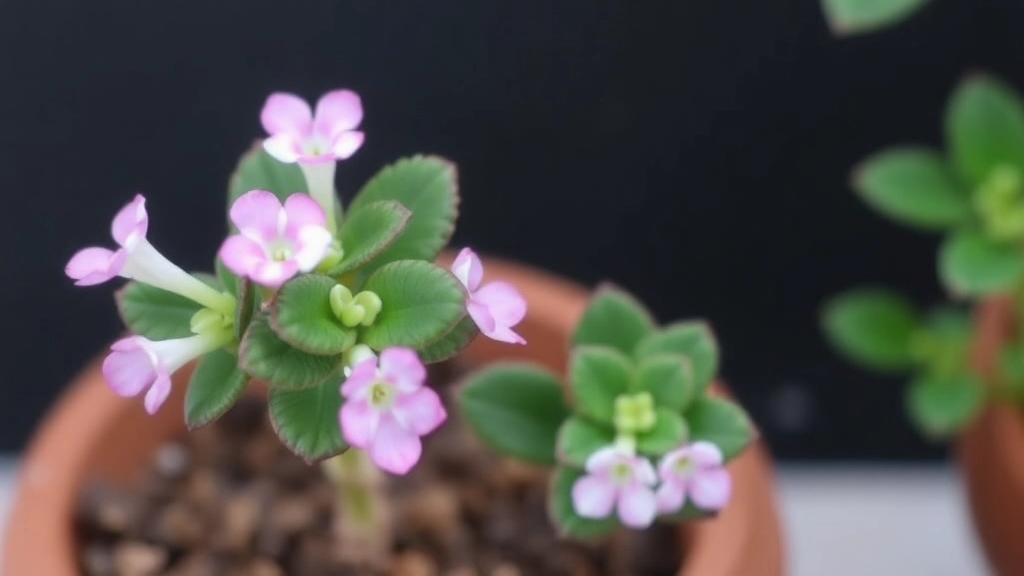
How to Propagate Kalanchoe Tomentosa (Panda Plant)
Wondering how to propagate Kalanchoe Tomentosa, also known as the Panda Plant? You’re in the right place. This guide will walk you through easy, step-by-step methods to multiply your beloved succulent. Whether you’re a beginner or an experienced indoor gardener, these tips will help you achieve successful propagation.
Steps for Propagation
First, select healthy cuttings from your Kalanchoe Tomentosa. Once you have your cuttings, prepare an ideal potting mix designed for succulents. From there, you can choose to propagate through:
- Stem cuttings
- Leaf cuttings
- Offsets
Creating the right environment for rooting is crucial, so we’ll cover the best watering and light requirements for your new cuttings, ensuring they thrive. Finally, we’ll guide you on how to transplant successfully rooted cuttings into their new homes.
When it comes to propagating succulents, one of the most crucial steps is selecting healthy cuttings. Many enthusiasts often wonder, “How do I know which cuttings are suitable?” or “What signs indicate a healthy plant?”
### Key Characteristics of Healthy Cuttings
– **Vibrant Colour:** Look for cuttings with bright, rich colours. This often indicates a well-nourished plant.
– **Firm Texture:** The leaves or stems should feel plump and firm. Avoid any that are shrivelled or mushy.
– **No Signs of Disease:** Check for any spots, mould, or pests. A healthy cutting should be free from these issues.
– **Strong Stem:** If you’re using stem cuttings, ensure the stem is thick and sturdy, as this enhances rooting success.
– **Mature Leaves:** Choose cuttings with mature leaves rather than young, tender ones. Mature leaves have a better chance of establishing roots.
### Tips for Selecting Cuttings
– **Choose from the Parent Plant:** Always select cuttings from a healthy parent plant. This increases the likelihood of successful propagation.
– **Timing Matters:** Early spring or late summer is often the best time to take cuttings when the plant is growing actively.
– **Use Clean Tools:** Ensure your scissors or knife are sterilised to prevent disease transfer.
By focusing on these characteristics, you can ensure that your cuttings have the best chance of thriving. For more detailed guidance on how to propagate Kalanchoe Blossfeldiana, you can check out this [complete guide](https://planthq.org/how-to-propagate-kalanchoe-blossfeldiana-cuttings/). Additionally, if you’re interested in learning about the care tips for Kalanchoe Tomentosa, don’t miss this [care guide](https://planthq.org/how-to-care-for-panda-plant-kalanchoe-tomentosa-a-complete-guide/).
Preparing the Ideal Potting Mix for Succulents
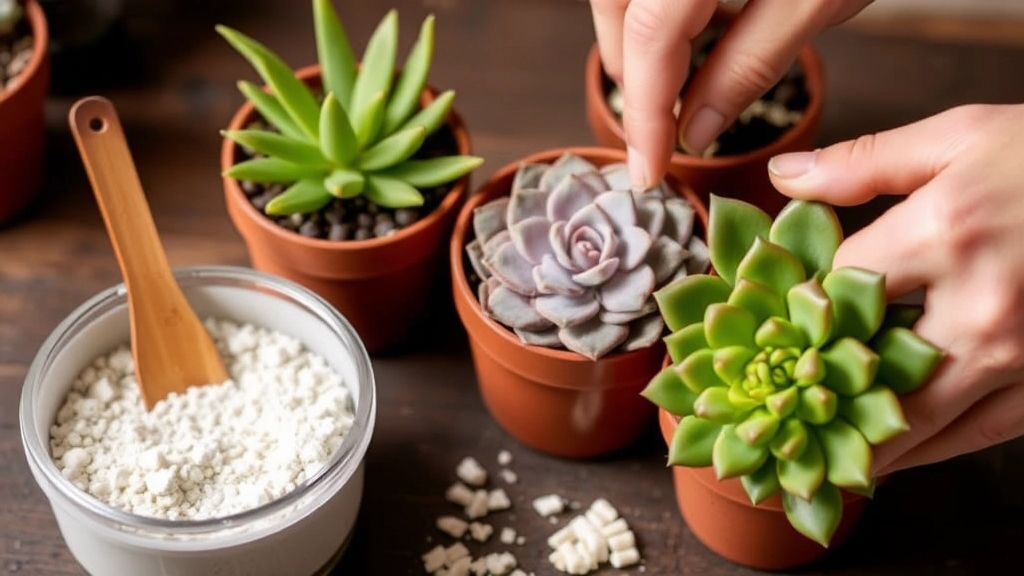
So, you’ve got your healthy cuttings ready for propagation. Now, let’s chat about potting mix.
You might be wondering, “What’s the best mix for my succulents?”
Choosing the right potting mix is crucial for their growth.
Here’s what you need to consider:
- Drainage is Key: Succulents hate sitting in water. A mix that drains well is essential.
- Ingredients Matter: Look for a blend of potting soil, coarse sand, and perlite. This combo keeps things airy and allows roots to breathe.
- pH Balance: Aim for a slightly acidic to neutral pH. Most succulents thrive in a range of 6.0 to 7.0.
DIY Mix Recipe:
- 2 parts potting soil
- 1 part coarse sand
- 1 part perlite or pumice
Mix it all together in a bucket, and you’ve got yourself a succulent-friendly home!
Why not buy a pre-made mix?
Sure, you can grab a bag from the store, but making your own means you know exactly what’s in it. Plus, it’s often cheaper!
Once your potting mix is ready, you’re one step closer to giving your cuttings the best chance at thriving.
Propagation Through Stem Cuttings
When considering how to propagate succulents, many enthusiasts often wonder about the best methods. One of the most effective techniques is propagation through stem cuttings. This method not only ensures a higher success rate but also allows you to create new plants from healthy, established succulents.
Choosing the Right Stem
To begin, select a healthy stem from a mature succulent. Look for:
- A stem that is firm and plump
- No signs of disease or pest damage
- A length of at least a few inches to provide enough material for rooting
Making the Cut
Once you’ve chosen the perfect stem, follow these steps:
- Use a sharp, clean knife or scissors to make a clean cut.
- Cut just below a leaf node, as this is where new roots will emerge.
- Allow the cutting to dry for a few hours or overnight. This helps to form a callous over the cut end, reducing the risk of rot.
Rooting the Cuttings
Now that your cutting is ready, it’s time to plant it. Here’s how:
- Prepare a pot with a well-draining potting mix, ideally designed for succulents.
- Insert the calloused end of the cutting into the soil, burying it about an inch deep.
- Gently pat the soil around the base to secure the cutting.
Creating Optimal Conditions
After planting, it’s crucial to provide the right environment for rooting. Place the pot in a warm, bright location, but avoid direct sunlight for the first few weeks. This helps prevent stress on the cutting.
Monitoring Progress
As the days pass, keep an eye on your cutting. You should notice:
- New growth emerging from the top, indicating successful rooting.
- A slight change in the soil moisture level; the soil should be dry before watering again.
By following these steps, you will set the stage for successful propagation through stem cuttings. For more detailed care tips, you might find our Kalanchoe Blossfeldiana leaf care tips and Kalanchoe Tomentosa propagation guide helpful.
Propagation Through Leaf Cuttings
Have you ever wondered if you can propagate succulents just from their leaves? Many enthusiasts face the challenge of growing new plants from seemingly small parts. The good news is that leaf cuttings can be a straightforward and rewarding method of propagation.
Selecting the Right Leaves
To start, it’s crucial to choose healthy leaves. Look for:
- Plump and Firm Leaves: These indicate good moisture content.
- No Signs of Damage: Avoid leaves with blemishes or pests.
- Mature Leaves: Older, lower leaves often root better than new growth.
Preparing the Leaf Cuttings
Once you’ve selected your leaves, prepare them for rooting:
- Cut the Leaves: Use a clean, sharp knife or scissors to gently twist or cut the leaves from the stem.
- Let Them Callous: Place the leaves on a dry surface for 1-3 days. This allows the cut end to form a protective callous, reducing the risk of rot.
Planting the Leaf Cuttings
Now it’s time to plant:
- Use a Well-Draining Mix: A mix designed for succulents is ideal.
- Position the Leaves: Lay the leaves flat on top of the soil. Some may choose to slightly bury the cut end, but this is not always necessary.
Caring for Your Leaf Cuttings
After planting, care is essential:
- Mist the Soil: Lightly mist the soil to keep it moist but not soggy.
- Place in Indirect Light: Direct sunlight can scorch the leaves, so opt for bright, indirect light.
As you nurture your leaf cuttings, you may notice tiny roots and new plantlets forming. This is an exciting sign of successful propagation!
When it comes to propagating succulents, one of the most common concerns is ensuring the cuttings have the right environment for rooting. Without the ideal conditions, even the healthiest cuttings may struggle to develop roots.
### Key Environmental Factors
– **Temperature**
Aim for a consistent temperature between 20°C and 25°C. Avoid drastic fluctuations, as this can stress the cuttings.
– **Humidity**
A moderate humidity level is beneficial, ideally around 40-60%. Too much moisture can lead to rot, while too little can dry out the cuttings.
– **Air Circulation**
Good airflow is crucial to prevent mold and fungal issues. Consider using a small fan or placing the cuttings in a well-ventilated area.
– **Light**
Provide bright, indirect sunlight. Direct sunlight can scorch the cuttings, while too little light may hinder root development.
### Creating a Suitable Setup
– **Use a Propagation Station**
A propagation station can help maintain optimal conditions. This could be as simple as a tray with cuttings placed under a grow light.
– **Humidity Dome**
For added humidity, a clear plastic dome or bag can be placed over the cuttings. Just remember to ventilate it regularly to prevent excess moisture.
– **Monitor Progress**
Regularly check the cuttings for signs of growth or distress. Adjust the environment as needed to keep them thriving.
For more detailed guidance on succulent propagation, you might find the [Kalanchoe Tomentosa Propagation Guide](https://planthq.org/kalanchoe-tomentosa-propagation-guide-stepbystep-tips/) particularly useful. Additionally, if you’re interested in the overall care of Kalanchoe plants, the [Complete Care Guide for Kalanchoe Blossfeldiana Succulent](https://planthq.org/complete-care-guide-for-kalanchoe-blossfeldiana-succulent/) offers comprehensive insights.
Watering and Light Requirements for New Cuttings

So, you’ve got your cuttings all set, and now you’re probably wondering how to keep them thriving.
Watering Wisely
When it comes to watering, less is more.
- Allow the soil to dry out between waterings. Overwatering is a common mistake that can lead to rot.
- Check the soil with your finger; if it feels dry an inch down, it’s time to water.
- Use a spray bottle for a gentle misting if you’re unsure. This helps maintain humidity without drowning your cuttings.
Light Matters
Light is crucial for your cuttings to grow strong and healthy.
- Bright, indirect sunlight is ideal. Direct sunlight can scorch those delicate leaves.
- Rotate your pots every week to ensure even light distribution. This helps prevent leggy growth.
- If you notice your cuttings stretching towards the light, they might need more brightness.
Creating the Perfect Balance
Finding the right balance of water and light can feel tricky at first, but it’s all about observation.
- Keep an eye on your cuttings. If they’re wilting, they might need more water. If they’re turning brown, they may be getting too much sun.
- Consider using grow lights if natural light is limited in your space. They can provide the right spectrum for healthy growth.
After nurturing your cuttings in the right environment, it’s time to consider the next crucial step: transplanting your successfully rooted cuttings. This phase is vital for ensuring your new succulents thrive in their new homes.
Transplanting allows your rooted cuttings to access fresh nutrients and space to grow. If you notice roots emerging from the drainage holes or if the soil appears depleted, it’s time to make the move.
### Steps for Successful Transplanting
1. **Choose the Right Pot:**
– Ensure it has drainage holes.
– Select a pot that’s slightly larger than the cutting’s root ball.
2. **Prepare the Potting Mix:**
– Use a well-draining mix, ideally designed for succulents.
– You can create your own by mixing potting soil with sand or perlite.
3. **Remove the Cutting:**
– Gently loosen the soil around the cutting.
– Carefully lift it out, avoiding damage to the roots.
4. **Place in New Pot:**
– Position the cutting in the centre of the new pot.
– Fill in around the roots with potting mix, ensuring it’s secure but not compacted.
5. **Water Sparingly:**
– Water the cutting lightly after transplanting.
– Allow the soil to dry out before watering again, as overwatering can lead to root rot.
### Post-Transplant Care
1. **Light Requirements:**
– Place your newly transplanted cutting in bright, indirect light.
– Avoid direct sunlight for the first few days to prevent shock.
2. **Monitoring Growth:**
– Keep an eye on your cutting for signs of stress or growth.
– Adjust care as needed based on its response.
For more detailed care tips, you might find our guides on [how to care for Kalanchoe Tomentosa](https://planthq.org/how-to-care-for-kalanchoe-tomentosa-complete-guide/) and [tips for growing Kalanchoe Pinnata](https://planthq.org/how-to-grow-and-care-for-kalanchoe-pinnata-tips-and-benefits/) particularly useful.
FAQs on How To Propagate Kalanchoe Tomentosa
What is the best potting mix for propagating Kalanchoe Tomentosa?
The ideal potting mix should offer excellent drainage. A blend of potting soil, coarse sand, and perlite is recommended. This combination ensures that the roots have enough air and prevents water from sitting in the soil, which succulents dislike.
Can I use a pre-made potting mix for my Kalanchoe Tomentosa cuttings?
Yes, you can use a pre-made mix, but making your own allows you to control the ingredients and often saves money. A DIY mix typically includes 2 parts potting soil, 1 part coarse sand, and 1 part perlite or pumice.
How do I select the right leaves for propagating Kalanchoe Tomentosa?
Choose leaves that are plump and firm, showing good moisture content. Avoid leaves with signs of damage or pests, and opt for mature leaves, as they tend to root better than new growth.
What steps should I follow to prepare leaf cuttings for propagation?
First, use a clean, sharp knife or scissors to cut the leaves from the stem. Then, let the leaves callous by placing them on a dry surface for 1-3 days. This step helps to reduce the risk of rot.
How should I plant the leaf cuttings of Kalanchoe Tomentosa?
Use a well-draining mix designed for succulents. Lay the leaves flat on top of the soil, or slightly bury the cut end if preferred. Ensure the soil remains moist but not soggy by misting it lightly.
What are the watering requirements for new Kalanchoe Tomentosa cuttings?
Allow the soil to dry out between waterings to prevent rot. Check the soil with your finger; if it feels dry an inch down, it’s time to water. Using a spray bottle for gentle misting can help maintain humidity without overwatering.
What type of light is best for Kalanchoe Tomentosa cuttings?
Bright, indirect sunlight is ideal. Direct sunlight can scorch the leaves. Rotate your pots weekly to ensure even light distribution and prevent leggy growth. If your cuttings are stretching towards the light, they may need more brightness.
How can I create the perfect balance of water and light for my cuttings?
Observe your cuttings closely. If they’re wilting, they might need more water. If they’re turning brown, they may be getting too much sun. Consider using grow lights if natural light is limited in your space to provide the right spectrum for healthy growth.
References
-
Choosing the Best Potting Soil for Succulents
-
How to Make Your Own Succulent Soil
-
DIY Succulent Potting Soil Mix