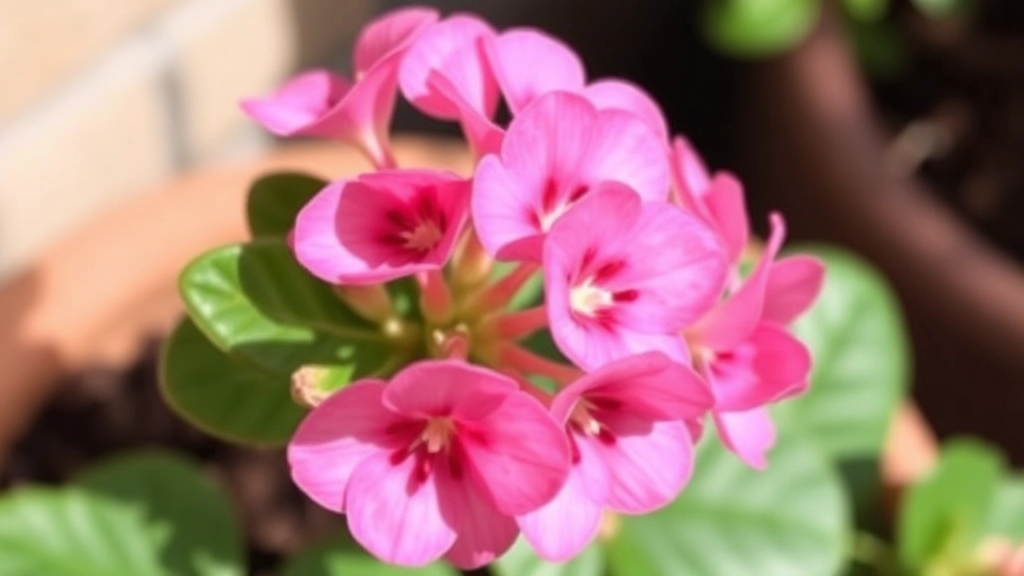
How to Propagate Kalanchoe Pink Butterflies
If you’re keen to learn how to propagate Kalanchoe Pink Butterflies, you’ve come to the right place. These vibrant succulents are not only beautiful but also relatively easy to propagate. In this guide, I’ll walk you through the steps to ensure your Kalanchoe Pink Butterflies thrive and multiply.
Gather Your Materials
First, gather your materials: a healthy Kalanchoe Pink Butterflies plant, a sharp knife, and a pot with well-draining soil. Carefully cut a leaf or stem from the parent plant, making sure it’s healthy and free from any damage. Let the cutting dry for a day or two to form a callus.
Planting Your Cutting
Once ready, plant it in the soil and water sparingly. With a bit of patience, you’ll see roots forming and new growth emerging in no time.
When considering propagation, one of the most crucial steps is selecting healthy parent plants.
You might be wondering, “How do I know which plants are suitable for propagation?”
Here are some key factors to evaluate:
– **Overall Health**: Look for plants that are vibrant and free from pests or diseases. A healthy plant is your best bet for successful cuttings.
– **Age and Maturity**: Choose mature plants that have reached their growth potential. Young, weak plants may not provide robust cuttings.
– **Growth Habit**: Opt for plants with a strong, bushy growth habit. These plants typically produce more cuttings and have better chances of thriving.
– **Genetic Diversity**: If possible, select from multiple parent plants. This can enhance genetic diversity and improve resilience in your new plants.
– **Specific Traits**: Consider what traits you want to propagate. If you’re after specific colours or growth patterns, ensure the parent plant exhibits these characteristics.
By focusing on these aspects, you set the stage for successful propagation. For more detailed information on how to grow and care for Kalanchoe plants, check out our [step-by-step guide](https://planthq.org/how-to-grow-kalanchoe-from-cuttings-stepbystep-guide-2/) and learn about [different Kalanchoe varieties and care tips](https://planthq.org/all-types-of-kalanchoe-varieties-care-tips-growing-guide/).
Best Time for Propagation
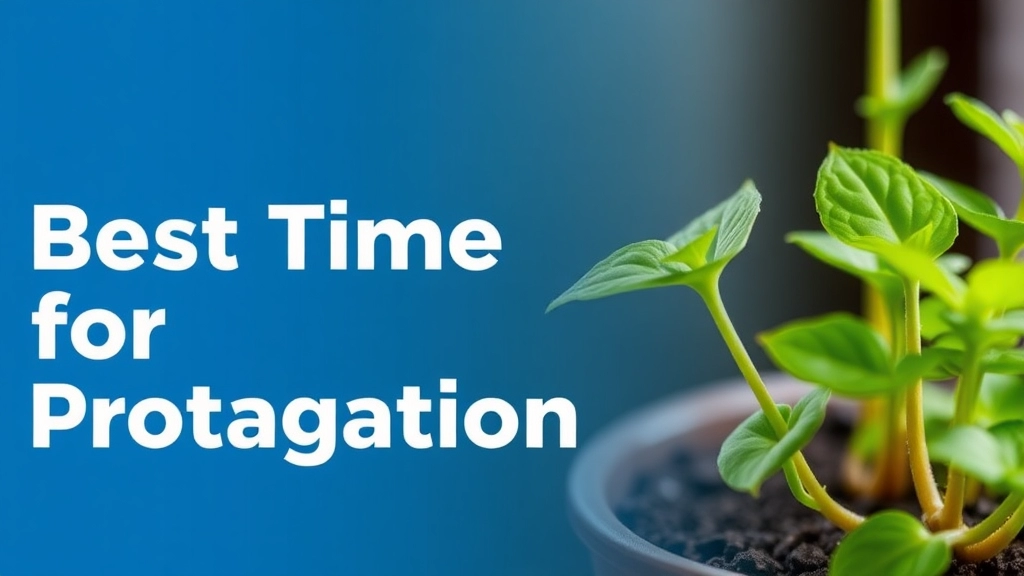
So, you’re ready to get your hands dirty and propagate some plants.
But when’s the best time to dive in?
Timing is Everything
The timing of your propagation can make all the difference in your success.
Here’s what I’ve found works best:
- Spring and Early Summer: This is prime time for most plants. The warmer temperatures and increased daylight encourage growth. Think of it as nature’s way of saying, “Let’s get this party started!”
- Avoid Late Summer and Fall: As temperatures drop, plants naturally slow down. You want to avoid this period because your cuttings might struggle to establish roots.
- Indoor vs. Outdoor: If you’re propagating indoors, you can control the environment better. Just aim for those same spring and summer vibes.
- Plant Specifics: Some plants have their own preferences. For example, succulents can be propagated any time of year, while others may have specific windows. Always check what works best for your plant type.
By picking the right time, you set your cuttings up for success.
Necessary Tools and Materials
When you’re ready to propagate your plants, having the right tools and materials is crucial. Without them, the process can quickly become frustrating. So, what do you need to get started?
Essential Tools:
- Sharp Knife or Scissors: A clean cut is vital for healthy propagation. Dull tools can crush stems, hindering growth.
- Cutting Board: This provides a stable surface for cutting your plant material.
- Small Pots or Seed Trays: These are essential for planting your cuttings. Ensure they have drainage holes.
- Labels: Keeping track of different plant varieties and their propagation dates can save you confusion later.
Materials Needed:
- Rooting Hormone (optional): While not necessary, this can encourage faster root development.
- Potting Mix: A well-draining potting mix is essential. Look for one designed for propagation or seed starting.
- Plastic Bags or Humidity Dome: These help maintain humidity around your cuttings, promoting root growth.
- Water: Always have clean, room-temperature water on hand for your cuttings.
Having these tools and materials ready will streamline your propagation process and increase your chances of success. For more detailed steps, check out our Step-by-Step Guide to Grow Kalanchoe from Leaf Cuttings. Additionally, if you’re interested in a specific variety, our Kalanchoe Tomentosa Varieties, Care, Types, and Propagation article might be useful.
Preparing the Cuttings
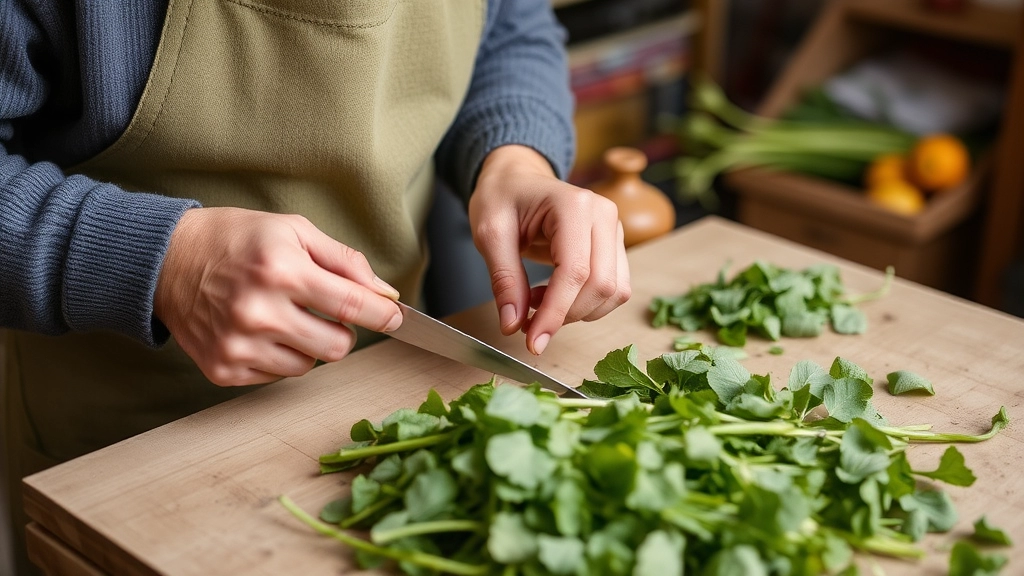
Once you’ve selected healthy parent plants, the next crucial step is preparing the cuttings.
Are you unsure about how to take cuttings effectively?
Proper preparation is essential for successful propagation. Here’s how to get started:
- Choose the Right Stem
– Look for healthy stems that are free from disease.
– Ideally, select semi-hardwood or softwood stems, as these root more easily. - Cut at the Right Angle
– Use a sharp, clean knife or scissors to make a cut at a 45-degree angle.
– This increases the surface area for rooting. - Remove Lower Leaves
– Trim off the lower leaves, leaving just a few at the top.
– This helps prevent rot when planted and focuses energy on root development. - Optional: Use Rooting Hormone
– Consider dipping the cut end in rooting hormone to promote faster root growth.
– This step can significantly enhance your success rate. - Let Them Callus
– Allow the cuttings to sit for a few hours or overnight in a cool, dry place.
– This helps the cut ends to callus over, reducing the risk of rot.
By following these steps, you’ll set a solid foundation for your cuttings to thrive.
Soil and Potting Mix Requirements
When propagating cuttings, one of the most common concerns is selecting the right soil or potting mix.
Planting the Cuttings
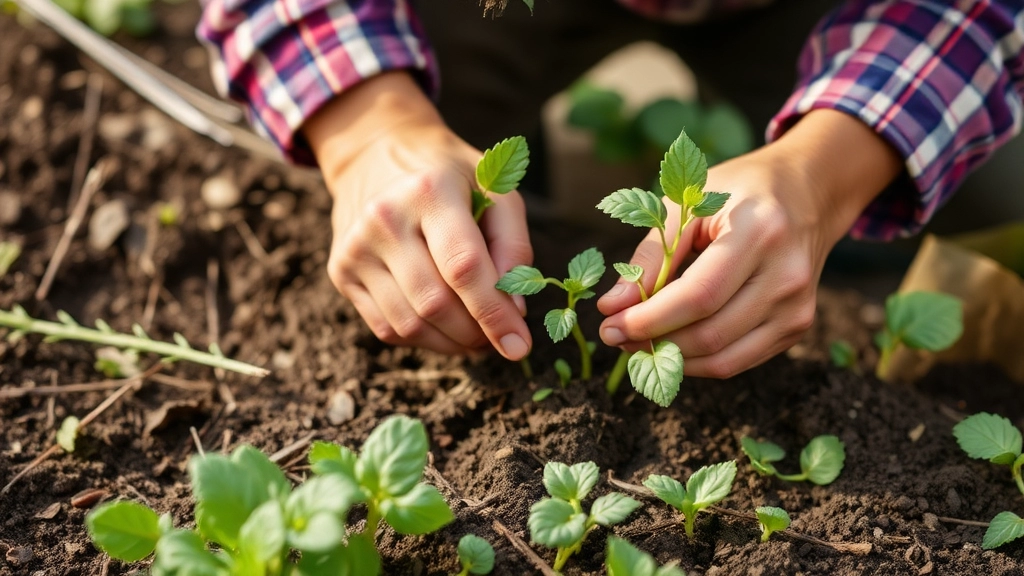
So, you’ve got your cuttings prepped and ready to go. Now, let’s talk about how to plant them properly.
Why is planting so crucial?
This step sets the foundation for your new plants. If you mess this up, it can affect their growth and health down the line.
Here’s how to plant your cuttings effectively:
- Choose the Right Pot:
- Use pots with drainage holes.
- Opt for a size that allows room for growth but isn’t too big.
- Fill with Potting Mix:
- Use a well-draining potting mix.
- You can mix regular potting soil with perlite or sand for better drainage.
- Make a Hole for the Cutting:
- Use your finger or a pencil to create a small hole in the soil.
- This helps to prevent damage to the cutting when you place it in.
- Insert the Cutting:
- Place the cutting in the hole, ensuring that at least one node is buried.
- Gently press the soil around it to secure it in place.
- Water Lightly:
- Water the soil lightly after planting.
- You want it moist, not soggy.
A few quick tips:
- Label Your Cuttings: This helps you keep track of different varieties.
- Avoid Overcrowding: Give each cutting enough space to grow without competing for resources.
Watering and Humidity Needs
After preparing your cuttings, understanding their watering and humidity needs is crucial for successful propagation.
What should you consider when watering your cuttings?
- Soil Moisture: Ensure the soil remains consistently moist but not soggy. Overwatering can lead to root rot, while underwatering can cause stress to the plant.
- Watering Technique: Use a spray bottle or a gentle watering can to avoid displacing the cuttings. Water from the base to encourage root growth.
- Frequency: Check the top inch of the soil. If it feels dry, it’s time to water. This may vary depending on your environment, so keep an eye on your cuttings.
Humidity Levels:
- Ideal Humidity: Most cuttings thrive in humidity levels of 50-70%. This mimics their natural environment and supports healthy root development.
- Creating Humidity:
- Use a humidity dome or plastic bag to maintain moisture around the cuttings.
- Mist the cuttings regularly, especially in dry conditions.
- Ventilation: Ensure good airflow to prevent mould growth while maintaining humidity.
Signs of Trouble:
- Wilting Leaves: Indicates underwatering or low humidity.
- Yellowing Leaves: Often a sign of overwatering or poor drainage.
By closely monitoring watering and humidity, you can create an optimal environment for your cuttings to thrive. For more detailed tips, check out our step-by-step guide on planting Kalanchoe and our guide on propagating Kalanchoe cuttings.
Light and Temperature Conditions

Ever wondered why some cuttings thrive while others just seem to sulk?
Well, light and temperature play a massive role in the success of your propagation journey.
Light Requirements
- Bright, Indirect Light: Most cuttings love bright, indirect sunlight. Think of a spot where they can bask without being scorched.
- Avoid Direct Sunlight: Too much sun can lead to crispy leaves. If you notice browning, it might be time to relocate your cuttings.
- Fluorescent Lights: If natural light is scarce, consider using fluorescent grow lights. They’re a great alternative and can mimic the sun’s rays.
Temperature Preferences
- Ideal Range: Most cuttings prefer a warm environment, generally between 18°C to 24°C (65°F to 75°F).
- Avoid Cold Drafts: Keep them away from chilly windows or air conditioning vents. Sudden temperature drops can shock your plants.
- Nighttime Conditions: A slight drop in temperature at night is natural, but keep it within reason.
Tips for Success
- Monitor Regularly: Keep an eye on your cuttings. If they start stretching towards the light, they might need a brighter spot.
- Use Thermometers: A simple thermometer can help you keep track of the temperature, ensuring it stays within that sweet spot.
Monitoring Growth and Health
As your cuttings begin to establish themselves, it’s essential to keep a close eye on their growth and overall health.
Are your plants thriving, or do they seem to be struggling?
Regular monitoring can help you identify issues before they escalate.
Signs of Healthy Growth:
- New Leaves: Look for fresh foliage as a sign of growth.
- Strong Stems: Sturdy stems indicate that the plant is developing well.
- Root Development: If possible, check the roots for signs of healthy growth.
Common Indicators of Stress:
- Yellowing Leaves: This can signal overwatering or nutrient deficiencies.
- Wilting: A sign of underwatering or root problems.
- Pest Infestations: Small holes or webbing may indicate pests.
Tips for Effective Monitoring:
- Daily Checks: Spend a few minutes each day observing your plants.
- Take Notes: Document any changes in growth or health.
- Use a Moisture Meter: This can help you determine when to water.
If you notice any signs of stress, such as yellowing leaves or wilting, it might be helpful to refer to a guide on brown leaves to diagnose and address the issue. Additionally, understanding the health benefits of Kalanchoe can provide insights into the overall well-being of your plants.
Common Issues and Solutions

When you’re propagating plants, it’s not all sunshine and rainbows.
You might find yourself facing some common issues that can throw a wrench in your plans.
Let’s break down these challenges and how to tackle them.
1. Wilting Cuttings
What’s Happening?
If your cuttings are wilting, they might be struggling to take up water.
Solutions:
- Check the Soil: Make sure it’s not too dry or too soggy.
- Humidity: Increase humidity by covering the cuttings with a plastic bag or using a humidity dome.
- Mist Them: A gentle misting can help perk them up.
2. Root Rot
What’s Happening?
Overwatering is often the culprit here.
Solutions:
- Drainage: Ensure pots have good drainage.
- Soil Choice: Use a well-draining potting mix.
- Watering Schedule: Stick to a consistent watering routine, allowing the top inch of soil to dry out between waterings.
3. Yellowing Leaves
What’s Happening?
Yellow leaves can signal nutrient deficiencies or overwatering.
Solutions:
- Nutrients: Consider adding a diluted liquid fertiliser once roots are established.
- Watering Check: Adjust your watering habits if the soil is too wet.
4. Pests
What’s Happening?
Unwanted guests like aphids or spider mites can invade your cuttings.
Solutions:
- Inspect Regularly: Keep an eye out for signs of pests.
- Natural Remedies: Use insecticidal soap or neem oil to treat infestations.
- Isolation: If you spot pests, isolate the affected plant immediately.
5. Slow Growth
What’s Happening?
If your cuttings are taking their sweet time to grow, it could be due to lighting or temperature issues.
Solutions:
- Light Conditions: Ensure they’re getting enough indirect light.
- Temperature: Keep them in a warm area, ideally between 20-25°C.
Transplanting to Larger Pots
Transplanting your cuttings into larger pots is a crucial step in ensuring their continued growth and health. You might be wondering when the right time to make this move is, or how to do it without damaging your plants.
Signs That It’s Time to Transplant
- Root Bound: If you notice roots growing out of the drainage holes or circling around the pot, it’s time for a bigger home.
- Stunted Growth: If your plants have stopped growing or seem to be wilting despite proper care, they may be outgrowing their current pots.
- Soil Depletion: If the soil looks compacted or has lost its nutrients, a fresh potting mix can rejuvenate your plants.
Choosing the Right Pot
- Size: Select a pot that’s at least 2-4 inches larger in diameter than the current one.
- Material: Terracotta or plastic pots work well; just ensure they have drainage holes.
- Shape: Taller pots are ideal for deep-rooted plants, while shallow pots suit those with less root depth.
Steps to Transplant
- Prepare the New Pot: Fill it with fresh potting mix, leaving enough space for the root ball.
- Remove the Cutting: Gently ease the plant out of its current pot, taking care not to damage the roots.
- Inspect the Roots: Trim any dead or rotting roots with clean scissors.
- Place in New Pot: Position the cutting in the centre of the new pot and fill in with fresh soil.
- Water: Give it a good drink to help settle the soil and reduce transplant shock.
Transplanting can be a bit daunting, but with the right approach, your plants will thrive in their new environment.
Aftercare
- Monitor your plants closely for signs of stress after transplanting.
- Adjust watering and light conditions as necessary.
For more detailed guidance on specific plant care, check out our Kalanchoe Copper Spoons Growth & Care Tips and Complete Guide to Kalanchoe Pinnata Care.
Long-term Care and Maintenance
After successfully propagating your plants, you might be wondering how to keep them thriving long-term.
How do you ensure they grow strong and healthy over time?
Let’s dive into some straightforward tips for long-term care and maintenance.
Regular Watering
- Consistency is Key: Water your plants regularly, but don’t drown them.
- Check Soil Moisture: Stick your finger into the soil. If it feels dry an inch down, it’s time to water. For specific tips, check out Optimal Watering Tips for Healthy Florist Kalanchoe.
- Use Room Temperature Water: Cold water can shock the roots.
Fertilising
- Feed Every Few Weeks: Use a balanced fertiliser during the growing season.
- Dilute It: Always follow the instructions; too much can harm your plants.
Pruning
- Keep it Neat: Trim any dead or yellowing leaves to encourage new growth.
- Shape Your Plant: Regular pruning helps maintain a healthy shape and size.
Pest Control
- Stay Vigilant: Regularly check for pests like aphids or spider mites.
- Natural Solutions: Use neem oil or insecticidal soap if you spot any unwanted guests.
Repotting
- When to Repot: If roots are coming out of the drainage holes, it’s time for a bigger pot.
- Choose the Right Soil: Use fresh potting mix to give your plants a nutrient boost. Learn more in our Step-by-Step Guide to Planting Kalanchoe in a Pot.
Light and Temperature
- Optimal Conditions: Keep your plants in a spot with bright, indirect light.
- Avoid Extremes: Protect them from drafts and sudden temperature changes.
Humidity Levels
- Humidity Matters: Many plants thrive in higher humidity.
- Simple Solutions: Mist them regularly or place a tray of water nearby.
Monitoring Growth
- Keep an Eye Out: Watch for signs of stress like wilting or yellowing leaves.
- Adjust Care as Needed: If something seems off, tweak your watering or lighting.
FAQs on How to Propagate Kalanchoe Pink Butterflies
When is the best time to propagate Kalanchoe Pink Butterflies?
The best time to propagate Kalanchoe Pink Butterflies is during spring and early summer. The warmer temperatures and increased daylight during these periods encourage growth.
Can I propagate Kalanchoe Pink Butterflies indoors?
Yes, you can propagate Kalanchoe Pink Butterflies indoors. By controlling the environment and mimicking spring and summer conditions, you can achieve successful propagation indoors.
How should I prepare the cuttings for propagation?
To prepare the cuttings effectively, follow these steps:
- Choose healthy stems free from disease.
- Make a cut at a 45-degree angle using a sharp, clean knife or scissors.
- Remove the lower leaves and leave a few at the top.
- Optionally, dip the cut end in rooting hormone for faster root growth.
- Allow the cuttings to callus over by letting them sit in a cool, dry place for a few hours or overnight.
What type of potting mix should I use?
Use a well-draining potting mix. You can mix regular potting soil with perlite or sand to enhance drainage.
How much light do Kalanchoe Pink Butterflies cuttings need?
Kalanchoe Pink Butterflies cuttings thrive in bright, indirect light. Avoid direct sunlight as it can scorch the leaves.
What temperature is ideal for propagating Kalanchoe Pink Butterflies?
The ideal temperature range for propagating Kalanchoe Pink Butterflies is between 18°C to 24°C (65°F to 75°F). Avoid cold drafts and sudden temperature drops.
How often should I water the cuttings?
Water the soil lightly after planting the cuttings. Keep the soil moist but not soggy to prevent root rot.
What should I do if my cuttings start wilting?
If your cuttings are wilting, check the soil moisture. Ensure it’s not too dry or too soggy. Increasing humidity by covering the cuttings with a plastic bag or using a humidity dome can also help.
How can I prevent root rot in my cuttings?
To prevent root rot, ensure that your pots have good drainage and use a well-draining potting mix. Stick to a consistent watering routine, allowing the top inch of soil to dry out between waterings.
Why are my cuttings’ leaves turning yellow?
Yellowing leaves can indicate nutrient deficiencies or overwatering. Consider adding a diluted liquid fertilizer once roots are established and adjust your watering habits if the soil is too wet.
How can I deal with pests on my cuttings?
Inspect your cuttings regularly for signs of pests. Use natural remedies like insecticidal soap or neem oil to treat infestations. Isolate any affected plants immediately to prevent the spread of pests.
What should I do if my cuttings are growing slowly?
If your cuttings are growing slowly, ensure they are getting enough indirect light and are kept in a warm area, ideally between 20-25°C.
References
-
How to Propagate Plants – Gardeners’ World
-
Plant Propagation – Royal Horticultural Society
-
Propagating Plants – The Spruce