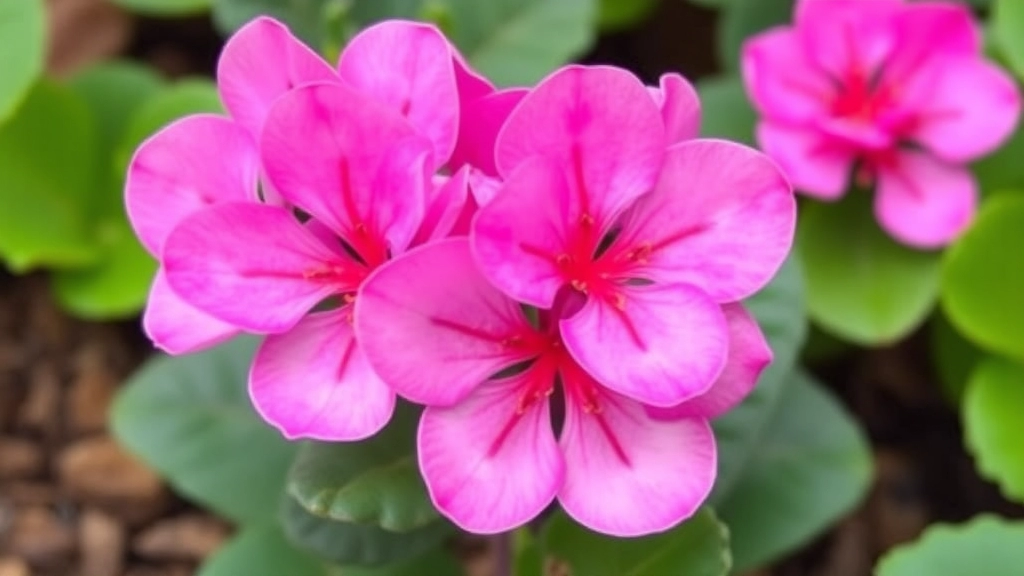
How to Propagate Kalanchoe Pink Butterflies
If you’ve ever wondered how to propagate Kalanchoe Pink Butterflies, you’re in the right place. These stunning succulents are not only beautiful but also relatively easy to propagate with the right techniques. Whether you’re looking to expand your collection or share these unique plants with friends, I’ve got you covered.
Materials Needed
- Clean knife
- Rooting hormone
- Well-draining soil
Propagation Methods
-
Leaf Cutting
Simply take a healthy leaf, let it callus over, and then plant it.
-
Stem Cutting
Choose a healthy stem, cut it, let it callus, and plant it in soil.
Tips for Success
Both methods can be done either in water or soil, each with its own pros and cons. Avoid common mistakes like overwatering and ensure your new plants get plenty of light. With a bit of care, you’ll have thriving Kalanchoe Pink Butterflies in no time.
Are you eager to propagate your plants but unsure of what you’ll need?
Getting started with plant propagation requires a few essential materials to ensure success.
Here’s a straightforward list to guide you:
- Healthy Plant Cuttings: Choose vibrant leaves or stems from healthy plants. This is crucial for a successful propagation process. For specific tips on propagating Kalanchoe, check out our step-by-step guide to florist Kalanchoe propagation.
- Sharp Scissors or Pruning Shears: A clean cut is essential to prevent damage to the plant. Make sure your tools are sterilised to avoid introducing diseases. Learn more about the best techniques in our pruning tips and techniques.
- Potting Soil or Propagation Medium: Depending on your method, you’ll need a suitable medium. A well-draining potting mix is ideal for soil propagation.
- Containers: Small pots or seed trays work well for planting cuttings. If you’re using water, clear containers will help you monitor root growth.
- Water: If you’re opting for water propagation, ensure you have clean, room-temperature water on hand.
- Humidity Dome or Plastic Bag: To maintain humidity for your cuttings, a humidity dome or a simple plastic bag can create a mini greenhouse effect.
- Labels: Keeping track of different cuttings is easier with labels. This helps you remember which plant is which, especially if you’re propagating multiple varieties.
With these materials ready, you’re well-equipped to dive into the exciting world of propagation.
II. Leaf Cutting Propagation Method
So, you’re keen on propagating plants through leaf cuttings? Great choice! It’s a straightforward method that can yield beautiful results. But how do you actually go about it?
What You Need
- Healthy Leaves: Choose mature, healthy leaves from your plant. Avoid any that show signs of disease or damage.
- Clean Cutting Tool: Use a sharp, clean knife or scissors to prevent any infection.
- Potting Mix: A well-draining mix is essential. You can use a combination of potting soil and perlite or sand.
- Containers: Small pots or trays will work just fine.
- Water: Just enough to keep the soil moist but not soggy.
Steps to Propagate
- Select Your Leaf: Look for a healthy leaf. For some plants, like succulents, you can use the whole leaf. For others, like African violets, a section will do.
- Cut the Leaf: Use your clean tool to cut the leaf cleanly. If you’re using a whole leaf, make sure to include a bit of the stem if possible.
- Let It Callous: If you’re working with succulents, let the cut end dry out for a few hours or overnight. This helps prevent rot when you plant it.
- Plant the Leaf: Bury the cut end in your potting mix. For succulent leaves, lay them flat on the soil surface.
- Water Lightly: Give it a gentle misting of water. You want the soil to be damp but not soaking wet.
- Provide Humidity: Cover the pot with a plastic bag or a clear dome to create a mini greenhouse effect. Just remember to open it occasionally to let in some fresh air.
Patience is Key
Now, you might be wondering how long it takes for roots to develop. It varies by plant type, but generally, you can expect to see new growth in a few weeks.
Stem Cutting Propagation Method
Have you ever wondered how to successfully propagate your favourite plants using stem cuttings? This method is not only effective but also incredibly satisfying.
What You Need
Before diving in, gather the following materials:
- Healthy parent plant: Choose a robust plant to ensure strong cuttings.
- Sharp, clean scissors or pruning shears: This helps prevent disease.
- Potting soil or propagation medium: A well-draining mix is key.
- Small pots or containers: For rooting your cuttings.
- Water: For hydration during the process.
Steps to Propagate Using Stem Cuttings
- Select the Right Stem:
- Look for a healthy stem that is free from disease.
- Ideally, choose a stem with several nodes, as these will develop into roots.
- Make the Cut:
- Cut a 4-6 inch section just below a node.
- Ensure your cut is at a 45-degree angle to maximise surface area.
- Prepare the Cutting:
- Remove the lower leaves to prevent rot when planted.
- Dip the cut end in rooting hormone (optional but beneficial).
- Plant the Cutting:
- Place the cutting in a pot filled with your propagation medium.
- Ensure the node is buried in the soil while leaving the top leaves exposed.
- Water and Cover:
- Water the cutting lightly.
- Cover with a plastic bag or a clear plastic dome to create humidity.
- Provide Optimal Conditions:
- Place the pot in a warm, bright location but out of direct sunlight.
- Keep the soil moist but not soggy.
Monitoring Progress
- Roots should develop within a few weeks.
- Gently tug on the cutting; resistance indicates root growth.
Common Pitfalls
- Avoid overwatering, which can lead to rot.
- Ensure your cutting is not exposed to direct sunlight initially.
By following these steps, you can efficiently propagate your plants through stem cuttings. For more detailed information, check out our Kalanchoe stem propagation step-by-step guide and explore different methods to propagate Kalanchoe from leaves.
IV. Rooting in Water vs. Soil
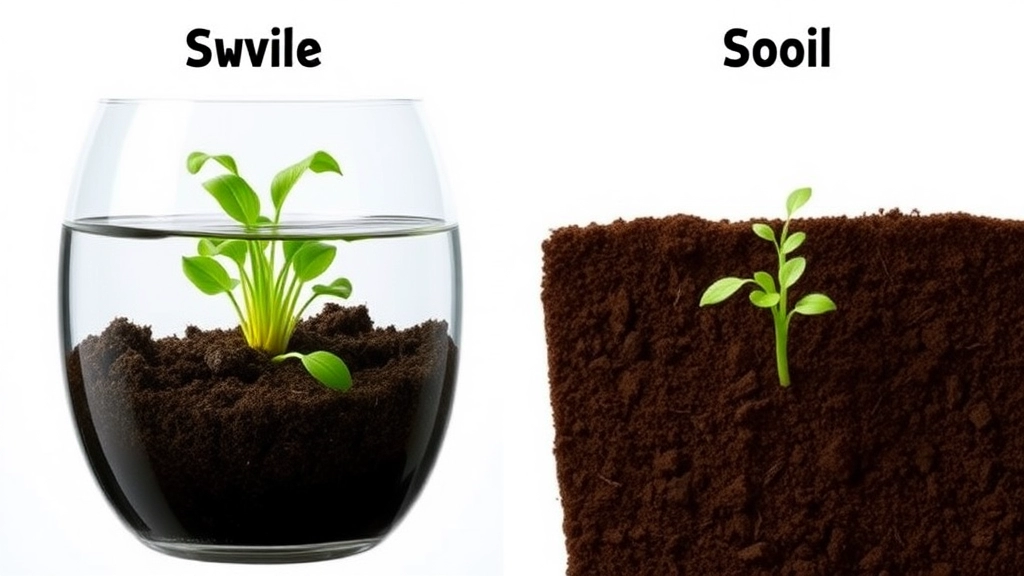
When considering propagation methods, a common question arises: should I root my cuttings in water or soil? Each method has its unique advantages and challenges, and understanding these can significantly impact your success rate.
Rooting in Water
Rooting in water can be a straightforward and visually rewarding process. Here’s why you might choose this method:
- Visibility: You can easily monitor root development.
- Simplicity: Requires minimal materials—just a glass of water.
- Quick results: Some plants develop roots faster in water.
However, there are a few caveats:
- Transplant shock: Moving from water to soil can stress the plant.
- Limited nutrient access: Water alone doesn’t provide the nutrients that plants need for healthy growth.
Rooting in Soil
On the other hand, rooting in soil offers its own set of benefits:
- Nutrient-rich environment: Soil provides essential nutrients right from the start.
- Better acclimation: Plants rooted in soil often adapt more easily to their permanent home.
- Reduced transplant shock: Less stress when moving to larger pots or gardens.
But it’s not without its challenges:
- Monitoring: It’s harder to see root development underground.
- Watering: Requires careful attention to moisture levels to avoid over or under-watering.
Making the Choice
Ultimately, the choice between rooting in water or soil depends on your preferences and the specific plant species.
For beginners, starting with water might be the way to go, as it allows for easy observation. However, if you’re aiming for long-term growth and stability, soil may be the better option.
Common Mistakes to Avoid
When propagating plants, many enthusiasts encounter hurdles that can hinder their success.
Here are some common mistakes to steer clear of:
- Using the Wrong Tools: Ensure your cutting tools are clean and sharp. Using dirty or dull tools can introduce diseases to your plants.
- Ignoring Plant Type: Not all plants propagate the same way. Some thrive on leaf cuttings while others prefer stem cuttings. Research your specific plant to determine the best method. For example, if you’re working with Kalanchoe, you might find the propagation guide for Kalanchoe Copper Spoons helpful.
- Overwatering: It’s tempting to keep cuttings moist, but too much water can lead to rot. Ensure the soil is well-draining and only water when necessary. Check out these optimal watering tips for healthy Kalanchoe to avoid overwatering.
- Neglecting Light Conditions: New cuttings need indirect sunlight. Too much direct sunlight can scorch them, while too little can stunt their growth.
- Skipping the Acclimatisation Process: Sudden changes in environment can shock your new plants. Gradually introduce them to their new conditions over a few days.
- Not Being Patient: Propagation takes time. Avoid the urge to check on your cuttings too frequently, as this can disrupt their growth.
Care for Newly Propagated Plants
So, you’ve taken the plunge and propagated some new plants. Now what?
It’s totally normal to feel a bit anxious about caring for your newly propagated plants.
Here’s the lowdown on how to keep them thriving:
FAQs on How to Propagate Kalanchoe Pink Butterflies
What is the best method to propagate Kalanchoe Pink Butterflies?
The leaf cutting propagation method is a popular choice for propagating Kalanchoe Pink Butterflies. It’s straightforward and can yield beautiful results.
What materials do I need for leaf cutting propagation?
You will need mature, healthy leaves, a clean cutting tool, well-draining potting mix, small pots or trays, and water. Ensuring all tools and materials are clean is essential to prevent infections.
How do I select the right leaf for propagation?
Choose a mature, healthy leaf from your Kalanchoe Pink Butterflies plant. Avoid leaves that show any signs of disease or damage for the best results.
What steps should I follow to propagate Kalanchoe Pink Butterflies through leaf cuttings?
Here are the steps:
- Select Your Leaf: Look for a healthy leaf.
- Cut the Leaf: Use a clean tool to cut the leaf cleanly, including a bit of the stem if possible.
- Let It Callous: Let the cut end dry out for a few hours or overnight to prevent rot.
- Plant the Leaf: Bury the cut end in your potting mix.
- Water Lightly: Mist the soil lightly to keep it damp but not soaking wet.
- Provide Humidity: Cover the pot with a plastic bag or a clear dome to create a mini greenhouse effect.
How long does it take for roots to develop?
Root development time varies by plant type, but generally, you can expect to see new growth in a few weeks. Patience is key in this process.
Should I root my cuttings in water or soil?
Both methods have their advantages and challenges. Rooting in water allows for easy monitoring of root development and requires minimal materials. However, plants may experience transplant shock when moved to soil. Rooting in soil provides essential nutrients from the start and better acclimation but requires careful attention to moisture levels.
Which method is better for beginners?
For beginners, rooting in water might be the way to go as it allows for easy observation. However, if you’re aiming for long-term growth and stability, soil may be the better option.
References
-
Propagating Plants by Cuttings
-
How to Propagate Plants from Cuttings
-
Plant Propagation by Leaf, Cane, and Root Cuttings