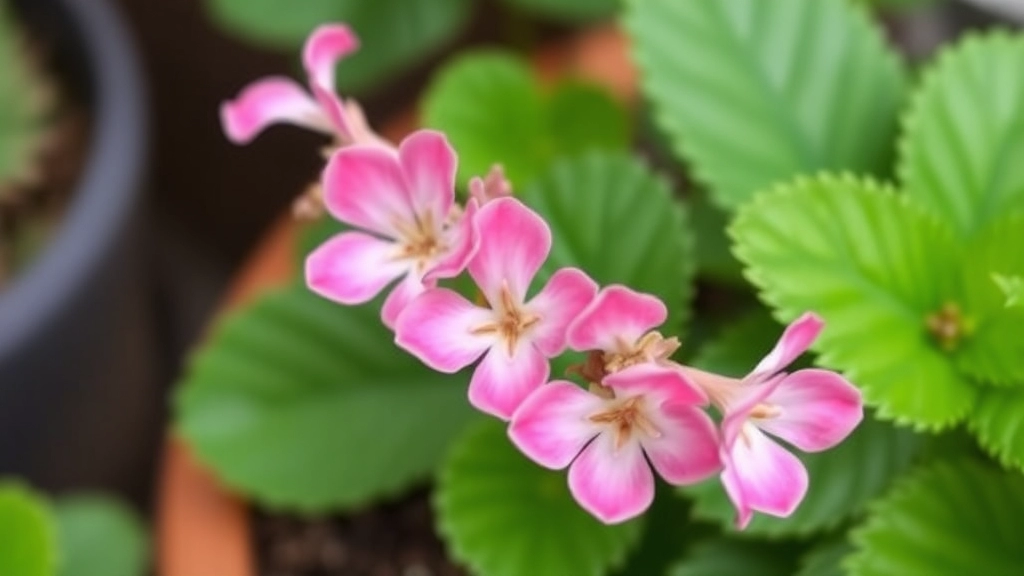
How to Propagate Kalanchoe Pink Butterflies
Wondering how to propagate Kalanchoe Pink Butterflies? You’re in the right place. This unique succulent, known for its vibrant colours and charming plantlets, can be propagated effectively with the right techniques. Let’s dive into the essential steps to ensure your propagation journey is a success.
Essential Tools
First, gather your tools: a sharp, clean knife, rooting hormone, and well-draining soil mix.
Propagation Steps
- Start by taking healthy stem cuttings or collecting plantlets.
- Allow them to callous over for a few days before planting.
- Place the cuttings in the soil, water sparingly, and provide bright, indirect light.
With patience and proper care, you’ll soon have thriving new Kalanchoe Pink Butterflies.
Essential Tools for Kalanchoe Pink Butterflies Propagation
When embarking on the journey of propagating Kalanchoe Pink Butterflies, having the right tools at your disposal is crucial. You might be wondering, what exactly do I need to ensure a successful propagation?
Here’s a concise list of essential tools that will make the process smoother:
- Sharp, Clean Scissors or Pruning Shears: A clean cut minimizes the risk of disease.
- Small Pots or Containers: These are necessary for planting cuttings and providing adequate drainage.
- Well-Draining Soil: A suitable soil mix is vital for healthy root development.
- Rooting Hormone (optional): This can encourage faster root growth but isn’t mandatory.
- Watering Can or Spray Bottle: For gentle watering without over-saturating the soil.
- Plastic Wrap or a Humidity Dome: To maintain humidity around the cuttings during the rooting phase.
- Labels: To keep track of different propagation attempts or date of cutting.
Having these tools ready will set you up for a successful propagation experience. For more detailed guidance, you might find our tips and propagation guide helpful. Additionally, if you’re looking to expand your Kalanchoe collection, check out our care tips for Kalanchoe Pink Butterflies.
Preparing Stem Cuttings: Step-by-Step Guide
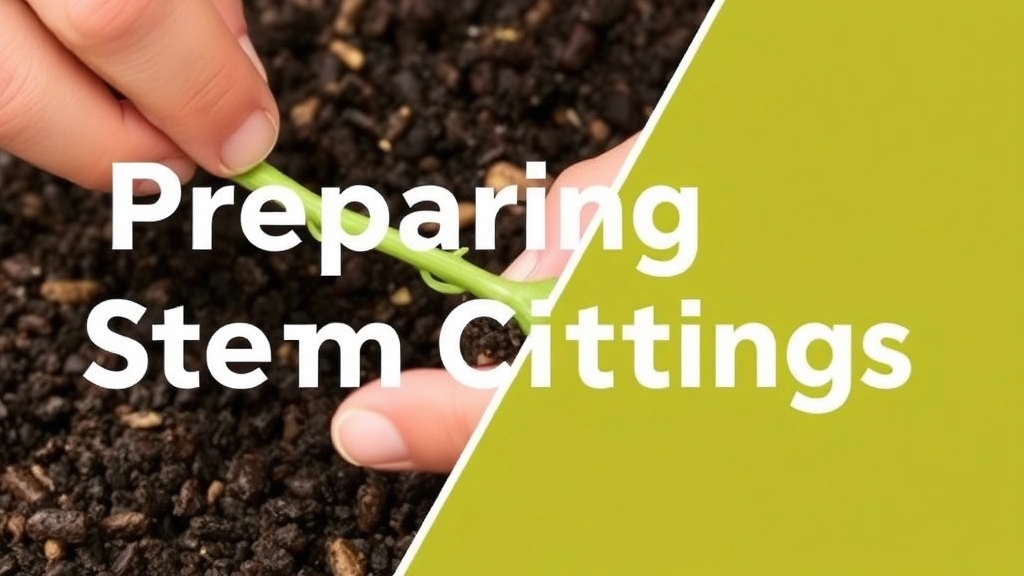
So, you’re ready to propagate your Kalanchoe Pink Butterflies? Fantastic choice! Getting those stem cuttings just right is crucial for a successful start. Let’s dive into the step-by-step process to ensure you’re on the right path.
Step 1: Gather Your Tools
Before you start, make sure you have everything you need:
- Sharp, clean scissors or pruning shears: This helps prevent any damage or disease.
- A clean surface: A tidy workspace keeps things organised.
- A small pot or tray: For your cuttings to callous and root.
Step 2: Choose the Right Stem
Look for healthy stems that are firm and plump. Avoid any that are wilting or have blemishes. Ideally, you want a stem that’s at least 4-6 inches long.
Step 3: Make the Cut
- Cut the stem just below a leaf node. This is where new growth will emerge.
- Aim for a clean cut at a 45-degree angle. This increases the surface area for rooting.
Step 4: Remove Lower Leaves
Gently remove the leaves from the lower half of the cutting. This prevents them from rotting in the soil and allows the cutting to focus its energy on root development.
Step 5: Let It Callous
Place the cuttings in a dry, shaded area for a few hours or even overnight. This step is crucial as it helps form a protective callous over the cut end, reducing the risk of rot when planted.
Step 6: Prepare for Planting
Once the cut ends have calloused, you’re ready to plant!
How to Callous and Plant Kalanchoe Cuttings
After preparing your stem cuttings, the next crucial step is to callous and plant them correctly. Many people worry about how to ensure their Kalanchoe Pink Butterflies thrive after propagation. Here’s a straightforward guide to help you navigate this process.
What is Callousing?
Callousing is the process where the cut ends of your Kalanchoe cuttings dry out and form a protective layer. This step is vital because it reduces the risk of rot when the cuttings are planted.
Steps to Callous Kalanchoe Cuttings:
- Leave Cuttings to Dry:
- Place the cuttings in a dry, warm location away from direct sunlight.
- Allow them to sit for about 1-3 days until the ends have dried and calloused.
- Check for Callous Formation:
- The cut ends should feel firm and slightly hardened.
- If they still feel moist, give them more time to dry.
Planting the Cuttings:
Once your cuttings are properly calloused, it’s time to plant them. This is where the right technique can make all the difference.
- Prepare the Soil:
- Use a well-draining soil mix, ideally a cactus or succulent blend.
- Ensure the pot has drainage holes to prevent water accumulation.
- Insert the Cuttings:
- Make a small hole in the soil with your finger or a pencil.
- Gently place the calloused end of the cutting into the hole, ensuring it’s secure but not packed too tightly.
- Water Sparingly:
- After planting, lightly mist the soil to provide some moisture.
- Avoid soaking the soil, as this can lead to rot.
- Provide the Right Environment:
- Place the pot in a bright, indirect light area.
- Maintain a warm temperature to encourage root growth.
For more detailed care tips, you might find our Ultimate Guide to Growing Kalanchoe Pink Plant helpful. Additionally, if you’re interested in learning about other varieties, check out our Kalanchoe Mother of Thousands Varieties Care Guide.
Optimal Soil Mix for Kalanchoe Pink Butterflies
When it comes to propagating Kalanchoe Pink Butterflies, choosing the right soil mix is crucial for successful growth. Many plant enthusiasts often wonder what type of soil will best support these vibrant succulents.
Key Components of an Ideal Soil Mix
To create the perfect soil environment for Kalanchoe Pink Butterflies, consider the following components:
- Well-Draining Soil: Succulents thrive in soil that allows excess water to escape. A mix that retains some moisture but drains quickly is ideal.
- Cactus Mix: A pre-packaged cactus or succulent mix is a great starting point. These mixes are designed to provide the drainage and aeration that Kalanchoe requires.
- Perlite or Pumice: Adding 20-30% perlite or pumice to your soil mix enhances drainage. This prevents water from pooling around the roots, which can lead to root rot.
- Organic Matter: Incorporating a small amount of organic matter, like compost, can provide essential nutrients without overwhelming the plant with moisture.
Sample Soil Mix Recipe
For those who prefer a DIY approach, here’s a simple recipe:
- 2 parts potting soil
- 1 part perlite
- 1 part coarse sand
This blend strikes a balance between moisture retention and drainage, making it an excellent choice for Kalanchoe Pink Butterflies.
Why Soil Matters
The right soil mix not only supports healthy root development but also aids in preventing common issues such as slow growth and root rot. By ensuring that your Kalanchoe has a suitable environment, you set the stage for vibrant blooms and robust foliage.
When it comes to propagating Kalanchoe Pink Butterflies, understanding the right growing conditions is essential. Many enthusiasts often worry about how to create the perfect environment for their cuttings.
### Light Requirements
– **Bright Indirect Light**: Kalanchoe Pink Butterflies thrive in bright, indirect sunlight.
– **Avoid Direct Sunlight**: Too much direct sun can scorch the leaves, so finding a balance is key.
– **Artificial Light**: If natural light is limited, consider using grow lights for about 12-14 hours a day.
For more detailed information on growing conditions, you might want to check out our [ultimate guide to growing Kalanchoe Pink Flowers](https://planthq.org/ultimate-guide-to-growing-kalanchoe-pink-flowers/).
### Temperature Preferences
– **Ideal Range**: The optimal temperature for these plants is between 18-24°C (65-75°F).
– **Avoid Cold Drafts**: Sudden temperature changes can stress the plant, so keep them away from drafty windows or doors.
– **Nighttime Temperatures**: A slight drop in temperature at night is acceptable, but it should not go below 10°C (50°F).
### Humidity Levels
– **Moderate Humidity**: Kalanchoe Pink Butterflies prefer moderate humidity levels, around 40-60%.
– **Avoid Excess Moisture**: High humidity can lead to fungal issues, so ensure good air circulation.
– **Using a Humidifier**: If you live in a particularly dry area, consider using a humidifier to maintain optimal conditions.
For those interested in more specific care tips, our [care tips for vibrant red florist Kalanchoe blooms](https://planthq.org/care-tips-for-vibrant-red-florist-kalanchoe-blooms/) might also be helpful.
Watering Techniques During Propagation
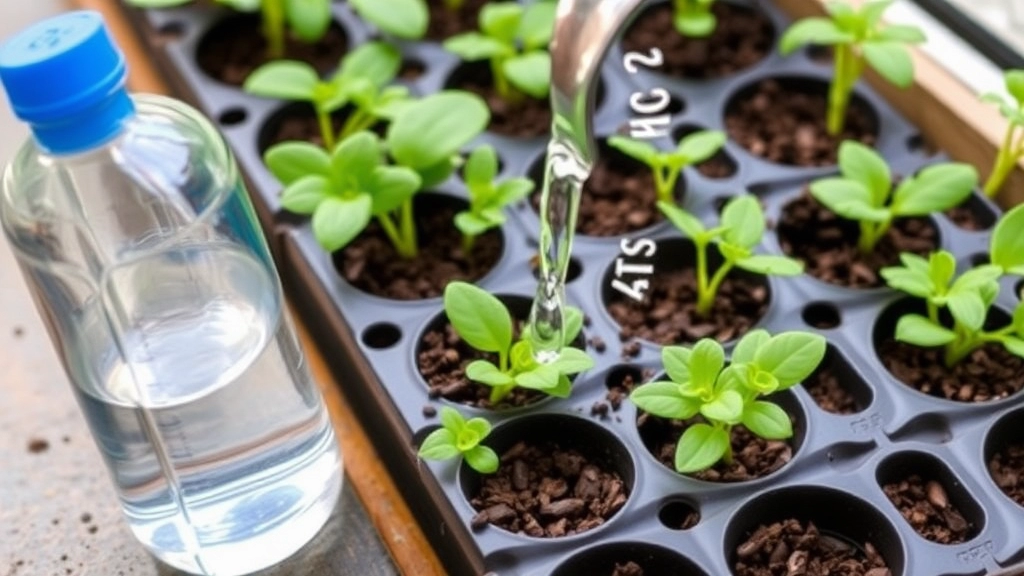
So, you’ve got your Kalanchoe Pink Butterflies cuttings ready, and you’re probably wondering how to keep them thriving during propagation.
Watering is crucial, but it can be a bit tricky. Too much water, and you risk root rot; too little, and your cuttings might dry out. Here’s how to nail it:
- Initial Watering: After you’ve planted your cuttings, give them a light misting. This helps settle the soil without making it soggy.
- Soil Check: Always check the soil moisture before watering. Stick your finger about an inch into the soil. If it feels dry, it’s time to water.
- Watering Method: Use a spray bottle for light watering. This prevents over-saturation and mimics the natural environment.
- Frequency: Water once a week, but adjust based on your climate. If it’s hot and dry, you might need to water a bit more.
- Drainage is Key: Ensure your pots have drainage holes. This prevents standing water, which is a sure-fire way to invite root rot.
- Humidity: If your environment is dry, consider placing a humidity dome over your cuttings. Just remember to ventilate it regularly to avoid mold.
Keeping an eye on your cuttings will help you gauge their needs.
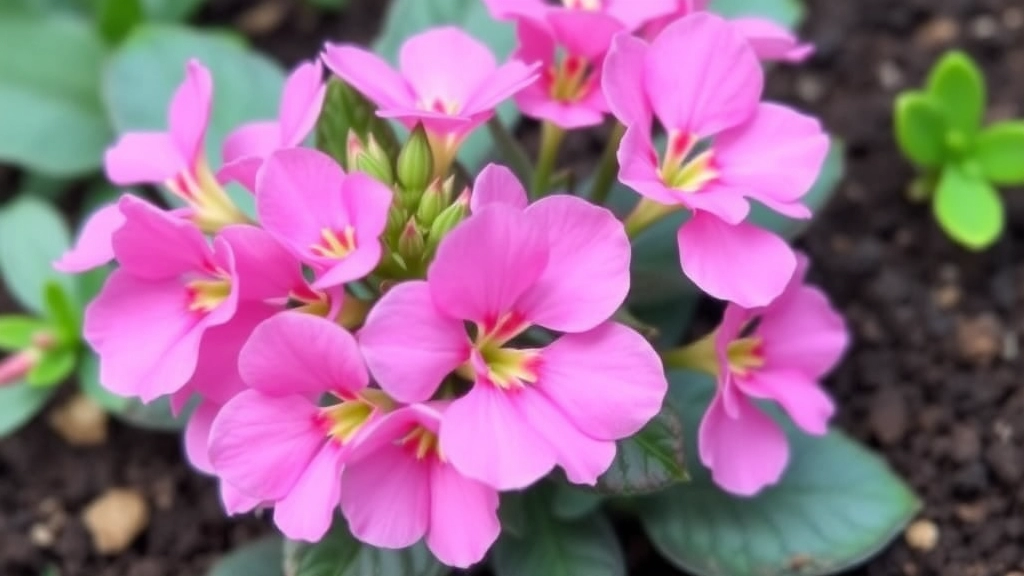
How to Propagate Kalanchoe from Plantlets
If you’ve been enjoying the vibrant beauty of Kalanchoe Pink Butterflies, you might be wondering how to expand your collection through plantlets. This method is not only rewarding but also a straightforward way to propagate your beloved succulents.
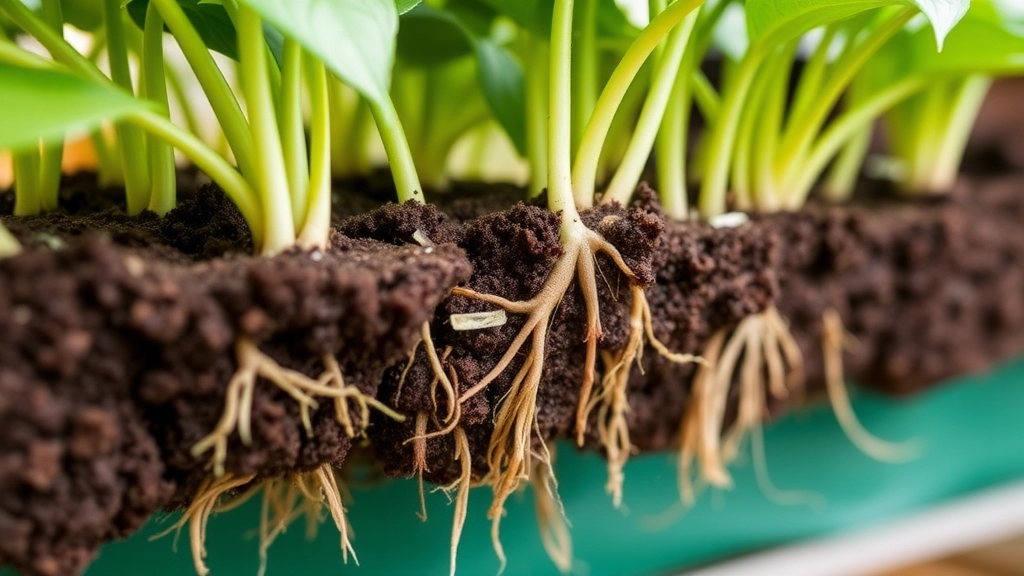
Understanding Plantlets
Plantlets are small offsets that grow from the base of the parent plant. They are mini versions of the adult plant and can easily be separated and rooted.
Troubleshooting Propagation Challenges: Root Rot and Slow Growth
So, you’ve taken the plunge into propagating your Kalanchoe Pink Butterflies, but things aren’t going as smoothly as you’d hoped.
Root rot and slow growth can be real buzzkills in your propagation journey.
Let’s tackle these issues head-on, shall we?
Signs of Root Rot
- Mushy stems: If they feel soft and squishy, that’s a red flag.
- Discolouration: Yellowing leaves? Not a good sign.
- Foul smell: If your cuttings smell off, root rot is likely lurking.
What Causes Root Rot?
- Overwatering: This is the number one culprit. Kalanchoes love their soil to dry out.
- Poor drainage: If your pot doesn’t have drainage holes, water can pool and create a soggy mess.
Fixing Root Rot
- Remove the plant: Gently take it out of the pot.
- Inspect the roots: Trim away any mushy or blackened roots.
- Let it dry: Allow the remaining roots to air out for a few hours.
- Repot: Use fresh, well-draining soil and a pot with drainage holes.
Now, onto slow growth.
Why is My Kalanchoe Growing Slowly?
- Insufficient light: These beauties thrive in bright, indirect sunlight.
- Wrong soil mix: Heavy soils can suffocate roots.
- Temperature issues: Kalanchoes prefer a warm environment.
Boosting Growth
- Increase light: Move them to a brighter spot.
- Check your soil: Ensure it’s a well-draining mix.
- Monitor temperature: Keep it around 20-25°C (68-77°F).
Caring for Newly Rooted Kalanchoe Pink Butterflies
After successfully propagating your Kalanchoe Pink Butterflies, the next crucial step is ensuring their proper care. You may wonder, “What do I need to do now that my cuttings have rooted?” Here’s a straightforward guide to help you nurture your new plants.
Common Mistakes to Avoid During Propagation
So, you’ve got your Kalanchoe Pink Butterflies cuttings ready, and you’re eager to see them thrive. But before you dive in, let’s chat about some common pitfalls that can trip you up during propagation.
1. Skipping the Callousing Process
One of the biggest mistakes is not allowing your cuttings to callous over before planting. This step helps prevent rot and encourages healthy root development. Give those cuttings a day or two to dry out and form a protective layer.
2. Overwatering
It’s tempting to keep your cuttings moist, but overwatering is a sure-fire way to invite root rot. Remember, less is more! Water sparingly and let the soil dry out between waterings.
3. Poor Soil Choice
Using regular potting soil can be a disaster. Kalanchoe Pink Butterflies prefer a well-draining mix. Look for a cactus or succulent blend, or create your own with sand and perlite.
4. Not Providing Enough Light
These beauties thrive in bright, indirect light. If your cuttings are kept in a dark corner, they’ll struggle. Position them near a window but avoid harsh direct sunlight that can scorch them.
5. Ignoring Temperature and Humidity
Kalanchoe loves warmth! A chilly environment can stunt growth. Keep them in a warm spot, ideally between 20-25°C (68-77°F). Also, avoid overly humid areas as they prefer drier conditions.
6. Being Impatient
Propagation takes time. If you’re constantly checking for roots or growth, you might stress both yourself and your plants. Patience is key!
7. Neglecting to Monitor for Pests
Pests can sneak up on your cuttings. Check regularly for any signs of trouble, like tiny bugs or webbing. Early detection is crucial for keeping your plants healthy.
Best Time of Year to Propagate Kalanchoe Pink Butterflies
When considering the best time to propagate Kalanchoe Pink Butterflies, many enthusiasts often wonder about the optimal conditions for success. Timing is crucial for ensuring your cuttings thrive and establish healthy roots.
FAQs on How to Propagate Kalanchoe Pink Butterflies
What tools do I need to propagate Kalanchoe Pink Butterflies?
You will need sharp, clean scissors or pruning shears, a clean surface, and a small pot or tray for your cuttings to callous and root.
How do I choose the right stem for propagation?
Select healthy stems that are firm and plump. Avoid stems that are wilting or have blemishes. Ideally, the stem should be at least 4-6 inches long.
Why is it important to let the cuttings callous before planting?
Allowing the cuttings to callous forms a protective layer over the cut end, which reduces the risk of rot when planted.
What is the ideal soil mix for Kalanchoe Pink Butterflies?
The ideal soil mix should be well-draining. A pre-packaged cactus or succulent mix is a great starting point. Adding 20-30% perlite or pumice enhances drainage.
How often should I water the cuttings during propagation?
Water once a week, but adjust based on your climate. Use a spray bottle for light watering to prevent over-saturation.
What are the signs of root rot, and how can I fix it?
Signs of root rot include mushy stems, yellowing leaves, and a foul smell. To fix it, remove the plant from the pot, trim away any mushy or blackened roots, let the remaining roots air out, and repot in fresh, well-draining soil.
Why is my Kalanchoe growing slowly?
Slow growth can be due to insufficient light, wrong soil mix, or temperature issues. Ensure the plant gets bright, indirect sunlight, is in well-draining soil, and is kept in a warm environment around 20-25°C (68-77°F).
What are common mistakes to avoid during propagation?
Common mistakes include skipping the callousing process, overwatering, using poor soil, not providing enough light, ignoring temperature and humidity, being impatient, and neglecting to monitor for pests.
References
-
How to Propagate Succulents
-
Propagating Kalanchoe Plants
-
Growing Succulents: A Guide