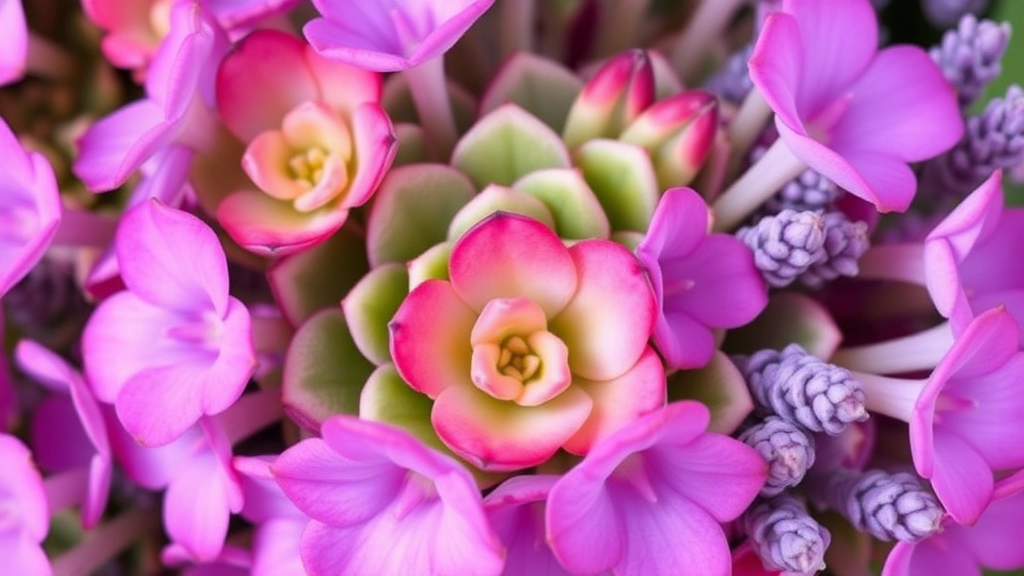
Propagating Kalanchoe Lavender Scallops
Propagating Kalanchoe Lavender Scallops is a rewarding experience for any gardening enthusiast. Whether you’re using stem cuttings, leaf cuttings, or plantlets, each method offers unique benefits and challenges. In this guide, I’ll share practical tips and techniques to help you successfully propagate your Kalanchoe Lavender Scallops and enjoy vibrant, healthy plants.
Optimal Conditions for Propagation
Understanding the optimal soil, light, and watering conditions is crucial for successful propagation. By following these steps, you can avoid common issues like root rot and ensure your new Kalanchoe plants thrive. Let’s dive into the best practices for Kalanchoe Lavender Scallops propagation and set you up for gardening success.
Many plant enthusiasts often wonder how to propagate Lavender Scallops effectively.
Using stem cuttings is a straightforward and rewarding method.
## Why Choose Stem Cuttings?
Stem cuttings are a popular choice for propagation due to their simplicity and high success rate.
Here’s how to do it:
– **Select Healthy Stems**: Look for strong, healthy stems that are free from disease.
– **Cut the Stems**: Use clean, sharp scissors to take cuttings about 4-6 inches long.
– **Remove Lower Leaves**: Strip off the lower leaves to prevent rot when planted.
– **Let Cuttings Callous**: Place the cuttings in a dry, warm area for a few hours to form a callous on the cut end.
– **Plant in Soil**: Use well-draining soil and insert the cuttings about an inch deep.
– **Water Lightly**: Moisten the soil, but avoid overwatering to prevent root rot.
## Tips for Success
– **Humidity**: Keep the cuttings in a humid environment. A plastic bag or a mini greenhouse works wonders.
– **Temperature**: Maintain a warm temperature, ideally between 20-25°C (68-77°F).
– **Patience**: Roots may take a few weeks to develop, so be patient.
For more detailed information on how to care for your kalanchoe succulent, you can refer to our [ultimate guide](https://planthq.org/how-to-care-for-kalanchoe-succulent-ultimate-guide/). If you’re curious about the [benefits of Kalanchoe pinnata for skin health](https://planthq.org/benefits-of-kalanchoe-pinnata-for-skin-health/), we have a comprehensive article that covers this topic.
Using Leaf Cuttings for Kalanchoe Fedtschenkoi Propagation
So, you’re eager to propagate Kalanchoe Fedtschenkoi using leaf cuttings? You’re not alone! Many plant enthusiasts are drawn to this method because it’s straightforward and quite rewarding.
Why Choose Leaf Cuttings?
Leaf cuttings are a fantastic way to propagate Kalanchoe Fedtschenkoi. It’s a method that allows you to create new plants from existing ones without needing fancy tools or techniques.
Steps to Propagate Using Leaf Cuttings
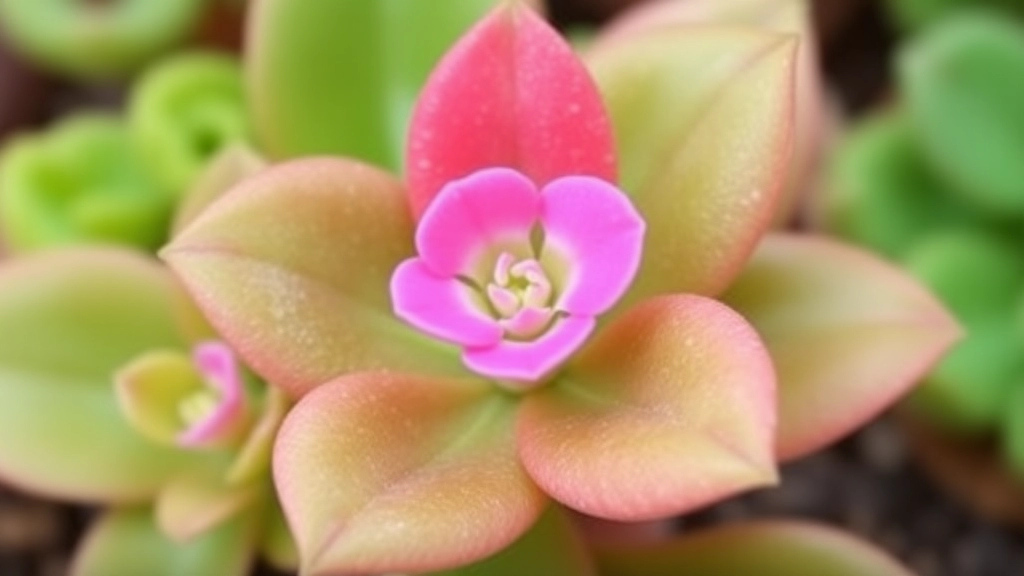
- Select Healthy Leaves
Look for plump, healthy leaves on your Kalanchoe plant. Avoid any that are damaged or diseased. - Cut the Leaves
Use a clean, sharp knife or scissors to snip the leaves off at the base. Aim for a clean cut to help prevent any infections. - Let Them Callous
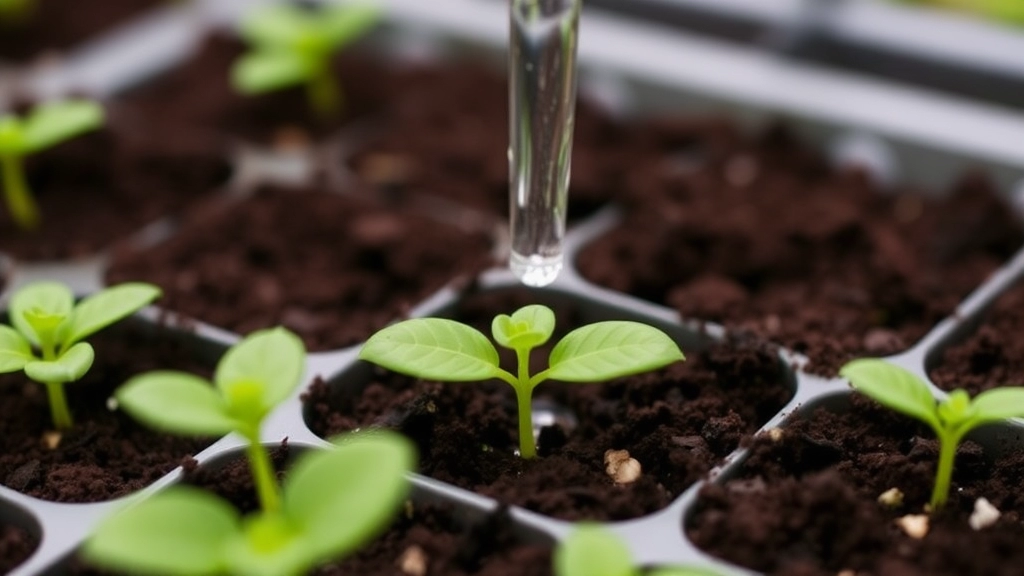
Place the cut leaves on a paper towel or a clean surface for a few days. This helps the cut edges to dry out and form a callous, reducing the risk of rot. - Prepare Your Soil
Use a well-draining potting mix. You can even mix in some sand or perlite to enhance drainage. - Plant the Cuttings
Once the leaves have calloused, gently press them into the soil, ensuring that the cut end is in contact with the soil. - Water Sparingly
Mist the soil lightly, but avoid soaking it. Overwatering is a common mistake, so keep it on the drier side.
Tips for Success
- Humidity Matters
If you can, place a plastic bag over the pot to create a mini greenhouse effect. Just remember to remove it occasionally to let in fresh air. - Patience is Key
It may take a few weeks for roots to develop, so don’t rush the process. - Watch for Pests
Keep an eye out for any unwanted visitors like mealybugs or aphids. They can spoil your propagation efforts.
How to Propagate Lavender Scallops from Plantlets
Are you wondering how to successfully propagate your Lavender Scallops using plantlets? This method is both straightforward and rewarding, allowing you to expand your collection with minimal effort.
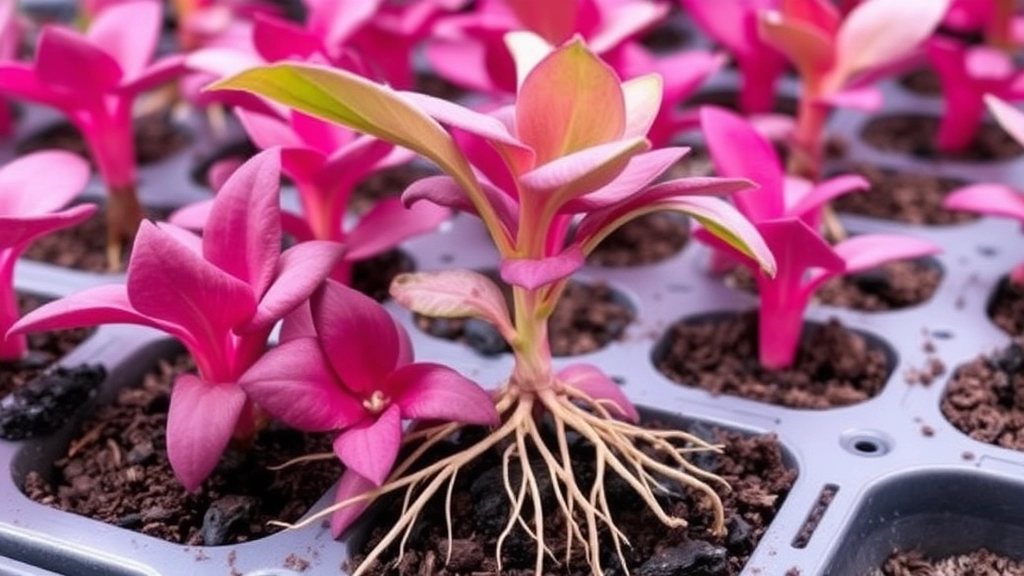
Understanding Plantlets
Plantlets are small, young plants that develop from the parent plant. They are ideal for propagation because they already have a root system, making the transition to independent growth smoother.
Steps to Propagate Lavender Scallops from Plantlets
- Identify Healthy Plantlets
Look for well-developed plantlets that are at least a few inches tall. Ensure they are free from pests and diseases. - Prepare Your Tools
Gather clean, sharp scissors or a knife, and a small pot filled with well-draining soil. A succulent mix or a combination of potting soil and sand works well. - Remove the Plantlet
Gently twist or cut the plantlet away from the parent plant. Be careful not to damage the roots. - Let It Heal
Allow the cut end of the plantlet to dry for a few hours. This helps prevent rot when it is planted. - Plant the Plantlet
Make a small hole in the soil with your finger or a pencil. Place the plantlet into the hole and gently firm the soil around it. - Water Sparingly
Water the newly planted plantlet lightly. Overwatering can lead to root rot, so ensure the soil is just moist. - Provide Proper Light
Place the pot in a bright location, but avoid direct sunlight initially. This helps the plantlet acclimatise.
Monitoring Growth
Keep an eye on your plantlet for signs of new growth. This indicates that it has successfully established itself. For more tips on propagation, you might find our Kalanchoe Chocolate Soldier Propagation Guide useful. Additionally, understanding the temperature tolerance of Kalanchoe can help ensure your plantlets thrive.
Optimal Soil and Watering Techniques for Propagation
When it comes to propagating plants like Lavender Scallops and Kalanchoe Fedtschenkoi, one of the most pressing concerns is ensuring the right soil and watering techniques are in place.
Choosing the Right Soil
The foundation of successful propagation lies in selecting the appropriate soil mix. For both Lavender Scallops and Kalanchoe, a well-draining soil is essential. Here are some key points to consider:
- Cactus or Succulent Mix: This type of soil is ideal due to its excellent drainage properties.
- Additives: Consider mixing in perlite or sand to enhance aeration and drainage.
- pH Level: Aim for a slightly acidic to neutral pH (around 6.0 to 7.0) for optimal growth.
Watering Techniques
Watering can make or break your propagation efforts. Overwatering is a common issue that can lead to root rot, while underwatering can hinder growth. Here’s how to strike the right balance:
- Frequency: Water only when the top inch of soil feels dry. This usually means watering every 1-2 weeks, depending on your environment.
- Method: Water at the base of the plant to avoid wetting the leaves, which can promote fungal diseases.
- Drainage: Ensure your pots have drainage holes to allow excess water to escape.
By focusing on these optimal soil and watering techniques, you can create a thriving environment for your Lavender Scallops and Kalanchoe cuttings to flourish.
Best Light Conditions for Successful Kalanchoe Propagation
When it comes to propagating Kalanchoe Fedtschenkoi, the right lighting conditions can make all the difference. Many gardeners often wonder how to ensure their cuttings thrive.
Common Challenges and How to Avoid Root Rot During Propagation
So, you’re diving into the world of propagating Kalanchoe and Lavender Scallops. Exciting, right? But there’s a nagging worry that often creeps in—root rot.
What’s the deal with root rot?
It’s that sneaky problem that can ruin all your hard work. Too much moisture, poor drainage, or even contaminated soil can lead to this pesky issue. Here’s how to keep your new plants thriving:
Tips to Avoid Root Rot:
- Choose the Right Soil:
- A well-draining mix is key.
- Look for cactus or succulent soil; it allows water to flow freely.
- Mind Your Watering:
- Less is more!
- Only water when the top inch of soil feels dry.
- Use Clean Tools:
- Always sterilise your cutting tools.
- This prevents introducing harmful bacteria to your cuttings.
- Provide Good Airflow:
- Space out your cuttings.
- Good airflow helps reduce humidity around the plants.
- Container Choice Matters:
- Opt for pots with drainage holes.
- This helps excess water escape, keeping roots dry.
- Watch for Signs:
- Yellowing leaves?
- That’s a red flag! It could mean your plant is drowning.
By keeping these tips in mind, you’ll be well on your way to healthy, happy plants.
When transplanting your new Kalanchoe plants, it’s important to follow a few key steps to ensure their healthy growth. The best time to transplant Kalanchoe is during the spring or early summer. This is when the plant is actively growing, making it easier for it to adapt to its new environment.
### Signs It’s Time to Transplant:
– **Root Bound**: If you notice roots growing out of the drainage holes, it’s time for a bigger pot.
– **Stunted Growth**: If your Kalanchoe isn’t growing as expected, it may need more space.
– **Soil Degradation**: If the soil looks compacted or depleted, a transplant can refresh its growing conditions.
### Steps to Transplant Kalanchoe:
1. **Choose the Right Pot**: Select a pot that is one size larger than the current one. Ensure it has drainage holes.
2. **Prepare the Soil**: Use a well-draining potting mix, ideally one designed for succulents.
3. **Remove the Plant**: Gently take the Kalanchoe out of its current pot. Be careful not to damage the roots.
4. **Inspect the Roots**: Trim any dead or rotting roots with clean scissors.
5. **Place in New Pot**: Position the plant in the centre of the new pot and fill in with soil, ensuring the base of the plant is level with the soil surface.
6. **Water Thoroughly**: After transplanting, water the plant deeply but avoid overwatering. Allow the topsoil to dry out before the next watering.
7. **Post-Transplant Care**: Keep the plant in a shaded area for a few days to help it acclimatise.
### Additional Tips:
– **Avoid Transplant Shock**: To minimise stress, handle the plant gently.
– **Monitor Watering**: Adjust your watering schedule post-transplant to avoid root rot.
For more detailed guidance on caring for your Kalanchoe, refer to this [complete guide to Kalanchoe plant care](https://planthq.org/complete-guide-to-kalanchoe-plant-care/). Additionally, if you’re dealing with [stunted growth](https://planthq.org/fixing-etiolated-kalanchoe-blossfeldiana-lighting-and-care-tips/), it might be helpful to check your plant’s lighting conditions and care routine.
FAQs on Kalanchoe Lavender Scallops Propagation
What is the best method to propagate Kalanchoe Fedtschenkoi?
The best method to propagate Kalanchoe Fedtschenkoi is through leaf cuttings. This method is straightforward and rewarding for plant enthusiasts.
How do I select the right leaves for propagation?
Choose plump, healthy leaves from your Kalanchoe plant. Avoid any leaves that are damaged or diseased to ensure successful propagation.
Why is it important to let the cut leaves callous?
Allowing the cut leaves to callous helps to dry out the cut edges and form a protective layer. This reduces the risk of rot and increases the chances of successful propagation.
What type of soil should I use for propagating Kalanchoe and Lavender Scallops?
A well-draining soil mix is essential. Consider using cactus or succulent mix and adding perlite or sand to enhance aeration and drainage. Aim for a slightly acidic to neutral pH (around 6.0 to 7.0).
How often should I water the cuttings?
Water the cuttings sparingly. Mist the soil lightly and only water when the top inch of soil feels dry. Overwatering can lead to root rot, so it’s better to keep the soil on the drier side.
What are the common challenges in propagating Kalanchoe and Lavender Scallops?
Common challenges include root rot, overwatering, and pest infestations. Ensuring proper soil, watering techniques, and cleanliness can help mitigate these issues.
How can I avoid root rot during propagation?
To avoid root rot, use well-draining soil, water sparingly, ensure good airflow, and use clean tools. Additionally, choose containers with drainage holes to allow excess water to escape.
What should I do if I notice yellowing leaves on my cuttings?
Yellowing leaves can be a sign of overwatering or root rot. Check the soil moisture and ensure the cuttings are not sitting in water. Adjust your watering schedule accordingly.
How long does it take for roots to develop in Kalanchoe cuttings?
It can take a few weeks for roots to develop in Kalanchoe cuttings. Patience is key, and it’s important not to rush the process.
Can I create a mini greenhouse effect for my cuttings?
Yes, you can place a plastic bag over the pot to create a mini greenhouse effect. This helps maintain humidity, but remember to remove it occasionally to let in fresh air.
References
-
How To Propagate Kalanchoe Plants: Tips For Kalanchoe Propagation
-
Kalanchoe Succulent Growing Guide
-
Kalanchoe: How to Grow and Care for Kalanchoe Plants