Expanding Your Collection of Succulents
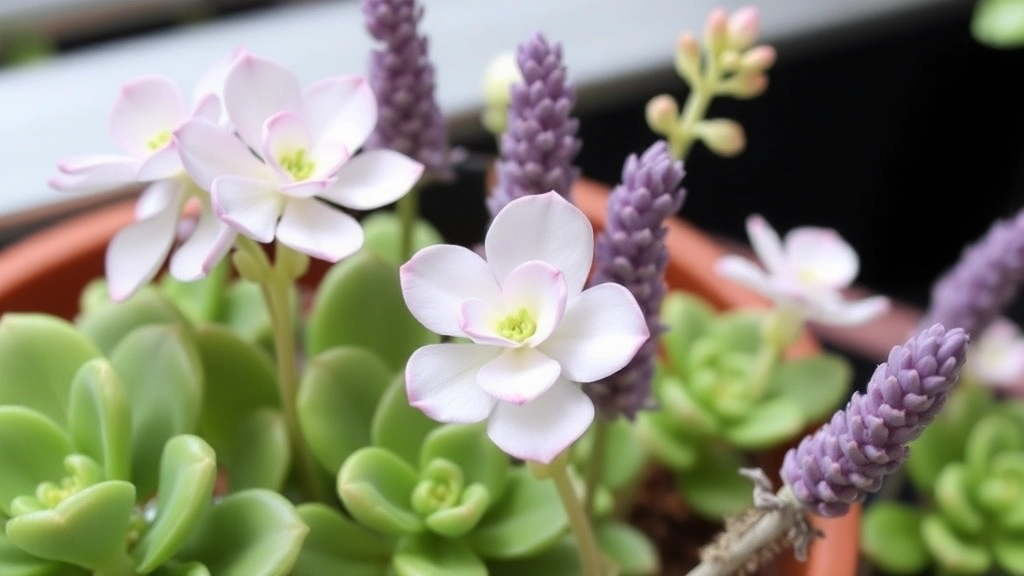
Looking to expand your collection of succulents? Kalanchoe Lavender Scallops, also known as Kalanchoe fedtschenkoi, are perfect for propagation. These stunning plants are not only easy to propagate but also make a beautiful addition to any garden or indoor space. Let’s dive into the best methods for propagating Lavender Scallops and ensure your propagation journey is smooth and successful.
Propagation Methods
One of the most effective ways to propagate Kalanchoe Lavender Scallops is through stem cuttings. Simply cut a healthy stem, let it callous over for a few days, and plant it in well-draining soil. Leaf cuttings are another popular method; just remove a healthy leaf, let it dry, and place it on top of the soil. With proper care and the right conditions, your new plants will thrive in no time.
Best Methods for Propagating Lavender Scallops
When it comes to propagating lavender scallops, many enthusiasts often find themselves wondering about the best techniques to ensure success.
Understanding the various methods available can make a significant difference in your propagation journey.
1. Stem Cuttings
- Why it Works: This method allows you to create new plants from the existing stems.
- Process: Select healthy stems, cut them at an angle, and place them in a suitable medium.
2. Leaf Cuttings
- Benefits: Leaf cuttings are another straightforward approach.
- Steps: Cut healthy leaves, let them callous, and then plant them in soil.
3. Plantlets and Offsets
- Natural Growth: Lavender scallops often produce offsets that can be easily separated.
- Technique: Gently remove the offsets from the parent plant and replant them.
4. Soil Preparation
- Importance: The right soil mix is crucial for successful propagation.
- Recommendation: Use a well-draining potting mix to promote healthy root development.
5. Watering Practices
- Key to Success: Proper watering is essential during the rooting phase.
- Tip: Keep the soil slightly moist but not soggy to prevent rot. For more details, check out these optimal watering tips for healthy Kalanchoe.
6. Light and Temperature
- Ideal Conditions: Lavender scallops thrive in bright light and warm temperatures.
- Guideline: Aim for at least six hours of indirect sunlight daily. Learn more about the ideal growing conditions in this comprehensive Kalanchoe plant care guide.
7. Avoiding Common Mistakes
- What to Watch For: Overwatering and insufficient light are common pitfalls.
- Advice: Monitor your plants closely to ensure they are thriving.
8. Post-Propagation Care
- Next Steps: After successful propagation, it’s vital to care for your new plants properly.
- Focus Areas: Pay attention to watering, light, and temperature to ensure they flourish.
How to Propagate Using Stem Cuttings
So, you’re eager to propagate your lavender scallops, right? Stem cuttings are one of the most straightforward methods, and they can yield fantastic results. Let’s dive into how you can do this effectively.
Why Choose Stem Cuttings?
Stem cuttings are a popular choice because they’re easy and often have a high success rate. Plus, you get to keep your original plant intact while creating new ones.
Steps to Propagate Using Stem Cuttings
- Select Healthy Stems
Look for healthy, green stems that are about 4-6 inches long. Avoid any that look wilted or diseased. - Make the Cut
Using clean, sharp scissors, cut just below a node (the little bump where leaves grow). This is where roots will develop. - Remove Lower Leaves
Strip off the leaves from the bottom half of the cutting. This helps prevent rot when you place it in soil. - Use Rooting Hormone (Optional)
Dip the cut end in rooting hormone to boost your chances of success. It’s not necessary, but it can help speed things up. - Plant the Cuttings
Place the cut end into a pot filled with well-draining soil. Make sure it’s deep enough to stay upright but not so deep that it covers the node. - Water Gently
Give the soil a light watering. You want it damp, not soggy.
Creating the Right Environment
To encourage growth, cover the pot with a plastic bag or a clear dome to maintain humidity. Just remember to remove it occasionally to let in fresh air.
Monitor Progress
Keep an eye on your cuttings. After a few weeks, you should see new growth, which is a great sign that roots are forming.
Many gardeners wonder if leaf cuttings can be a viable method for propagating lavender scallops. The good news is that they can be! This method is not only straightforward but also rewarding when done correctly.
Propagating Through Plantlets and Offsets
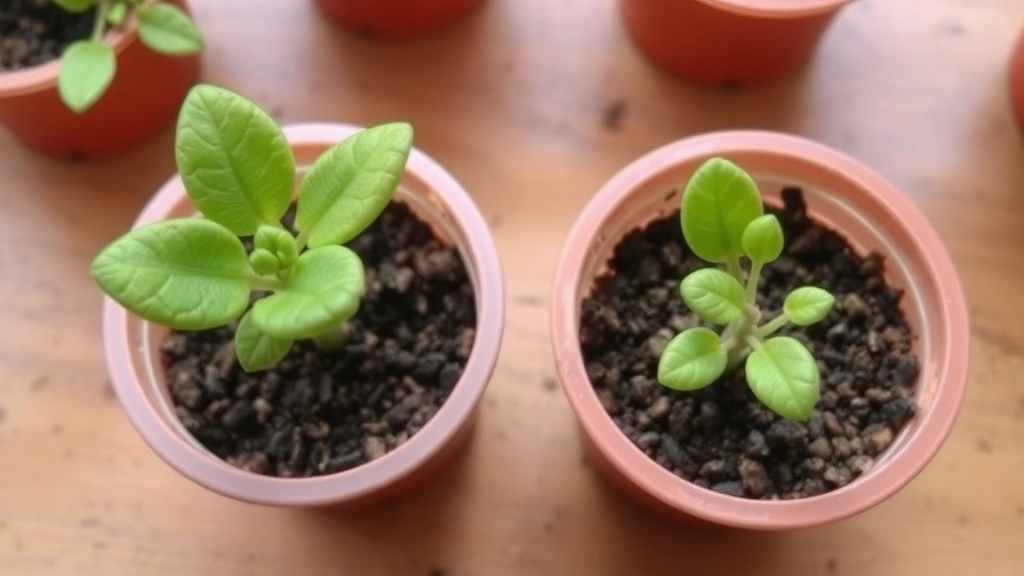
When considering the best methods for propagating lavender scallops, plantlets and offsets stand out as a reliable choice.
Many gardeners often wonder how to successfully propagate these beautiful plants without extensive effort.
Understanding Plantlets and Offsets
Plantlets are small plants that grow from the parent plant, while offsets are side shoots that develop at the base. Both methods can yield healthy, vibrant lavender scallops.
Benefits of Using Plantlets and Offsets:
- Simplicity: This method requires minimal tools and expertise.
- Speed: Plantlets and offsets can root quickly, allowing for faster growth.
- Cost-Effective: You can expand your collection without purchasing new plants.
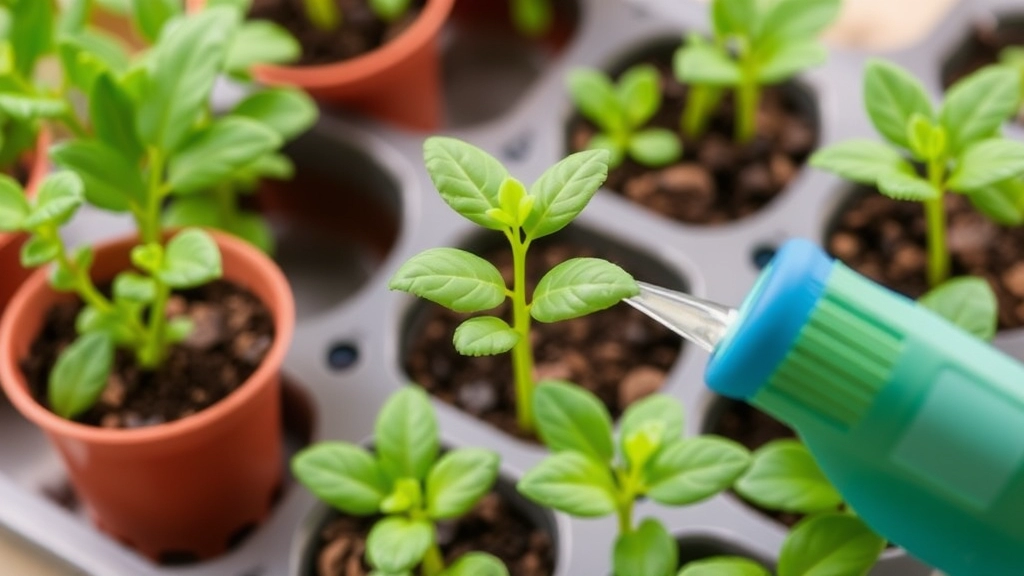
Steps to Propagate Using Plantlets and Offsets
- Identify Healthy Offsets: Look for offsets that are at least a few inches long and have developed their own roots.
- Gently Remove: Carefully detach the offsets from the parent plant, ensuring you don’t damage the roots.
- Prepare the Soil: Use well-draining soil to prevent waterlogging, which can harm the new plants.
- Planting: Place the offsets in the prepared soil, making sure the roots are covered but not buried too deep.
- Watering: Give them a light watering to settle the soil around the roots.
Pro Tip: If you’re dealing with plantlets, you can simply snip them off and follow the same steps as above.
Aftercare for Offsets
After planting, it’s essential to monitor the new plants closely.
- Water Regularly: Keep the soil moist but not soggy.
- Provide Support: If necessary, stake the plantlets for stability as they establish roots.
Preparing Soil for Propagation Success
When embarking on the journey of propagating lavender scallops, one of the most pressing concerns is the soil you use.
Why is Soil Preparation Crucial?
The right soil can make or break your propagation efforts. Poor soil can lead to root rot, inadequate drainage, or nutrient deficiencies.
Key Characteristics of Ideal Soil
– Well-Draining: Lavender scallops thrive in soil that drains well. This prevents excess moisture, which can be detrimental to young plants.
– Sandy or Loamy Texture: A mix of sandy and loamy soil provides the right balance of aeration and moisture retention.
– pH Level: Aim for a slightly alkaline pH between 6.5 and 7.5. This range supports optimal nutrient uptake.
– Nutrient-Rich: Incorporate organic matter, such as compost, to enrich the soil. This will provide essential nutrients for healthy growth.
Steps to Prepare Your Soil
– Choose the Right Container: Select pots with drainage holes to prevent water accumulation.
– Mix Your Soil Components: Combine equal parts of potting soil, sand, and compost for a balanced mix.
– Test the pH: Use a pH testing kit to ensure your soil falls within the ideal range. Adjust as necessary with lime or sulfur.
– Moisten the Soil: Before planting, lightly dampen the soil. It should be moist but not soggy.
Tips for Success
– Avoid Heavy Soils: Steer clear of clay-heavy soils, as they retain too much moisture.
– Sterilise Your Soil: Consider sterilising your soil mix to eliminate pathogens that could harm your new plants.
– Use Quality Ingredients: Invest in high-quality potting mix and compost for the best results.
By preparing the soil correctly, you set the foundation for successful propagation of your lavender scallops. For more detailed guidance, you might find the step-by-step guide to grow Kalanchoe from leaf cuttings helpful. Additionally, understanding the optimal bloom times for Kalanchoe can further enhance your gardening success.
Essential Watering Tips During Propagation
So, you’ve got your lavender scallops ready for propagation. Now, let’s dive into one of the most crucial aspects: watering.
You might be wondering, “How much water do my new cuttings really need?”
Here’s the deal:
- Keep it Light: Overwatering is a common pitfall. Always ensure your soil is well-draining. Lavender scallops thrive in slightly dry conditions, so let that soil dry out a bit between waterings.
- Watering Schedule: Aim to water every 5-7 days, but keep an eye on the soil. If it feels damp, hold off.
- Use Room Temperature Water: Cold water can shock your plants. Stick to room temperature to keep them happy.
- Misting: A light misting can help create humidity without drowning the plant. Just a quick spritz can do wonders, especially in drier environments.
- Check the Leaves: If the leaves start drooping or turning yellow, it might be a sign you’re overdoing it. Adjust your watering routine accordingly.
By keeping these tips in mind, you’ll set your lavender scallops up for success.
Ideal Light and Temperature Conditions for Rooting
When propagating lavender scallops, one of the most common concerns is ensuring the right light and temperature conditions for successful rooting.
Common Mistakes to Avoid During Propagation
So, you’re all set to propagate your lavender scallops, but hold on! Before you dive in, let’s chat about some common pitfalls that can trip you up.
- Ignoring Clean Tools
Using dirty tools can introduce pests and diseases. Always sterilise your scissors or knives before making cuttings. A quick wipe with rubbing alcohol does wonders! - Overwatering
It’s easy to think that more water means better growth, but too much moisture can lead to root rot. Stick to a light watering schedule. The soil should be moist, not soggy. - Poor Lighting
Lavender scallops thrive in bright, indirect light. Placing them in a dark corner can stunt their growth. Find a sunny spot, but avoid direct harsh sunlight that can scorch young plants. - Not Using the Right Soil
Standard garden soil isn’t ideal. Go for a well-draining mix. A blend of potting soil and perlite or sand works wonders for these beauties. - Neglecting Temperature
These plants prefer a warm environment. Keeping them in chilly spots can slow down rooting. Aim for a consistent temperature between 20-25°C (68-77°F). - Skipping Fertiliser
While you don’t want to over-fertilise, a little boost can help. Use a diluted liquid fertiliser once roots start to form, but be cautious! - Being Impatient
Propagation takes time. Check on your cuttings regularly, but avoid the temptation to tug them out to see if roots have formed. Patience is key here!
Once you’ve successfully propagated your lavender scallops, the next step is to ensure they thrive in their new environment.
What are the essential care tips for these delicate plants?
**Watering Wisely**
– **Consistency is Key**: Newly propagated lavender scallops require regular watering, but be cautious not to overdo it.
– **Check Soil Moisture**: Always check the top inch of soil. If it’s dry, it’s time to water.
– **Drainage Matters**: Ensure pots have drainage holes to prevent waterlogging, which can lead to root rot.
**Providing the Right Light**
– **Bright, Indirect Light**: Place your lavender scallops in a spot where they receive plenty of bright, indirect sunlight.
– **Avoid Direct Sun**: Too much direct sunlight can scorch their delicate leaves.
**Temperature Control**
– **Ideal Range**: Keep your lavender scallops in a temperature range of 18-24°C (65-75°F).
– **Avoid Cold Drafts**: Protect them from chilly drafts to promote healthy growth.
**Nutrient Needs**
– **Fertilise Sparingly**: Use a diluted, balanced fertiliser every 4-6 weeks.
– **Organic Options**: Consider organic options to enhance soil health without harsh chemicals.
**Monitoring for Pests**
– **Regular Checks**: Keep an eye out for common pests like aphids or spider mites.
– **Natural Remedies**: Use insecticidal soap or neem oil for any infestations.
**Patience is Crucial**
– **Growth Takes Time**: Remember, it may take a few weeks for your lavender scallops to establish roots and start growing robustly.
– **Observe Changes**: Watch for new growth as a sign of successful propagation.
For more detailed information on succulent care, you might find the [complete care guide for Kalanchoe daigremontiana](https://planthq.org/complete-care-guide-for-kalanchoe-daigremontiana-pink-butterflies/) useful. Additionally, if you’re interested in propagation techniques, the [step-by-step guide to grow Kalanchoe from leaf cuttings](https://planthq.org/stepbystep-guide-to-grow-kalanchoe-from-leaf-cuttings/) could provide valuable insights.
FAQs on Propagating Kalanchoe Lavender Scallops
What is the best method for propagating lavender scallops?
There are two primary methods: using stem cuttings and propagating through plantlets and offsets. Both are effective, but stem cuttings are often easier for beginners.
Why should I choose stem cuttings for propagation?
Stem cuttings are popular because they are straightforward and often have a high success rate. This method also allows you to keep the original plant intact while creating new ones.
How do I prepare a stem cutting for propagation?
Select a healthy, green stem that is about 4-6 inches long. Make a cut just below a node, remove the lower leaves, and optionally dip the cut end in rooting hormone before planting it in well-draining soil.
What are plantlets and offsets?
Plantlets are small plants that grow from the parent plant, while offsets are side shoots that develop at the base. Both can be used for propagation and are known for their simplicity and quick rooting.
How do I propagate using plantlets and offsets?
Identify healthy offsets with their own roots, gently remove them from the parent plant, and plant them in well-draining soil. Water lightly to settle the soil around the roots.
What are some essential watering tips during propagation?
Keep the soil slightly dry between waterings, aim to water every 5-7 days, and use room temperature water. Misting can help create humidity without overwatering.
What common mistakes should I avoid during propagation?
Avoid using dirty tools, overwatering, poor lighting, improper soil, and neglecting temperature. Also, be patient and avoid tugging on cuttings to check for roots.
Do I need to use rooting hormone for stem cuttings?
Rooting hormone is optional but can boost your chances of success and speed up root development. It’s not necessary but can be beneficial.
How do I care for my lavender scallops after planting offsets?
Monitor the new plants closely, keep the soil moist but not soggy, and provide support if necessary. Ensure they receive bright, indirect light and maintain a warm environment.
What should I do if my lavender scallops’ leaves start to droop or turn yellow?
This could be a sign of overwatering. Adjust your watering routine and ensure the soil is well-draining to prevent root rot.
References
-
Gardening Know How: Propagating Lavender Scallops
-
The Spruce: How to Propagate Succulents
-
Gardener’s World: How to Propagate Succulents