Propagating Kalanchoe from Leaves
Wondering if you can propagate Kalanchoe from leaves? You’re in the right place. Yes, it’s entirely possible, and I’ll walk you through the process. From selecting the right leaves to ensuring optimal growth conditions, I’ve got you covered. Let’s dive into how you can successfully multiply your Kalanchoe plants using leaf cuttings.
Steps to Propagate Kalanchoe
-
Choose Healthy Leaves:
First, choose healthy, mature leaves from your Kalanchoe plant. Gently twist them off, ensuring you get a clean break.
-
Allow to Dry:
Allow the leaves to dry for a day or two to form calluses, which helps prevent rot.
-
Planting:
Once dried, place the leaves on well-draining soil, mist lightly, and keep them in a warm, bright spot.
Final Thoughts
With patience and proper care, you’ll see new roots and tiny plantlets emerging in no time.
Are you looking to expand your Kalanchoe collection without breaking the bank?
Propagating Kalanchoe using leaf cuttings is a straightforward and rewarding process.
### Step-by-Step Guide to Leaf Cutting Propagation
1. **Select Healthy Leaves:** Look for mature, healthy leaves on your Kalanchoe plant. Avoid any that show signs of disease or damage.
2. **Make Clean Cuts:** Using a sharp, clean knife or scissors, cut the leaves from the stem. Aim for a clean cut to reduce the risk of infection.
3. **Let Them Callous:** Place the cut leaves in a dry, shaded area for a few days. This allows the cut edges to callous over, which helps prevent rot when planted.
4. **Prepare for Planting:** Once the edges are calloused, you’re ready to plant.
5. **Planting the Cuttings:**
– Fill a shallow pot with a well-draining soil mix, ideally a cactus or succulent mix.
– Lay the calloused leaves flat on the soil surface.
– Press them down gently but do not bury them.
6. **Water Sparingly:** After planting, mist the soil lightly. Avoid overwatering, as Kalanchoe is prone to root rot.
7. **Create a Suitable Environment:** Place the pot in a warm, bright location but out of direct sunlight to encourage rooting.
For more detailed information on specific Kalanchoe varieties, you might find this [complete guide to Kalanchoe Mother of Thousands care](https://planthq.org/complete-guide-to-kalanchoe-mother-of-thousands-care-propagation/) helpful. Additionally, if you’re interested in the health benefits of Kalanchoe Pinnata, check out this [Kalanchoe Pinnata leaf extract guide](https://planthq.org/kalanchoe-pinnata-leaf-extract-health-benefits-bioactive-compounds/).
Best Time of Year for Kalanchoe Propagation
So, you’re keen on propagating your Kalanchoe? Great choice!
Timing is everything when it comes to plant propagation.
When to Propagate
The best time to propagate Kalanchoe is during the spring or early summer.
Here’s why:
- Growth Spurts: This is when the plant is naturally growing, making it more likely for your cuttings to root successfully.
- Mild Weather: The temperatures are warmer, but not too hot, which is perfect for new roots to develop without stress.
Signs It’s the Right Time
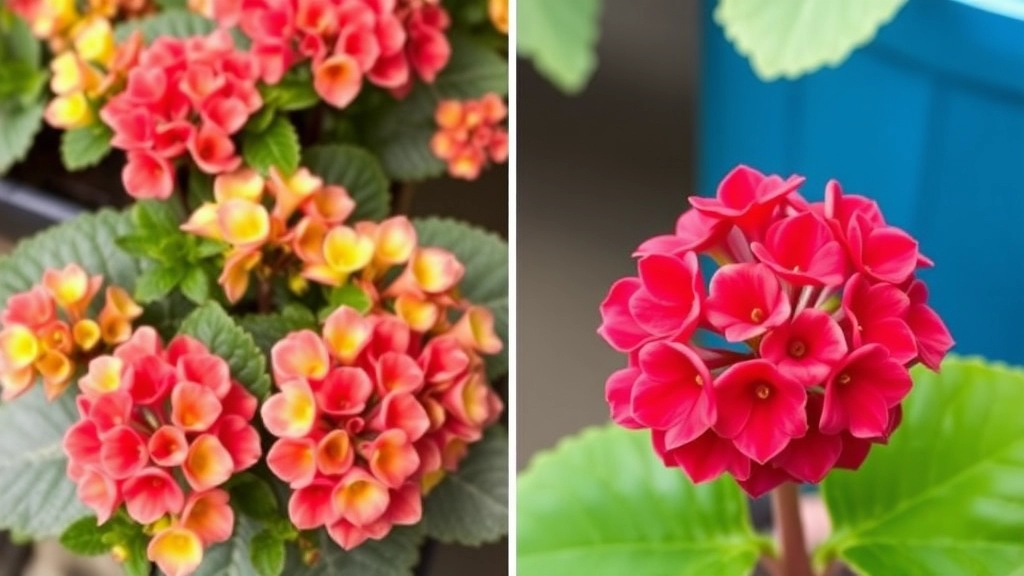
- Healthy Leaves: Look for vibrant, plump leaves. If your Kalanchoe is thriving, it’s a good sign.
- Post-Flowering: After the blooming period is ideal. The plant can focus its energy on growth rather than flowering.
Quick Tips
- Avoid Winter: Cold temperatures can hinder growth and cause rot.
- Monitor Your Plant: If your Kalanchoe is showing signs of dormancy, hold off on propagating until it perks up again.
Choosing the Right Leaves for Successful Propagation
When it comes to propagating Kalanchoe, selecting the right leaves is crucial for success.
Many enthusiasts often wonder which leaves will yield the best results.
Here’s what you should consider:
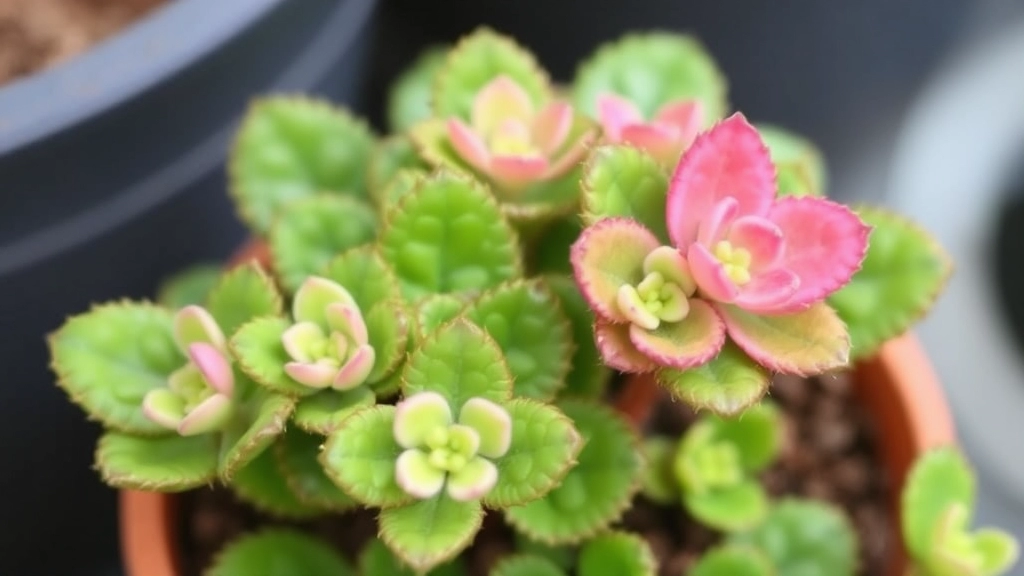
- Healthy Leaves: Look for leaves that are firm and plump. Avoid any that are yellowing, wilting, or showing signs of disease.
- Mature Leaves: Choose mature leaves rather than young, tender ones. Mature leaves have more stored energy, increasing the chances of successful rooting.
- Size Matters: Opt for medium-sized leaves. While larger leaves may seem appealing, they can take longer to root and may be more prone to rot.
- Avoid Damaged Leaves: Inspect for any cuts, bruises, or pest damage. Damaged leaves are less likely to thrive.
- Leaf Type: Consider using the more fleshy varieties of Kalanchoe, as they tend to propagate more easily compared to thinner leaves.
By making informed choices, you set a solid foundation for your propagation journey. For more detailed information on specific Kalanchoe types, check out our comprehensive Kalanchoe species list. If you’re interested in the propagation of particular varieties, our guide on how to propagate Kalanchoe Mother of Thousands can be very helpful.
Preparing the Kalanchoe Leaves for Propagation

Once you’ve chosen the right time and leaves for propagation, the next step is to prepare the Kalanchoe leaves effectively. This stage is crucial for ensuring successful root development.
Steps to Prepare Kalanchoe Leaves:
- Select Healthy Leaves:
- Choose mature, healthy leaves from the parent plant.
- Avoid any leaves that show signs of disease or damage.
- Clean the Leaves:
- Gently wipe the leaves with a damp cloth to remove dust or pests.
- This ensures a clean surface for rooting.
- Cut the Leaves:
- Use a sharp, sterilised knife or scissors to cut the leaves.
- Aim for a clean cut to prevent damage to the leaf tissue.
- Allow to Callous:
- Place the cut leaves in a dry, shaded area for 1-3 days.
- This allows the cut end to callous over, reducing the risk of rot when planted.
- Optional – Dust with Rooting Hormone:
- While not necessary, you can dust the cut end with rooting hormone.
- This can enhance root development and increase success rates.
By carefully preparing the leaves, you set the stage for successful propagation.
When you’re ready to propagate Kalanchoe using leaf cuttings, selecting the right soil is crucial for success.
### Why is soil important?
The right soil provides essential nutrients, drainage, and aeration, all of which are vital for root development.
### Soil Type
– **Well-draining soil**: Kalanchoe thrives in soil that drains well to prevent waterlogged roots.
– **Cactus or succulent mix**: These pre-mixed soils are ideal as they are designed to provide the right balance of drainage and nutrients.
– **DIY mix**: If you prefer to make your own, combine equal parts of potting soil, sand, and perlite. This mix promotes aeration and drainage.
### pH Level
Aim for a **slightly acidic to neutral pH** (around 6.0 to 7.0) to support healthy growth.
### Nutrient Content
Ensure the soil has some organic matter for nutrients but avoid overly rich mixes, which can encourage rot.
### Container Considerations
Use pots with drainage holes. This allows excess water to escape, reducing the risk of root rot. For more detailed steps, you can refer to the guide on [how to plant Kalanchoe in a pot](https://planthq.org/how-to-plant-kalanchoe-in-a-pot-stepbystep-guide/). Additionally, if you’re dealing with specific varieties, check out the [care guide for flower dust plant Kalanchoe pumila](https://planthq.org/care-guide-for-flower-dust-plant-kalanchoe-pumila/).
Watering Tips to Prevent Root Rot
So, you’ve got your Kalanchoe leaves prepped and ready. Now, let’s talk about one of the biggest worries: root rot.
Why is Root Rot a Concern?
Root rot can be a real bummer. It’s sneaky and can ruin your propagation efforts before you even realise it’s happening.
Here’s how to keep those roots happy:
- Use Well-Draining Soil: This is non-negotiable. Opt for a cactus or succulent mix that allows excess water to escape quickly.
- Water Sparingly: Less is more when it comes to watering Kalanchoe leaves. Wait until the soil is completely dry before giving them a drink.
- Check the Bottom: If you’re using pots with drainage holes, check if water is pooling at the bottom. If it is, you’ve overdone it.
- Humidity Matters: Kalanchoe doesn’t like to sit in moisture. Keep the humidity levels low, especially in a closed environment.
- Use a Spray Bottle: Instead of pouring water directly, consider using a spray bottle. This gives a gentle mist that won’t overwhelm the leaves.
- Observe Your Leaves: If they start to look mushy or discoloured, it’s a red flag. Cut back on watering immediately.
By keeping these tips in mind, you can create a safe environment for your Kalanchoe to thrive.
Ideal Light and Temperature Conditions for Root Development
When propagating Kalanchoe, one of the most common concerns is ensuring the right environment for root development. If you’ve ever struggled with slow growth or failed cuttings, understanding light and temperature can make all the difference.
Light Requirements:
Kalanchoe thrives in bright, indirect sunlight. Here are some key points to consider:
- Location: Place your cuttings near a window that receives ample light but is shielded from harsh, direct rays.
- Duration: Aim for around 12-14 hours of light each day. A south-facing window is often ideal.
- Supplemental Lighting: If natural light is limited, consider using grow lights to maintain consistent light levels.
Temperature Conditions:
Temperature plays a critical role in the propagation process. Kalanchoe prefers:
- Ideal Range: Keep the temperature between 18°C to 24°C (65°F to 75°F).
- Avoid Extremes: Protect your cuttings from cold drafts and extreme heat, as these conditions can hinder root growth.
By ensuring optimal light and temperature, you create a nurturing environment for your Kalanchoe cuttings. This can lead to more robust root development and healthier plants. For more detailed steps on propagation, check out our step-by-step guide on propagating Kalanchoe Tomentosa. Additionally, understanding the causes and solutions for black spots on Kalanchoe leaves can help you maintain plant health during propagation.
Common Mistakes to Avoid During Kalanchoe Propagation
So, you’ve got your Kalanchoe leaves ready for propagation. But before you dive in, let’s chat about some common mistakes that could trip you up.
- Using Damaged Leaves
One of the biggest blunders is selecting leaves that are bruised or diseased. Always choose healthy, plump leaves. They’re your best bet for successful propagation. - Overwatering
It’s tempting to keep those leaves nice and moist, but too much water can lead to root rot. Stick to a light misting instead. Your Kalanchoe will thank you! - Ignoring Light Conditions
Kalanchoe loves bright, indirect light. Placing your cuttings in a dark corner is a surefire way to stunt their growth. Find that sweet spot where they can soak up the rays without frying. - Skipping the Drying Stage
After cutting the leaves, let them dry for a day or two before planting. This helps form a callous that protects against rot. Patience is key here! - Using the Wrong Soil
Regular potting soil might not cut it. Opt for a well-draining mix designed for succulents. Your little cuttings will thrive in the right environment. - Neglecting Temperature
Kalanchoe prefers warm conditions. If your home is too chilly, your propagation efforts might slow down. Keep them cozy for better results. - Not Monitoring Progress
Once you’ve planted those cuttings, check in on them regularly. If you notice any signs of distress, like wilting, take action immediately.
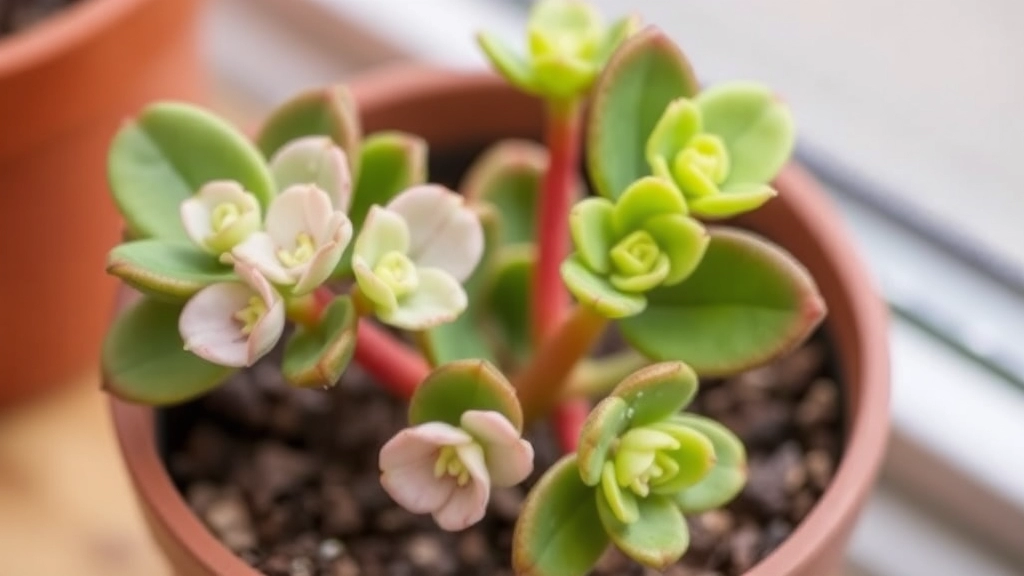
Monitoring Growth and Transplanting Rooted Cuttings
After successfully preparing your Kalanchoe leaves for propagation, the next step is to monitor their growth and determine the right time for transplanting rooted cuttings.
You may be wondering, how do I know when my cuttings are ready to be moved?
Signs of Growth
- Root Development:
- After a few weeks, gently tug on the cutting. If you feel resistance, roots are forming.
- Look for small white roots emerging from the base of the leaf.
- New Growth:
- Watch for tiny leaves sprouting from the stem. This is a positive sign that your cutting is thriving.
- Soil Moisture:
- If the soil feels dry and the cutting is established, it’s time to consider transplanting.
Transplanting Process
When you notice these signs, it’s time to transplant your rooted cuttings into larger pots. Here’s how to do it:
- Choose the Right Pot:
- Select a pot that is slightly larger than the current one, ensuring it has drainage holes.
- Prepare the Soil:
- Use a well-draining soil mix, ideally one designed for succulents.
- Handle with Care:
- Gently remove the cutting from its current pot, taking care not to damage the roots.
- Planting:
- Place the cutting in the new pot, fill with soil, and lightly press down to secure it.
- Watering:
- Water lightly after transplanting, allowing the soil to settle without oversaturating.
Post-Transplant Care
Once transplanted, keep an eye on your Kalanchoe’s growth:
- Light:
- Ensure it receives bright, indirect sunlight.
- Watering:
- Allow the top inch of soil to dry out before watering again.
- Monitoring:
- Check for any signs of stress, such as wilting or yellowing leaves.
For more detailed information on caring for your Kalanchoe, check out our expert tips on Kalanchoe care and our complete guide to growing Kalanchoe Mother of Thousands.
Pests and Diseases to Watch Out for During Propagation
So, you’ve got your Kalanchoe cuttings ready and are excited to see them thrive. But hang on! There are a few sneaky pests and diseases that could ruin your propagation efforts.
Common Pests:
- Mealybugs: These little white fluff balls love to hide in the leaf axils. They suck sap and can stunt growth.
- Aphids: Tiny green or black bugs that cluster on new growth. They can cause yellowing leaves and can spread diseases.
- Spider Mites: If you notice tiny webbing or speckled leaves, these guys might be the culprits. They thrive in dry conditions.
Diseases to Watch For:
- Powdery Mildew: This white, powdery fungus can appear if your plants are in too much humidity. It can smother your cuttings.
- Root Rot: Often caused by overwatering, this can be a killer. If the roots turn mushy, it’s time to act fast.
Prevention Tips:
- Inspect Regularly: Check your cuttings often for any signs of pests or disease. Early detection is key!
- Good Airflow: Make sure your cuttings aren’t cramped. Good airflow can help prevent fungal issues.
- Use Clean Tools: Always use sterilised scissors and pots to avoid introducing pests or diseases.
- Natural Remedies: If you spot pests, try a neem oil spray or insecticidal soap. They’re effective and less harmful to your plant.
Even with the best intentions, you may find that your Kalanchoe propagation efforts are not yielding the desired results.
### Common Issues to Consider
– **Inadequate Light**
Kalanchoe thrives in bright, indirect sunlight. If your cuttings are in a dim location, they may struggle to root.
– **Overwatering**
Too much moisture can lead to root rot. Always allow the soil to dry out between waterings. For more detailed watering tips, you can check out our [optimal watering tips for healthy florist Kalanchoe](https://planthq.org/optimal-watering-tips-for-healthy-florist-kalanchoe/).
– **Improper Soil Mix**
A well-draining soil is crucial. Use a cactus or succulent mix to prevent water retention.
– **Leaf Quality**
Damaged or diseased leaves will not propagate well. Always select healthy, plump leaves for the best results.
– **Temperature Extremes**
Kalanchoe prefers a stable environment. Avoid placing them in drafty areas or near heating vents.
### Signs of Trouble
– **Yellowing Leaves**: Indicates overwatering or poor light.
– **Soft or Mushy Cuttings**: A clear sign of rot.
– **Wilting**: Could mean under-watering or excessive heat.
### Solutions to Revive Your Cuttings
– **Adjust Light Conditions**: Move your cuttings to a brighter spot.
– **Revise Watering Schedule**: Allow the soil to dry out more thoroughly.
– **Change the Soil**: If you suspect soil issues, repotting can help.
– **Remove Damaged Leaves**: Trim away any unhealthy parts to promote new growth. For a comprehensive guide on Kalanchoe care, visit our [ultimate guide to growing and caring for succulent plant Kalanchoe](https://planthq.org/ultimate-guide-to-growing-and-caring-for-succulent-plant-kalanchoe/).
FAQs on Propagating Kalanchoe from Leaves
Can you propagate Kalanchoe from leaves?
Yes, you can propagate Kalanchoe from leaves. It’s a straightforward process if you follow the right steps and timing.
What is the best time of year to propagate Kalanchoe?
The best time to propagate Kalanchoe is during the spring or early summer. This period aligns with the plant’s natural growth spurts and favorable weather conditions.
How do I know it’s the right time to propagate my Kalanchoe?
Look for healthy, vibrant leaves and wait until after the blooming period. Avoid propagating during the plant’s dormant phase or in winter.
What should I do to prepare Kalanchoe leaves for propagation?
Select healthy leaves, clean them, make clean cuts with sterilized tools, and let the cut ends callous over for 1-3 days. Optionally, you can dust the cut ends with rooting hormone to enhance root development.
How do I prevent root rot during propagation?
Use well-draining soil, water sparingly, and ensure good airflow. Avoid overwatering and keep humidity levels low. Using a spray bottle for watering can help prevent root rot.
What are common mistakes to avoid during Kalanchoe propagation?
Avoid using damaged leaves, overwatering, ignoring light conditions, skipping the drying stage, using the wrong soil, neglecting temperature, and not monitoring progress regularly.
What pests and diseases should I watch out for during propagation?
Common pests include mealybugs, aphids, and spider mites. Diseases to watch for include powdery mildew and root rot. Regular inspections, good airflow, clean tools, and natural remedies can help prevent and manage these issues.
Why is it important to let the cut leaves callous over before planting?
Allowing the cut leaves to callous over reduces the risk of rot when planted. This step is crucial for successful root development.
Can I use regular potting soil for Kalanchoe propagation?
It’s better to use a well-draining mix designed for succulents. Regular potting soil may retain too much moisture, increasing the risk of root rot.
What are the signs that my Kalanchoe cuttings are not doing well?
Signs of distress include mushy or discolored leaves, wilting, and signs of pests or diseases. Take immediate action if you notice any of these issues.
References
-
Gardening Know How – Propagating Kalanchoe Plants
-
The Spruce – How to Propagate Kalanchoe
-
Succulent Plant Care – Kalanchoe Propagation