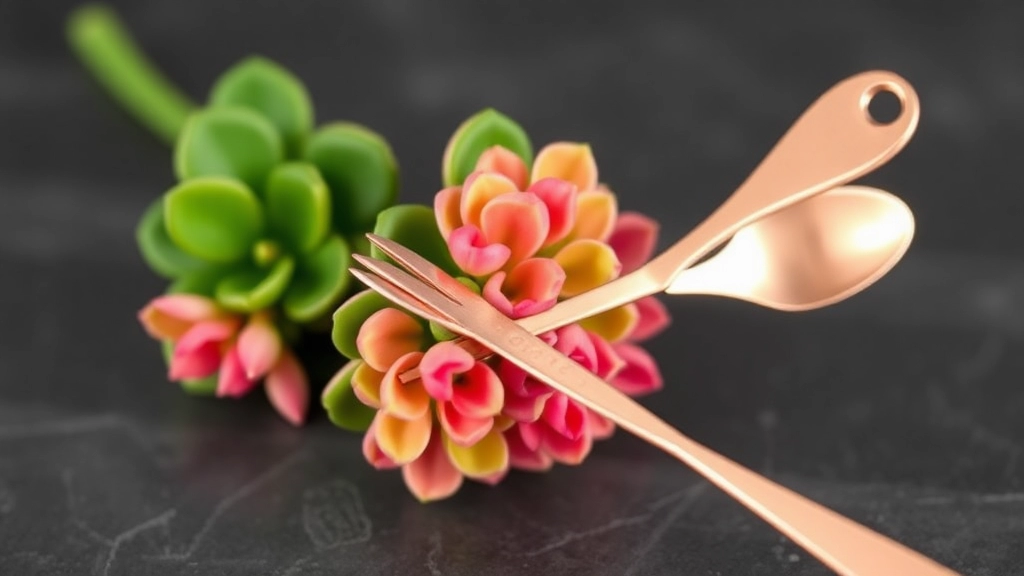
Propagating Kalanchoe Copper Spoons
If you’re looking to propagate your Kalanchoe Copper Spoons, also known as Kalanchoe orgyalis, through cuttings, you’ve come to the right place. This unique succulent, celebrated for its coppery foliage, can be easily propagated by following a few simple steps. Whether you’re aiming to expand your collection or rejuvenate an existing plant, understanding the process of cutting and planting is key.
Steps for Successful Propagation
First, choose the right time for propagation, ideally during the growing season. Gather your tools, including a clean, sharp knife or scissors, and select a healthy stem for cutting. Allow the cuttings to callous over for a few days before planting them in well-draining soil.
Care Tips
- Maintain a consistent watering schedule
- Provide optimal light conditions
- Avoid common mistakes like overwatering
- Watch out for pests to keep your new cuttings thriving
Choosing the Right Time for Propagation
When is the best time to propagate plants? This question often arises for those eager to expand their garden or houseplant collection. Timing plays a crucial role in the success of propagation, as it can significantly influence root development and overall plant health.
Key Factors to Consider:
- Seasonal Timing:
- Spring is typically the best time for propagation.
- Plants are in their active growth phase, making them more receptive to cutting.
- Weather Conditions:
- Aim for mild temperatures, ideally between 15°C to 25°C.
- Avoid extreme heat or cold, as these can hinder growth.
- Plant Health:
- Ensure the parent plant is healthy and free from pests or diseases.
- A robust plant will yield stronger cuttings.
- Moon Phases:
- Some gardeners swear by lunar cycles, suggesting that propagating during a waxing moon can enhance root growth.
By considering these factors, you can set the stage for successful propagation. For more detailed steps, you might find our step-by-step guide to fuzzy Kalanchoe propagation helpful. Additionally, understanding the care and propagation of Kalanchoe Mother of Thousands can provide further insights into the propagation process.
Preparing the Tools for Cutting
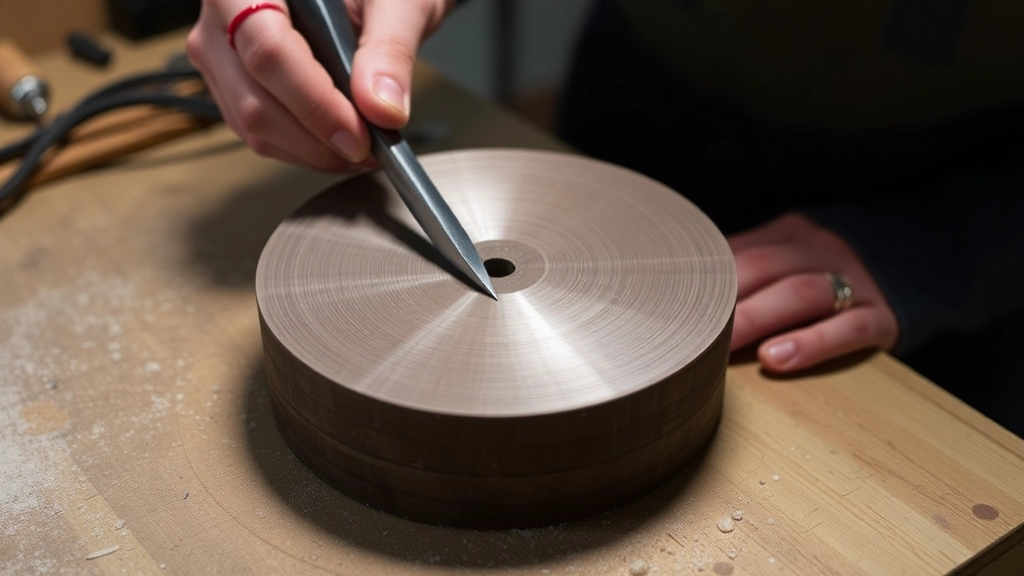
So, you’ve decided to propagate some plants—exciting times ahead! But before you dive in, let’s talk about the tools you’ll need.
Having the right tools can make all the difference. You don’t want to risk damaging your precious cuttings, right? Here’s what you should gather:
- Sharp Pruning Shears or Scissors: A clean cut is crucial. Dull tools can crush stems, making it harder for them to root.
- Clean Containers: Use pots or trays that have drainage holes. This prevents water from pooling, which is a common cause of root rot.
- Rooting Hormone (optional): While not necessary, this can give your cuttings a little boost in developing roots.
- Labeling Materials: If you’re propagating different plants, it’s helpful to keep track of what’s what.
Before you start snipping, give your tools a good clean. A quick wipe with rubbing alcohol can help prevent the spread of diseases.
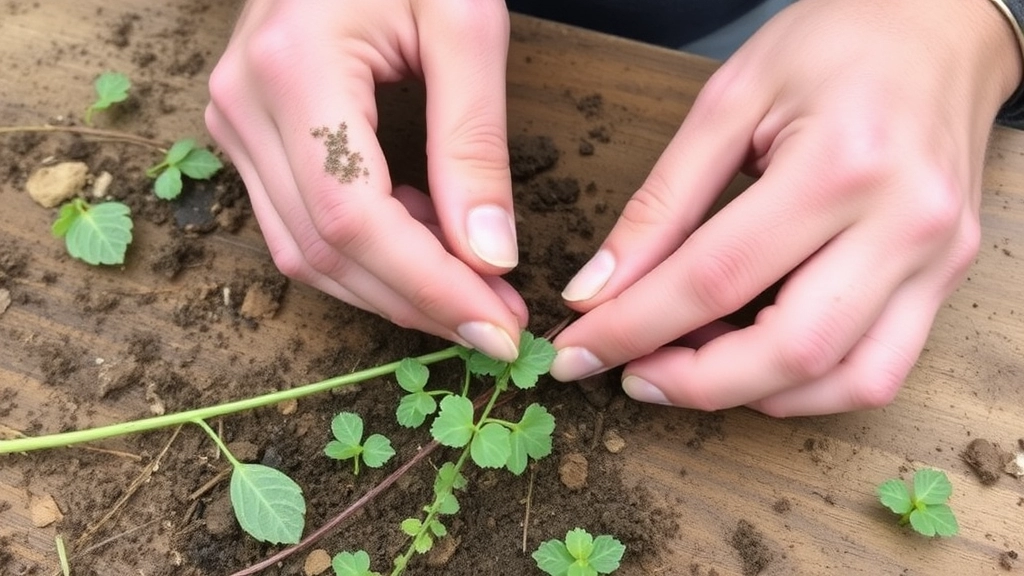
Selecting the Best Stem for Cutting
When it comes to propagation, choosing the right stem for cutting can make all the difference in your success.
What Should You Look For?
- Healthy Growth: Ensure the stem is free from disease and pests. Look for vibrant leaves and robust structure.
- Age Matters: Opt for semi-mature stems, typically those that are neither too young nor too old. Young stems may lack the necessary energy reserves, while older ones can be woody and less likely to root.
- Node Presence: Choose stems that have at least one node, as this is where roots will emerge. The node is the key player in the rooting process.
- Length: Ideally, select a cutting that is about 4 to 6 inches long. This length provides enough material for rooting while remaining manageable.
A Quick Checklist for Selection:
- [ ] Healthy leaves
- [ ] Semi-mature stem
- [ ] At least one node
- [ ] Length of 4 to 6 inches
By keeping these factors in mind, you set yourself up for a higher chance of successful propagation. For more detailed guidance, check out our step-by-step guide on propagating Kalanchoe Copper Spoons. Additionally, understanding the causes and solutions for Kalanchoe leaves curling can help ensure your plant stays healthy throughout the process.
Letting the Cuttings Callous Over
After selecting the right stem for your cuttings, the next crucial step is allowing them to callous over. This process is essential for successful propagation, as it helps prevent rot and promotes healthy root development.
Why Callousing is Important
When you cut a stem, it creates a wound that can be susceptible to moisture and pathogens. By letting the cuttings callous over, you:
- Reduce Water Loss: The callous forms a protective layer that helps retain moisture.
- Prevent Rot: A calloused cutting is less likely to develop fungal infections.
- Encourage Root Growth: A healed cutting is better prepared to establish roots in the soil.
How to Callous Your Cuttings
- Choose a Suitable Location: Find a warm, dry place away from direct sunlight.
- Lay the Cuttings Flat: Place them on a clean surface, ensuring they do not touch each other.
- Timeframe: Allow them to callous for 24 to 48 hours, depending on the plant type.
Signs of Successful Callousing
- The cut end appears dry and slightly hardened.
- No visible moisture or sap is present.
After allowing your cuttings to callous over, the next crucial step is planting them in well-draining soil. This is vital for ensuring healthy root development and preventing issues like root rot.
Many gardeners worry about the right soil mix for their cuttings. Choosing the appropriate medium can be the difference between success and failure. Here’s how to ensure your cuttings thrive:
– **Select the Right Soil**: Use a potting mix designed specifically for propagation. Look for blends that contain perlite or vermiculite, as these components enhance drainage.
– **Prepare the Pot**: Ensure your pot has drainage holes. This prevents excess water from accumulating, which can lead to root rot.
– **Fill the Pot**: Lightly fill your pot with the well-draining soil, leaving enough space for the cutting. Avoid compacting the soil too tightly, as this can hinder root growth.
– **Plant the Cutting**: Create a small hole in the soil with your finger or a pencil. Place the cutting in the hole, ensuring that at least one node is buried. Gently press the soil around the cutting to secure it in place.
– **Water Lightly**: After planting, give the cutting a light watering to settle the soil around it. Be careful not to soak it, as too much moisture can be detrimental.
By ensuring your cuttings are planted in well-draining soil, you set the stage for healthy growth. For more detailed advice on propagation techniques, you can explore our [step-by-step guide on propagating Kalanchoe leaves](https://planthq.org/how-to-propagate-kalanchoe-leaves-a-stepbystep-guide/). Additionally, if you encounter issues like drooping leaves, our guide on [fixing drooping Kalanchoe leaves](https://planthq.org/how-to-fix-drooping-kalanchoe-leaves-causes-and-solutions/) provides practical solutions.
Watering Schedule for New Cuttings
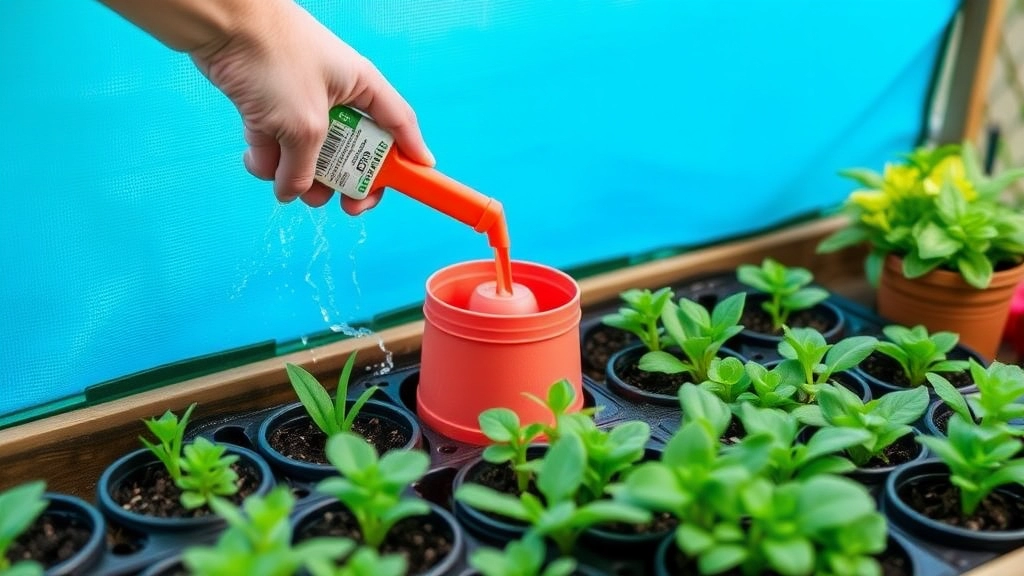
So, you’ve taken your cuttings, and now you’re probably wondering, “How much water do these little guys need?” It’s a common concern, and getting the watering right is crucial for their survival.
Here’s the deal:
- Initial Watering: After planting your cuttings in well-draining soil, give them a good drink. This helps settle the soil around the roots.
- Check the Soil: Instead of sticking to a strict schedule, feel the soil. If the top inch feels dry, it’s time to water.
- Tip: Use your finger to check moisture. This is often more reliable than a calendar.
- Frequency: Generally, you’ll want to water every few days. However, this can vary based on humidity and temperature. In hotter weather, you might need to water more often.
- Avoid Overwatering: It’s tempting to keep the soil moist, but too much water can lead to root rot. If the leaves start to yellow or drop, that’s a red flag.
- Misting: To keep humidity levels up, consider misting your cuttings. This can help create a mini-greenhouse effect, promoting healthy growth.
- Signs of Thirst: Look for droopy leaves or wilting. If you see these signs, it’s time to give them a drink.
Remember, every plant is different, so pay attention to how your cuttings react.
Optimal Light Conditions for Growth
As we delve deeper into the propagation process, understanding the light conditions that foster growth is crucial for your cuttings to thrive.
Why Light Matters
Light is a vital component in the photosynthesis process, which directly influences the health and growth of your new plants. Without the right light, your cuttings may struggle to establish roots or may become leggy and weak.
Ideal Light Conditions
- Indirect Sunlight: Aim for bright, indirect sunlight. Direct sunlight can scorch young cuttings, while too little light can hinder their growth.
- Duration: Ensure your cuttings receive about 12-16 hours of light each day. This can be achieved with natural light or supplemented with grow lights.
Common Mistakes to Avoid in Propagation
So, you’re ready to dive into propagation, but let’s chat about some common pitfalls that might trip you up. We all want our cuttings to thrive, right? Here are a few mistakes to dodge:
- Ignoring Timing: Propagation is all about timing. If you cut during the wrong season, your success rate could plummet. Aim for the growing season when the plant is most active.
- Using Dull Tools: A clean, sharp cutting tool is essential. Dull blades can crush stems, making it harder for them to heal and root.
- Overwatering: It’s easy to get carried away, but soggy soil is a one-way ticket to root rot. Keep it moist, not drenched.
- Poor Soil Choice: Not all soil is created equal. Well-draining soil is a must. Avoid heavy mixes that retain too much moisture.
- Skipping the Callous: Letting your cuttings callous over is crucial. It helps prevent rot. Don’t rush this step!
- Neglecting Light Needs: Each plant has its own light requirements. Too much or too little can stunt growth. Know your plant!
- Ignoring Pests: Keep an eye out for pests. They can wreak havoc on your cuttings before you even get a chance to see roots.
By steering clear of these mistakes, you’ll be well on your way to successful propagation.
Troubleshooting: Dealing with Root Rot or Pests
As you nurture your cuttings, challenges such as root rot or pests may arise, threatening your propagation efforts. Understanding how to tackle these issues is crucial for successful growth.
Root Rot
Root rot is a common problem that occurs when cuttings sit in overly moist soil. Here’s how to identify and address it:
- Signs of Root Rot:
- Yellowing leaves
- Wilting despite adequate watering
- Foul smell from the soil
- Prevention:
- Ensure your soil is well-draining.
- Avoid overwatering; let the top inch of soil dry out before watering again.
- Treatment:
- Remove the cutting from the soil.
- Trim away any black, mushy roots.
- Allow the cutting to dry for a few hours.
- Repot in fresh, dry soil.
Pests
Pests can also pose a threat, feeding on your cuttings and stunting their growth. Common pests include aphids, spider mites, and mealybugs. Here’s how to manage them:
- Identification:
- Look for small insects on leaves or a sticky residue on surfaces.
- Check for webbing, which indicates spider mites.
- Prevention:
- Maintain good air circulation around your plants.
- Regularly inspect your cuttings for early signs of infestation.
- Treatment:
- Use insecticidal soap or neem oil to treat affected areas.
- For severe infestations, consider isolating the affected plant to prevent spreading.
By staying vigilant and addressing these issues promptly, you can ensure your cuttings thrive. For more detailed care instructions, you can check out our Kalanchoe Mother of Thousands Care and Propagation Guide and learn about why your Kalanchoe leaves might be dying and how to fix it.
FAQs on Kalanchoe Copper Spoons Cutting
What tools do I need for cutting Kalanchoe Copper Spoons?
To propagate Kalanchoe Copper Spoons, you will need sharp pruning shears or scissors, clean containers with drainage holes, optional rooting hormone, and labeling materials. Ensure your tools are clean to prevent disease spread.
Why is it important to let cuttings callous over?
Allowing cuttings to callous over is crucial as it reduces water loss, prevents rot, and encourages root growth. This process helps the cuttings heal and prepares them for successful rooting.
How do I let my Kalanchoe Copper Spoons cuttings callous?
Place your cuttings in a warm, dry location away from direct sunlight. Lay them flat on a clean surface without touching each other. Allow them to callous for 24 to 48 hours.
How should I water my new Kalanchoe Copper Spoons cuttings?
Initially, water your cuttings well to settle the soil. Check the soil moisture and water when the top inch feels dry. Generally, water every few days but adjust based on temperature and humidity. Avoid overwatering to prevent root rot.
What are some common mistakes to avoid during propagation?
Avoid the following mistakes: ignoring the right season for cutting, using dull tools, overwatering, using poor soil, skipping the callous step, neglecting light needs, and ignoring pests. These can reduce your success rate significantly.
Is rooting hormone necessary for propagating Kalanchoe Copper Spoons?
While rooting hormone is not necessary, it can provide a boost in root development, making the propagation process more successful.
How can I tell if my cuttings have successfully calloused?
Successful callousing is indicated by a dry and slightly hardened cut end with no visible moisture or sap. This shows the cutting is ready for planting.
What should I do if I notice my cuttings are wilting?
If your cuttings are wilting, check the soil moisture. Droopy leaves can be a sign of thirst. Ensure the soil is not too dry and adjust your watering schedule accordingly.
Can I propagate Kalanchoe Copper Spoons in any soil?
No, it’s best to use well-draining soil. Avoid heavy soil mixes that retain too much moisture, as this can lead to root rot.
References
-
Gardening Know How: Propagating Plants – How To Start New Plants From Cuttings
-
The Spruce: How to Propagate Plants
-
RHS: Plant Propagation by Cuttings