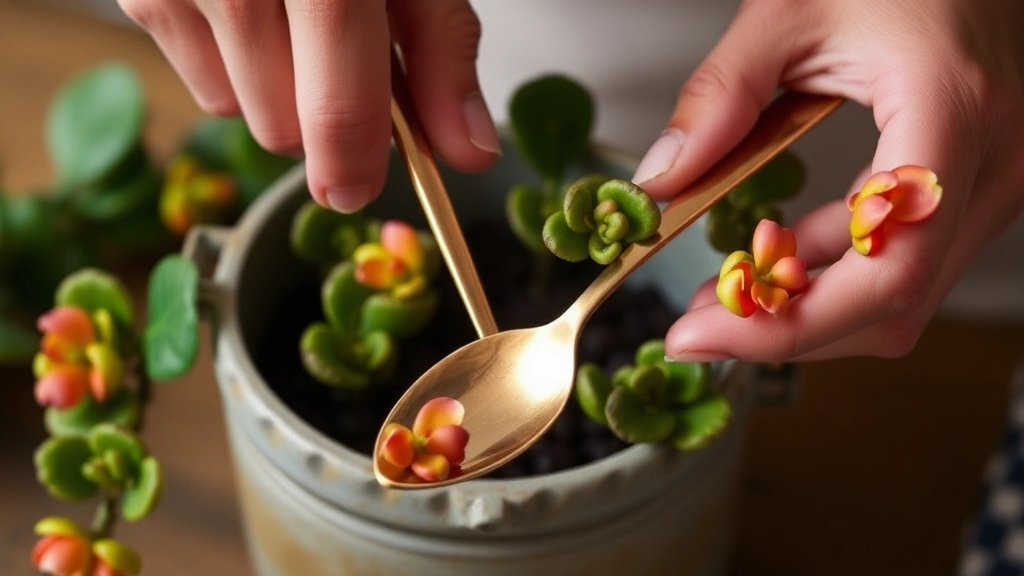
Propagating Kalanchoe Copper Spoons
Looking to propagate your Kalanchoe Copper Spoons? You’ve come to the right place. This guide will walk you through the essential steps for successfully growing new plants from cuttings. Whether you’re a seasoned gardener or a newbie, these tips will help you get started on the right foot.
Choosing the Right Cutting
First, let’s talk about choosing the right stem or leaf for cuttings. It’s crucial to pick healthy, mature parts of the plant to ensure successful propagation. Once you’ve got your cutting, allowing it to callous over before planting can make all the difference. Follow these steps, and you’ll be well on your way to growing a thriving Kalanchoe Copper Spoons.
Best Season for Propagating Copper Spoons
When is the right time to propagate your Copper Spoons? This is a question many plant enthusiasts ponder. The timing can significantly impact your success rate, so let’s dive into the best season for this delightful succulent.
Optimal Season
The ideal season for propagating Copper Spoons (Kalanchoe orgyalis) is during the spring or early summer. Here’s why:
- Active Growth Phase: During these months, the plant is in its active growth phase. This means it’s more likely to produce roots quickly.
- Mild Temperatures: Spring and early summer offer mild temperatures, which are less stressful for cuttings.
- Longer Days: Increased daylight hours provide the energy needed for photosynthesis, aiding in root development.
Timing Tips
To maximise your chances of success, consider the following:
- Wait for Warmer Weather: Ensure that the threat of frost has passed before taking cuttings.
- Monitor Plant Health: Only propagate from healthy plants. If your Copper Spoons are thriving, it’s the perfect time to take cuttings.
- Propagation Methods: Learn more about the step-by-step guide for Kalanchoe leaf propagation to improve your success rate.
For more detailed information on Kalanchoe care, check out our complete care guide for Kalanchoe Beharensis.
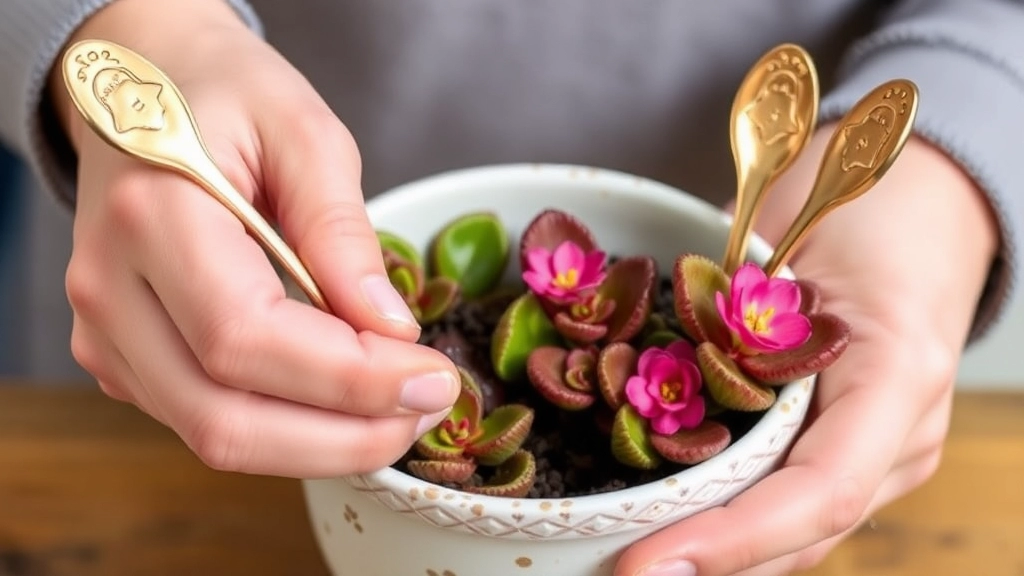
Choosing the Right Stem or Leaf for Cuttings
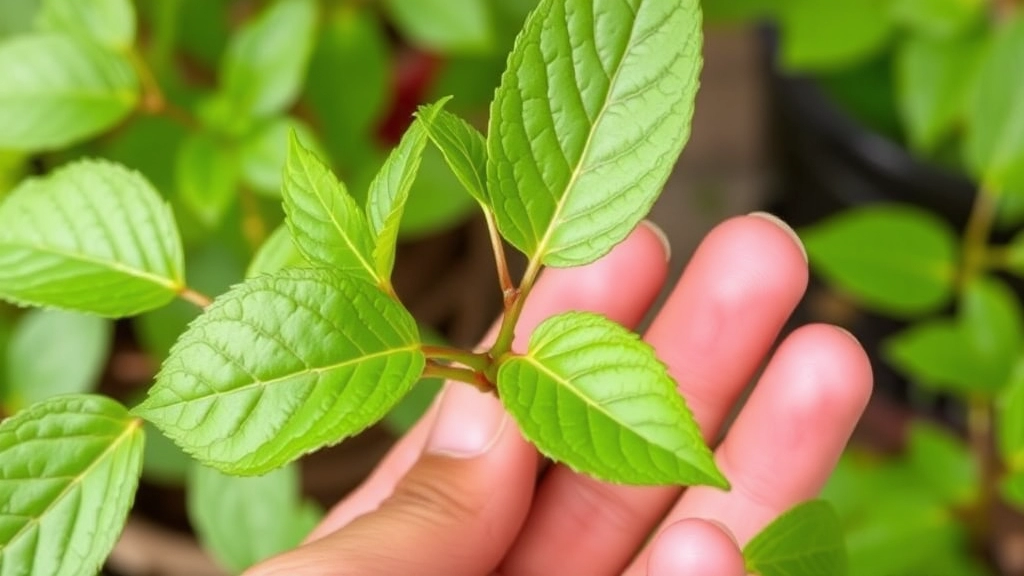
So, you’ve decided to propagate your Kalanchoe Copper Spoons. Exciting, right? One of the big questions is: how do you choose the right stem or leaf for your cuttings?
First off, not all stems or leaves are created equal. Picking the right ones can make all the difference in your success. Here’s what to look for:
- Healthy Growth: Aim for stems or leaves that are vibrant and free from any signs of disease or pests. Look for a rich green colour and firm texture.
- Mature Leaves: Choose mature leaves instead of tiny, juvenile ones. They have more energy stored up, which helps in rooting.
- Stem Thickness: If you’re going for stem cuttings, opt for thicker stems. They have a higher chance of rooting successfully compared to thin, spindly ones.
- Avoid Blooms: If your Copper Spoons are flowering, it’s best to avoid those stems. Focus on those without flowers to ensure the plant’s energy goes into rooting.
- Length of Cuttings: For stem cuttings, aim for pieces that are about 4-6 inches long. This gives enough length for rooting while still being manageable.
Step-by-Step Guide to Taking Stem Cuttings
Taking stem cuttings from your Copper Spoons can seem daunting, but with a clear, step-by-step approach, it becomes a straightforward process. Many gardeners worry about how to do this effectively, fearing that they might damage the plant or fail to root the cuttings. Fear not; I’ll guide you through it.
Step 1: Gather Your Tools
Before you begin, ensure you have the following tools on hand:
How to Callous Cuttings Before Planting
When propagating Copper Spoons, one crucial step often overlooked is the process of callousing the cuttings.
Why Callous?
Callousing helps prevent rot and promotes healthy root development. It allows the cut end of the cutting to form a protective layer, which is essential for successful rooting.
Steps to Callous Your Cuttings:
- Choose Healthy Cuttings: Select a healthy stem or leaf cutting, ideally around 4-6 inches long. Ensure there are no signs of disease or damage.
- Make a Clean Cut: Use a sharp, sterile knife or scissors to make a clean cut. This reduces the risk of infection.
- Let Them Rest: Place the cuttings in a dry, warm location away from direct sunlight. Allow them to rest for 1-3 days. This drying period is essential for forming a callous.
- Check for Callous Formation: After a few days, you should notice a hardened layer forming over the cut end. This indicates that the cutting is ready for planting.
- Use Cinnamon (Optional): Sprinkling a small amount of cinnamon on the cut end can help prevent fungal infections. It acts as a natural antifungal agent.
By following these steps, you’ll ensure your cuttings are well-prepared for planting, significantly increasing your chances of successful propagation.
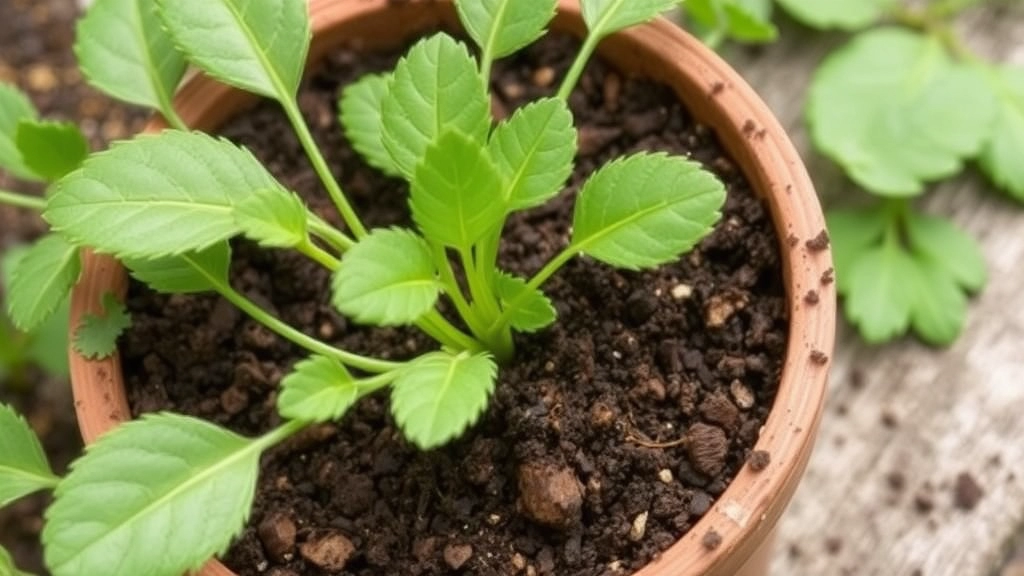
When propagating Copper Spoons, the right soil mix plays a crucial role in ensuring healthy root development. Many enthusiasts wonder what type of soil is best suited for these cuttings.
A well-draining soil mix is essential for Kalanchoe Copper Spoons, as it prevents waterlogging and root rot. Here’s what you should consider when creating the ideal mix:
– **Cactus or Succulent Potting Mix**: This type of soil is designed for plants that thrive in dry conditions. It provides excellent drainage while retaining some moisture.
– **Perlite or Pumice**: Adding 20-30% perlite or pumice to your potting mix enhances aeration and drainage. This is key for preventing soggy roots.
– **Coconut Coir or Peat Moss**: Incorporating a small amount of coconut coir or peat moss can help retain some moisture without making the soil too dense. Aim for about 10-15% of the mix.
– **Sand**: A touch of coarse sand can also improve drainage. Just be cautious not to overdo it; a 10% addition is often sufficient.
To create the perfect soil mix for your Copper Spoons cuttings, follow these simple steps:
1. **Combine Ingredients**: In a clean container, mix equal parts cactus mix and perlite. Add in the coconut coir and sand.
2. **Check Consistency**: The final mix should be light and airy, allowing for easy root penetration.
3. **Test Moisture Retention**: Before planting your cuttings, moisten the mix slightly. It should feel damp but not soggy.
By using this ideal soil mix, you set the stage for successful rooting and growth. For more detailed tips on caring for your Kalanchoe, check out our [complete guide to growing and caring for pink Kalanchoe plants](https://planthq.org/complete-guide-to-growing-and-caring-for-pink-kalanchoe-plants/) and our [step-by-step guide to Kalanchoe propagation from leaves](https://planthq.org/stepbystep-guide-kalanchoe-propagation-from-leaves/).
Watering and Moisture Needs for Successful Propagation
So, you’ve got your cuttings ready, and now you’re probably wondering how to keep them thriving.
Watering Tips for Copper Spoons Cuttings:
- Keep It Light: When you’re propagating Copper Spoons, it’s crucial not to overwater. Too much moisture can lead to rot, which is a definite no-no.
- Check the Soil: Before watering, stick your finger about an inch into the soil. If it feels dry, it’s time to give them a drink. If it’s still moist, hold off for a bit longer.
- Watering Technique: Use a spray bottle or a gentle watering can to avoid flooding the soil. A light misting works wonders, especially in the early days.
Humidity Levels Matter:
- Create a Humid Environment: Copper Spoons love a bit of humidity. You can achieve this by covering your cuttings with a clear plastic bag or placing them in a mini greenhouse. Just remember to ventilate them daily to avoid mould.
- Monitor the Environment: If your home is particularly dry, consider using a humidity tray filled with water and pebbles. This can help maintain a balanced moisture level.
Signs of Too Much or Too Little Water:
- Too Much Water: Yellowing leaves or mushy stems? That’s your cue to cut back on watering.
- Too Little Water: If the leaves start to shrivel or curl, it’s time to give them a little more love.
Sunlight Requirements for Rooting Cuttings
When propagating Copper Spoons, one common concern is the right amount of sunlight for your cuttings. Too much or too little light can hinder their growth and rooting process.
Common Propagation Mistakes and How to Avoid Them
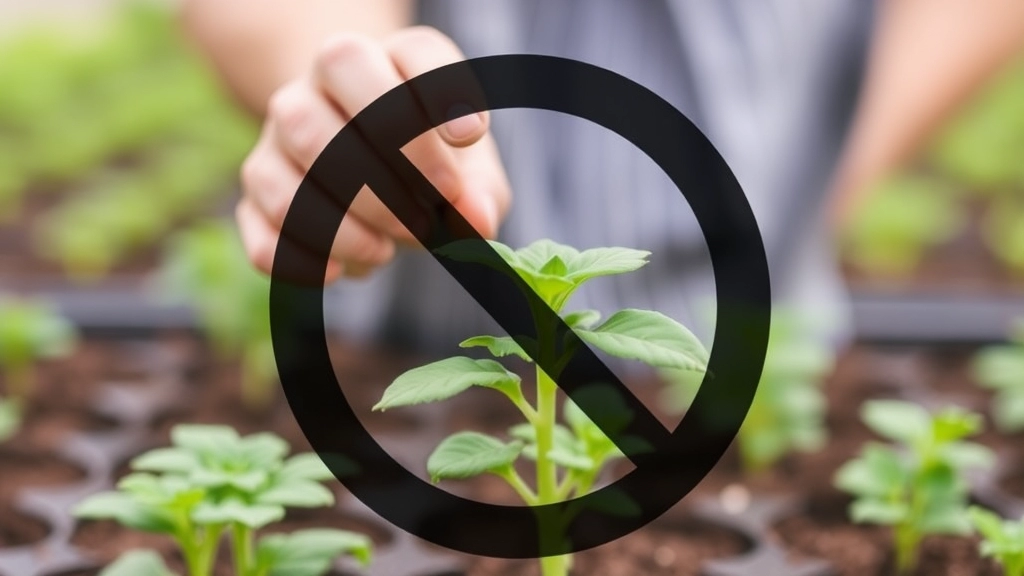
So, you’re all set to propagate your Kalanchoe Copper Spoons, but hold on! There are a few common pitfalls that can trip you up.
Mistake #1: Not Choosing the Right Cuttings
It’s tempting to just grab any stem or leaf, but not all cuttings are created equal.
- Pick healthy, mature stems with no signs of disease.
- Avoid overly woody stems; they don’t root well.
Mistake #2: Skipping the Callousing Step
I get it—you’re eager to plant those cuttings right away. But skipping the callousing process can lead to rot.
- Let your cuttings sit in a dry place for a few days.
- This helps form a protective layer that promotes healthy rooting.
Mistake #3: Overwatering
Watering can be tricky. Too much can drown your cuttings.
- Use a spray bottle to mist the soil lightly.
- Ensure the soil is well-draining to avoid soggy roots.
Mistake #4: Insufficient Light
Copper Spoons love light, but direct sunlight can scorch young cuttings.
- Place them in bright, indirect light.
- A south-facing window is usually a winner.
Mistake #5: Neglecting Humidity
These plants thrive in a humid environment.
- Consider using a humidity dome or a plastic bag to maintain moisture.
- Just remember to ventilate to prevent mold!
Rooting Cuttings in Water vs. Soil: Pros and Cons
As we delve deeper into the propagation process for Kalanchoe Copper Spoons, it’s essential to consider the methods of rooting cuttings.
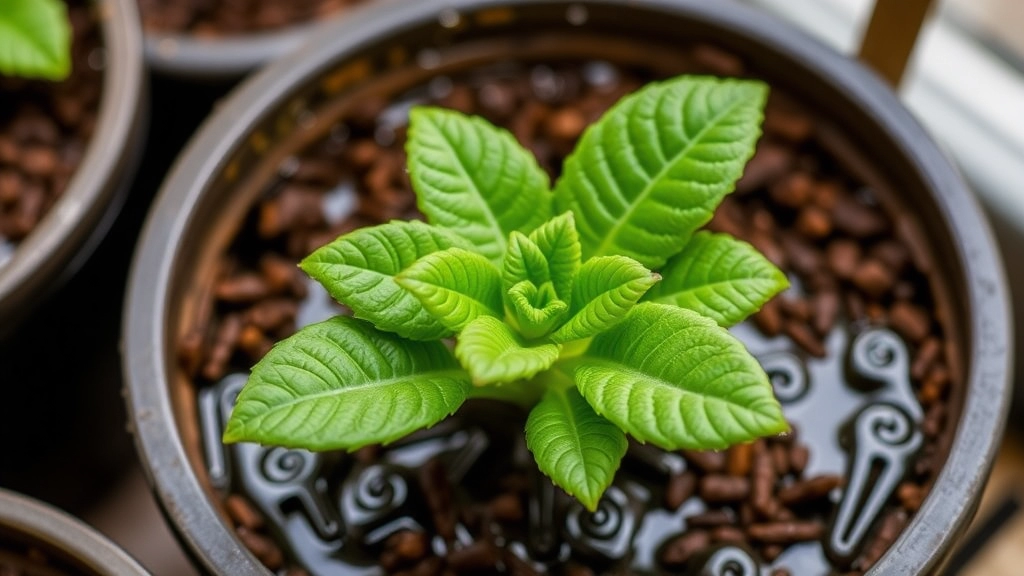
Caring for Newly Rooted Kalanchoe Copper Spoons
So, you’ve successfully rooted your Kalanchoe Copper Spoons cuttings—exciting times ahead! But what now? Caring for your newly rooted plants is crucial to ensure they thrive and grow into beautiful specimens.
Watering Wisely
One of the first things you might worry about is watering. Overwatering can be a sneaky killer. Here’s how to get it right:
- Check the soil: Before watering, stick your finger about an inch into the soil. If it feels dry, it’s time for a drink.
- Use well-draining soil: This is key. Copper Spoons don’t like sitting in water.
- Water sparingly: When you do water, do it thoroughly but let excess drain out.
Light It Up
Light is essential for your new plants. But too much can scorch those tender leaves. Here’s what to keep in mind:
- Indirect sunlight: Place your cuttings in a spot where they can soak up bright, indirect light.
- Gradual exposure: If they’ve been in low light, gradually introduce them to brighter conditions to avoid shock.
Temperature and Humidity
Your Copper Spoons will appreciate a stable environment. Keep these tips in mind:
- Ideal temperature: Aim for a cozy range between 20°C to 25°C (68°F to 77°F).
- Humidity levels: They prefer moderate humidity. If your home is dry, consider misting them lightly.
Fertilising
Once you see some growth, it’s time to think about feeding. But don’t rush it:
- Wait a month: After rooting, give them at least a month before introducing fertilizer.
- Use a diluted succulent fertilizer: This will give them the nutrients they need without overwhelming them.
Monitoring Growth
Keep an eye on your plants. Look for signs that they’re happy:
- New leaves: Fresh growth indicates your Copper Spoons are settling in well.
- Firm leaves: Healthy leaves should feel plump and firm, not wilted or shrivelled.
Signs of Successful Rooting and New Growth
After taking the time to propagate your Copper Spoons, it’s only natural to wonder how to tell if your efforts have paid off.
FAQs on Kalanchoe Copper Spoons Cutting
What is the best type of cutting to use for propagating Kalanchoe Copper Spoons?
For the best results, choose healthy, mature leaves or stems that are vibrant and free from disease or pests. Mature leaves and thicker stems tend to root more successfully.
Why is callousing important for Kalanchoe Copper Spoons cuttings?
Callousing helps prevent rot and promotes healthy root development. It allows the cut end of the cutting to form a protective layer, essential for successful rooting.
How do I callous Kalanchoe Copper Spoons cuttings?
After making a clean cut, place the cuttings in a dry, warm location away from direct sunlight for 1-3 days until a hardened layer forms over the cut end.
How often should I water my Kalanchoe Copper Spoons cuttings?
Water sparingly. Check the soil moisture by sticking your finger about an inch into the soil. If it feels dry, lightly mist the soil. Overwatering can lead to rot.
What kind of light do Kalanchoe Copper Spoons cuttings need?
Place the cuttings in bright, indirect light. Avoid direct sunlight as it can scorch the young cuttings.
How can I create a humid environment for my cuttings?
Cover the cuttings with a clear plastic bag or place them in a mini greenhouse. Ensure daily ventilation to avoid mold. You can also use a humidity tray filled with water and pebbles.
What are common mistakes to avoid when propagating Kalanchoe Copper Spoons?
Avoid choosing unhealthy or overly woody cuttings, skipping the callousing step, overwatering, insufficient light, and neglecting humidity.
When should I start fertilizing newly rooted Kalanchoe Copper Spoons?
Wait at least a month after rooting before introducing fertilizer. Use a diluted succulent fertilizer to provide necessary nutrients without overwhelming the plants.
How can I tell if my Kalanchoe Copper Spoons cuttings are healthy?
Look for new leaves and firm, plump leaves. These signs indicate that your Copper Spoons are settling in well and growing healthily.
References
-
How to take cuttings from succulents
-
Propagating Succulents: A Step-by-Step Guide
-
Propagating Succulents