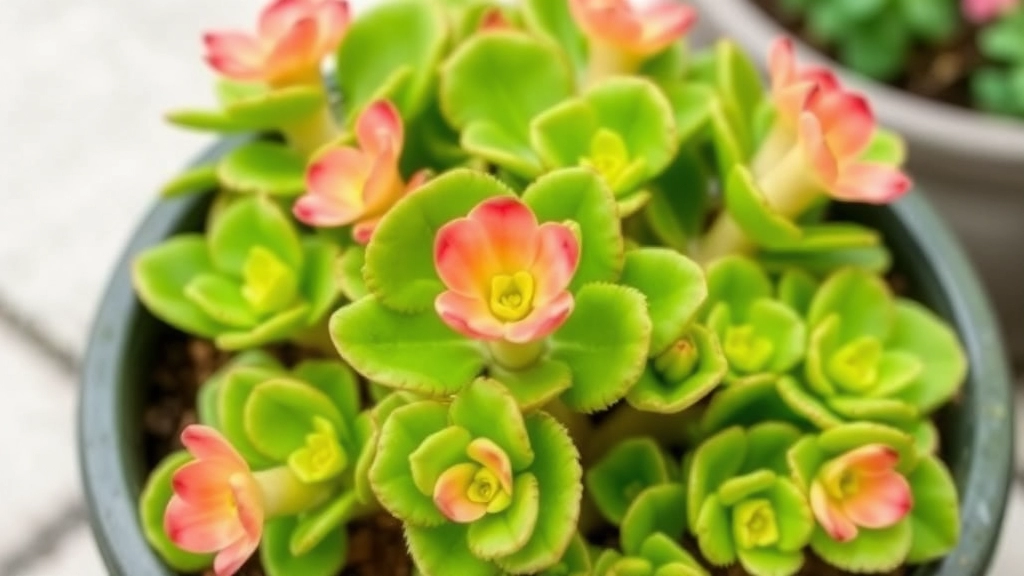
Growing Kalanchoe from Cuttings
Can you grow Kalanchoe from cuttings? Absolutely! As a succulent lover, I’ve found that propagating Kalanchoe from cuttings is not only doable but also incredibly rewarding. Whether you’re a newbie or a seasoned gardener, this guide will walk you through each step, from selecting the perfect stem to ensuring it roots successfully.
Timing is Crucial
The best period to take Kalanchoe cuttings is during its active growing season, typically in spring or early summer. Choose a healthy stem with no signs of disease or damage. Once you have your cutting, let it dry and callous over for a couple of days. This step is vital to prevent rot when you plant it.
Rooting Tips
While some gardeners swear by rooting hormone, it’s not a must. A well-draining soil mix and the right light conditions will set you on the path to success.
Choosing the right time for taking Kalanchoe cuttings is essential for successful propagation. Timing is crucial when it comes to propagating Kalanchoe cuttings. You might be wondering, “When is the best time to take cuttings for successful growth?” The ideal time to propagate Kalanchoe is during the spring and early summer months. Here’s why:
– **Active Growth Phase**: During spring and early summer, Kalanchoe plants are in their active growth phase. This means they are more likely to root successfully.
– **Optimal Light Conditions**: The increased sunlight during these months supports healthy growth, making it easier for cuttings to establish roots.
– **Mild Temperatures**: The warmer temperatures help in reducing stress on the cuttings, promoting faster root development.
If you miss this window, don’t worry. You can still take cuttings in late summer or early autumn, but be prepared for slower growth as the plant enters dormancy. For more detailed guidance, you might want to explore our [complete guide to Kalanchoe plant care](https://planthq.org/complete-guide-to-kalanchoe-plant-care/) and learn [how to propagate Kalanchoe leaves](https://planthq.org/how-to-propagate-kalanchoe-leaves-a-stepbystep-guide/).
How to Select a Healthy Stem for Propagation

So, you’re ready to take some Kalanchoe cuttings. But how do you pick the right stem? It can be a bit daunting, but don’t worry—I’ve got your back.
Look for Vibrant Color
- Healthy Green: Choose stems that are a rich, healthy green.
- No Discoloration: Avoid any stems that look yellow or brown.
Check for Firmness
- Sturdy Stems: Gently squeeze the stem; it should feel firm and not mushy.
- No Soft Spots: Soft or squishy areas are a big no-no.
Inspect for Pests and Diseases
- Look Closely: Examine the stem for any signs of pests or disease.
- No Spots or Webs: If you see spots, webs, or any unusual growths, skip that stem.
Choose the Right Length
- Cutting Size: Aim for a stem that’s about 4-6 inches long.
- Multiple Leaves: It should have a few healthy leaves for better chances of rooting.
Timing Matters
- Active Growth: The best time to take cuttings is during the growing season, usually spring or early summer.
- Avoid Dormancy: Don’t attempt this during the winter when the plant is dormant.
Preparing the Stem: Drying and Callousing
When it comes to propagating Kalanchoe cuttings, preparing the stem properly is crucial for successful rooting.
You might wonder, why should I dry and callous the stem before planting?
The process helps prevent rot and encourages healthy root development. Here’s how to do it:
- Cut the Stem:
- Use a clean, sharp knife or scissors to take a cutting that is about 10-15 cm long.
- Make the cut just below a leaf node for optimal growth.
- Remove Lower Leaves:
- Strip off the leaves from the bottom half of the cutting.
- This reduces moisture loss and allows the cutting to focus its energy on root development.
- Let it Dry:
- Place the cutting in a dry, shaded area for 1-3 days.
- This drying period allows the cut end to form a callous, which is essential for preventing rot.
- Check for Callousing:
- After a few days, the cut end should feel firm and dry.
- A well-calloused cutting will have a slightly hardened appearance.
By following these steps, you set the stage for your Kalanchoe cuttings to thrive. For more detailed information on propagation, you can refer to our Kalanchoe Mother of Thousands care and propagation guide. Additionally, understanding the ideal temperature for Kalanchoe growth can further enhance your plant care routine.
Using Rooting Hormone: Is It Necessary?
When propagating Kalanchoe cuttings, a common question arises: is rooting hormone essential for successful growth?
Rooting hormone can indeed be beneficial, but it’s not a strict requirement. Here’s a breakdown of its advantages and considerations:
- Promotes Faster Root Development: Rooting hormone can speed up the process of root formation, helping your cuttings establish themselves more quickly.
- Improves Success Rates: Using rooting hormone can increase the chances of successful propagation, especially for more challenging varieties.
- Types of Rooting Hormones:
- Powder: Easy to apply and store.
- Liquid: Often more concentrated and can be diluted as needed.
- Gel: Provides a protective layer around the cutting.
However, many gardeners successfully propagate Kalanchoe without it. If you decide to skip the hormone, ensure your cuttings are healthy and well-prepared.
Ultimately, the choice depends on your personal preference and experience level. If you’re new to propagation, using rooting hormone might give you added confidence.
The Best Soil Mix for Kalanchoe Cuttings
When propagating Kalanchoe cuttings, one of the most pressing concerns is the soil mix.
What type of soil will give your cuttings the best chance to thrive?
The right soil can make all the difference in root development and overall plant health.
Key Components of an Ideal Soil Mix
For Kalanchoe cuttings, you want a well-draining soil mix that prevents waterlogging while retaining some moisture. Here are the essential components:
- Cactus Mix: This pre-made mix is often ideal because it is specifically designed for succulents and cacti, allowing for excellent drainage.
- Perlite: Adding perlite to your soil mix improves aeration and drainage. Aim for about 20-30% of the total mix.
- Coarse Sand: Incorporating coarse sand also enhances drainage. A ratio of 1 part sand to 2 parts soil works well.
- Organic Matter: A small amount of organic matter, like compost, can provide nutrients without making the soil too heavy.
Recommended Soil Mix Ratio
- 2 parts cactus mix
- 1 part perlite
- 1 part coarse sand
This combination creates a lightweight, well-draining environment that is perfect for Kalanchoe cuttings.
Additional Tips for Soil Preparation
- Sterilisation: To prevent disease, consider sterilising your soil mix by baking it in the oven at 180°C for about 30 minutes.
- pH Level: Kalanchoe prefers a slightly acidic to neutral pH (around 6.0 to 7.0). Testing your soil can help ensure it’s within this range.
For more information on how to propagate Kalanchoe, check out our step-by-step guide to propagating Kalanchoe Copper Spoons. Additionally, if you’re looking to purchase Kalanchoe varieties, visit our guide to the best Kalanchoe succulents for sale.
Steps to Plant Kalanchoe Cuttings in Soil
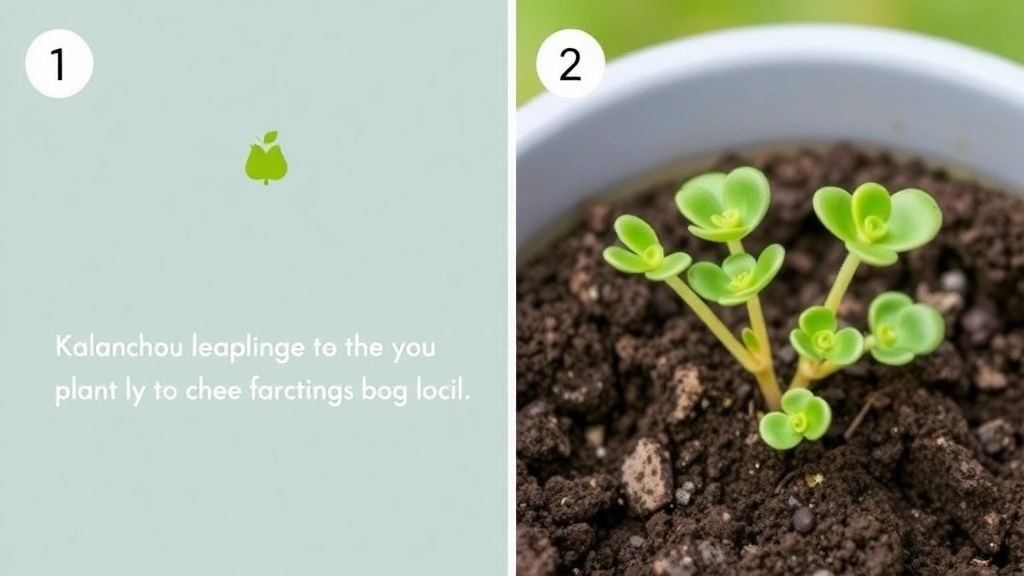
So, you’ve got your Kalanchoe cuttings all prepped and ready to go. Now, the exciting part: planting them in soil!
1. Gather Your Materials
Before you dive in, make sure you have everything you need:
- Well-draining potting mix
- Small pots or containers
- Water
- A small stick or pencil for making holes
2. Fill Your Pots
Start by filling your pots with the well-draining soil mix.
- Leave about an inch of space at the top.
- Give it a gentle shake to settle the soil.
3. Make Holes for the Cuttings
Using your stick or pencil, poke holes in the soil.
- Each hole should be deep enough to accommodate the cutting’s stem.
- Aim for about 2-3 inches deep.
4. Insert the Cuttings
Now, carefully place each cutting into its hole.
- Make sure the cut end is buried in the soil.
- Gently press the soil around the cutting to secure it.
5. Water Lightly
Give your newly planted cuttings a light watering.
- You want the soil to be moist but not soggy.
- Too much water can lead to rot.
6. Label Your Cuttings
If you’re planting multiple varieties, consider labelling them.
- This helps you keep track of what you’ve planted.
- Plus, it adds a bit of charm to your garden setup!
7. Place in the Right Spot
Find a warm, bright spot for your pots.
- Avoid direct sunlight at this stage, as it can stress the cuttings.
- A well-lit windowsill is usually perfect.
Are you wondering how to propagate Kalanchoe cuttings in water? Many plant enthusiasts prefer this method for its simplicity and visual feedback. Watching roots develop can be quite satisfying, and it allows for easier monitoring of the cutting’s progress.
### Steps for Water Propagation
1. **Select Your Cutting**
Choose a healthy stem, ideally around 4 to 6 inches long, with a few leaves. This gives you a good base for rooting.
2. **Prepare the Cutting**
Cut just below a leaf node using clean, sharp scissors. Remove any lower leaves to prevent them from rotting in the water.
3. **Place in Water**
Submerge the cut end in a glass or jar of clean water. Ensure that only the cut end is submerged, keeping the leaves dry.
4. **Change the Water Regularly**
To prevent bacterial growth, change the water every few days. This keeps the environment fresh and encourages root development.
5. **Monitor for Roots**
In about 2 to 4 weeks, you should start to see tiny roots forming. Keep an eye on the water level and ensure the cutting remains submerged.
### Tips for Successful Water Propagation
– **Use Clean Water**: Tap water is usually fine, but distilled or rainwater is even better.
– **Avoid Direct Sunlight**: Place the jar in a bright, indirect light area to prevent algae growth and overheating.
– **Be Patient**: Rooting can take time, so don’t rush the process.
By following these steps, you can successfully propagate Kalanchoe cuttings in water. This method not only provides a clear view of the rooting process but also allows for easy handling of the cuttings. For more detailed care tips, you might find [Kalanchoe Mother of Thousands Care and Propagation Guide](https://planthq.org/kalanchoe-mother-of-thousands-care-propagation-and-flowering/) useful. Additionally, if you’re looking to expand your knowledge on different varieties, check out the [Top Kalanchoe Succulent Varieties and Care Tips](https://planthq.org/top-kalanchoe-succulent-varieties-and-care-tips/).
Light and Temperature Requirements for Rooting Kalanchoe Cuttings
So, you’ve got your Kalanchoe cuttings ready, but what’s next? One of the key factors in ensuring those little guys thrive is getting their light and temperature just right.
Light Requirements
Kalanchoe cuttings love bright, indirect sunlight. Here’s how to nail it:
- Bright Indirect Light: Place your cuttings near a window where they can soak up the sun without getting scorched. Too much direct sunlight can lead to leaf burn.
- Duration: Aim for about 12-14 hours of light a day. If natural light is limited, consider using a grow light.
- Rotation: If they seem to lean towards the light, give them a gentle turn every week. This promotes even growth.
Temperature Needs
Temperature plays a huge role in rooting success. Kalanchoe cuttings prefer:
- Ideal Range: Keep them in a space that’s between 20°C to 25°C (68°F to 77°F). This is their sweet spot for growth.
- Avoid Extremes: Watch out for cold drafts or hot air from heaters. Sudden temperature changes can stress your cuttings.
- Nighttime Temperature: A slight drop at night is fine, but keep it above 15°C (59°F) to ensure they don’t go into shock.
Watering the Cuttings Without Overwatering
Once you’ve set the stage for your Kalanchoe cuttings to thrive, the next critical step is mastering the art of watering. This is where many plant enthusiasts stumble, as overwatering can lead to root rot and other issues that hinder growth.
Understanding Water Needs
Kalanchoe cuttings have unique water requirements. Here’s how to ensure you’re hitting the mark:
- Check the Soil Moisture: Before watering, always check if the soil is dry. Insert your finger about an inch into the soil. If it feels dry, it’s time to water.
- Use a Spray Bottle: Instead of pouring water directly onto the soil, consider using a spray bottle. This allows for a gentle misting that won’t saturate the cutting too quickly.
- Water Sparingly: Initially, water your cuttings lightly. As they begin to establish roots, you can gradually increase the amount.
Signs of Overwatering
Being vigilant about the signs of overwatering is crucial. Watch out for:
- Yellowing Leaves: If the leaves start turning yellow, it’s often a sign of too much water.
- Wilting: Ironically, overwatered plants may also appear wilted due to root damage.
Practical Tips
- Use Well-Draining Soil: A mix that drains well will help prevent excess moisture around the roots.
- Water in the Morning: This allows the soil to dry out during the day, reducing the risk of fungal issues.
- Adjust Based on Environment: If your home is humid, you may need to water less frequently. Conversely, in a dry environment, you might need to increase watering.
For more detailed information on how to plant Kalanchoe, check out our step-by-step guide. Additionally, if you’re interested in the specific care requirements for different varieties, our flowering season and care guide is a great resource.
Creating a Humid Environment for Faster Root Growth
So, you’ve got your Kalanchoe cuttings ready to go. But how can you give them the best shot at rooting?
Creating a humid environment is key.
Why Humidity Matters
Kalanchoe cuttings thrive in humid conditions because it helps prevent moisture loss while they’re trying to grow roots.
Here’s how you can boost humidity for your cuttings:
- Use a Plastic Bag: Place a clear plastic bag over the pot. This traps moisture and creates a mini greenhouse effect. Just make sure it doesn’t touch the leaves!
- Misting: Lightly mist the cuttings with water a couple of times a day. This keeps the air around them moist without soaking them.
- Humidity Tray: Set your pot on a tray filled with water and pebbles. As the water evaporates, it adds moisture to the air.
- Group Cuttings Together: If you have multiple cuttings, place them close together. They’ll create a little humidity bubble for each other.
- Location: Keep your cuttings in a warm, sheltered spot away from direct sunlight. A warm windowsill or a spot with bright, indirect light works well.
Remember, while humidity is important, you don’t want to drown your cuttings.
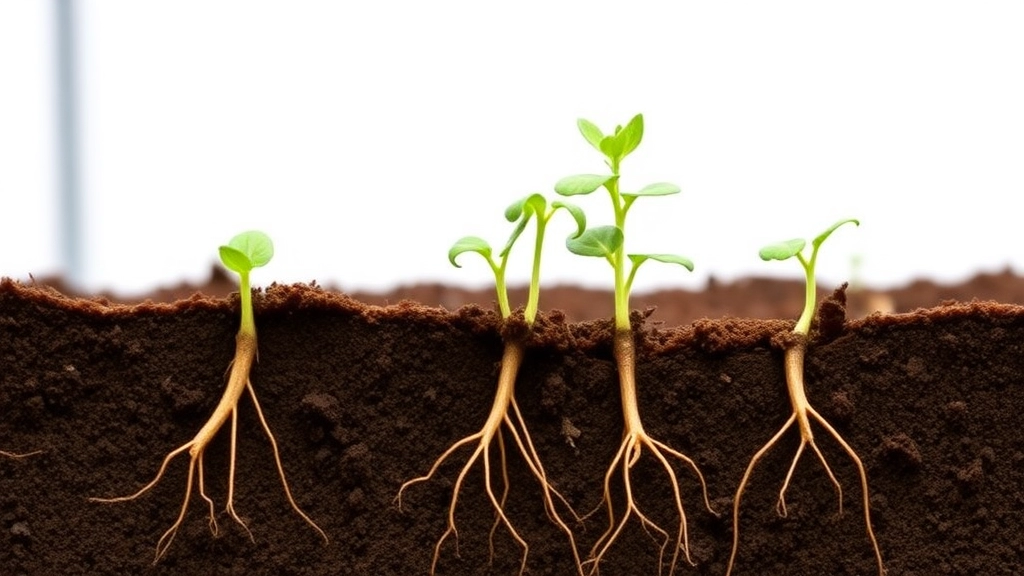
Signs of Successful Rooting in Kalanchoe Cuttings
After you’ve taken the time to propagate your Kalanchoe cuttings, it’s essential to know when they’ve successfully rooted. This phase is crucial, as it determines whether your efforts will pay off.
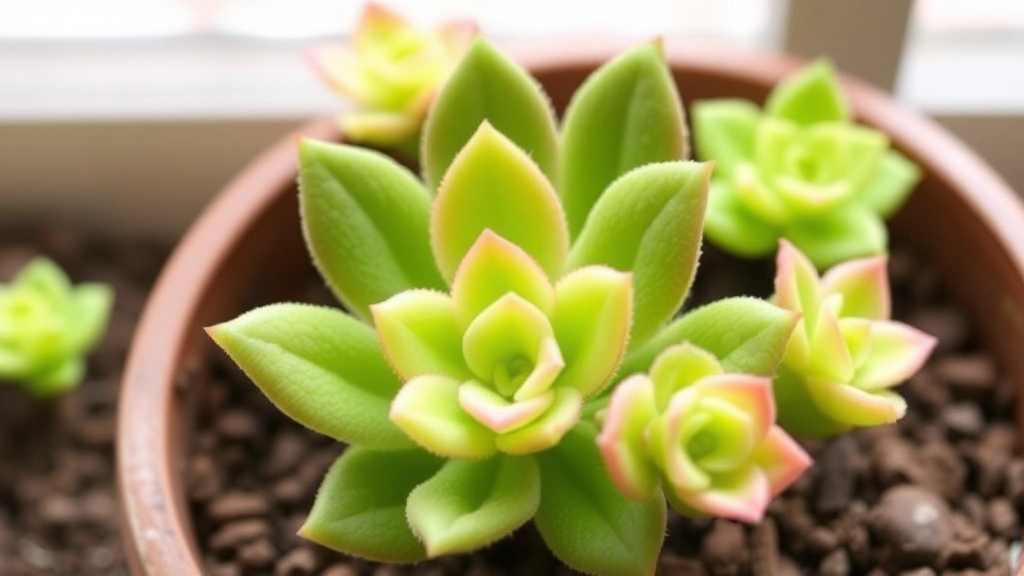
Transitioning to Routine Care After Propagation
So, you’ve successfully propagated your Kalanchoe cuttings. Now what?
It’s super important to give your new plants the right care as they start to grow.
1. Light Requirements
- Bright, Indirect Light: Place your cuttings in a spot where they can soak up bright, indirect sunlight.
- Avoid Direct Sun: Too much direct sun can scorch those tender leaves.
2. Watering Routine
- Consistency is Key: Water when the top inch of soil feels dry.
- Don’t Overdo It: Kalanchoes prefer to be on the dry side rather than soggy.
3. Fertilising
- Feed Sparingly: After a month, you can start using a diluted, balanced fertiliser once a month.
- Watch for Signs: If the leaves look pale, it might be time to give them a little boost.
4. Temperature and Humidity
- Ideal Range: Keep them in a warm spot, ideally between 20-25°C (68-77°F).
- Avoid Drafts: Sudden temperature changes can stress your plants.
5. Repotting
- When to Repot: Once your cuttings have established roots and start to grow, think about moving them to a slightly larger pot.
- Use Fresh Soil: This will give them the nutrients they need to thrive.
6. Pest Control
- Stay Vigilant: Keep an eye out for pests like mealybugs or aphids.
- Quick Action: If you spot any, treat them right away to prevent infestations.
FAQs on Growing Kalanchoe From Cuttings
Can you grow Kalanchoe from cuttings?
Yes, you can grow Kalanchoe from cuttings. It’s a popular method of propagation that can yield successful results if done correctly.
What type of stem should I select for Kalanchoe cuttings?
Choose a stem that is healthy, vibrant in color, firm, and free from pests or diseases. The ideal stem length is about 4-6 inches with a few healthy leaves.
Is rooting hormone necessary for propagating Kalanchoe cuttings?
Rooting hormone is not essential but can be beneficial. It promotes faster root development and improves success rates, especially for challenging varieties. However, many gardeners successfully propagate Kalanchoe without it.
What materials do I need to plant Kalanchoe cuttings in soil?
You will need well-draining potting mix, small pots or containers, water, and a small stick or pencil to make holes in the soil.
How should I prepare the soil for planting Kalanchoe cuttings?
Fill your pots with well-draining soil mix, leaving about an inch of space at the top. Make holes for the cuttings, ensuring they are about 2-3 inches deep.
What are the light requirements for Kalanchoe cuttings?
Kalanchoe cuttings need bright, indirect sunlight. Aim for about 12-14 hours of light a day. If natural light is limited, consider using a grow light.
What temperature is ideal for rooting Kalanchoe cuttings?
The ideal temperature range for Kalanchoe cuttings is between 20°C to 25°C (68°F to 77°F). Avoid cold drafts and hot air from heaters, and ensure nighttime temperatures stay above 15°C (59°F).
How can I create a humid environment for Kalanchoe cuttings?
You can boost humidity by using a plastic bag to cover the pot, misting the cuttings with water, using a humidity tray, grouping cuttings together, and keeping them in a warm, sheltered spot away from direct sunlight.
How often should I water Kalanchoe cuttings?
Water the cuttings lightly to keep the soil moist but not soggy. Overwatering can lead to rot, so it’s important to find a balance.
Why is it important to label Kalanchoe cuttings?
Labeling helps you keep track of different varieties and adds a bit of charm to your garden setup. It ensures you know what you’ve planted and can monitor their progress accurately.
References
-
How to Propagate Kalanchoe Plants
-
Propagating Kalanchoe: Tips and Techniques
-
Kalanchoe: Plant Care and Growing Guide