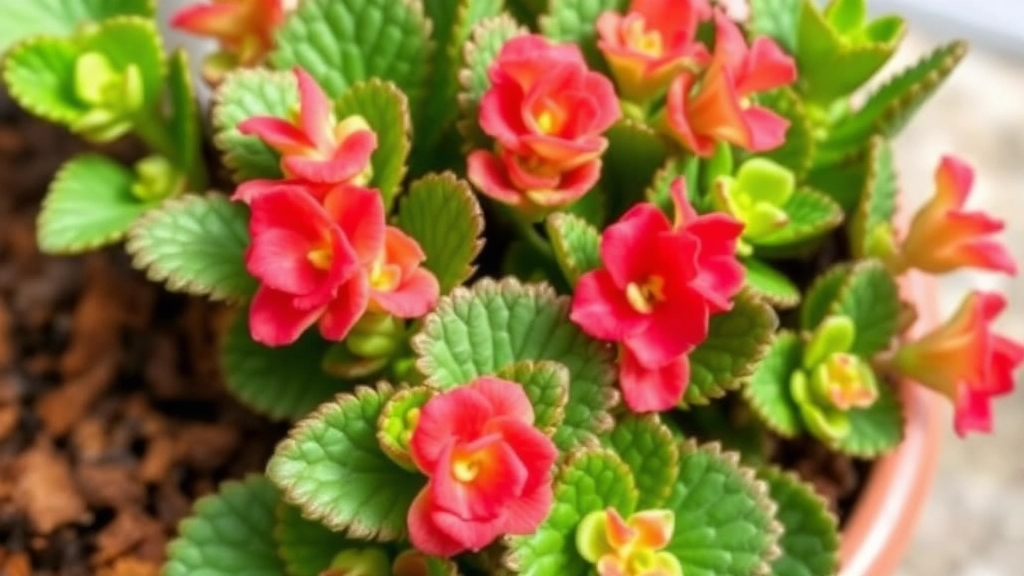
Can You Grow Kalanchoe from Cuttings?
Ever wondered, “Can you grow Kalanchoe from cuttings?” The answer is a resounding yes! As a plant enthusiast, I’ve found that propagating Kalanchoe from cuttings is not only possible but also incredibly straightforward. This method is perfect for those looking to expand their indoor garden without spending a fortune on new plants.
Getting Started
To get started, you’ll need a healthy Kalanchoe plant, a sharp knife or scissors, and some patience. Simply cut a stem just below a leaf node, let it dry for a day or two, and then plant it in well-draining soil. Keep the soil slightly moist, and in a few weeks, you’ll notice new roots forming. It’s that easy to grow Kalanchoe from cuttings!
Preparing Kalanchoe Cuttings
Are you feeling uncertain about how to properly prepare Kalanchoe cuttings? You’re not alone. Many plant enthusiasts find this step crucial for successful propagation.
To begin with, selecting the right Kalanchoe stem is essential. Look for healthy, mature stems that are free from any signs of disease or damage.
Steps to Prepare Kalanchoe Cuttings:
- Gather Your Tools:
- Sharp, clean scissors or pruning shears.
- A clean, dry surface for cutting.
- Optional: A small container for holding cuttings.
- Make the Cut:
- Cut a stem that is about 4 to 6 inches long.
- Ensure your cut is made just below a leaf node, as this is where roots are more likely to develop.
- Remove Excess Leaves:
- Trim off any lower leaves to prevent them from rotting in the soil or water.
- Leave a few leaves at the top for photosynthesis.
- Let It Callous:
- Place the cuttings in a dry, shaded area for a few hours or overnight.
- This allows the cut end to callous over, reducing the risk of rot when planted.
By following these steps, you set the stage for successful rooting. For more detailed guidance, you can refer to this step-by-step guide on propagating Kalanchoe Tomentosa. Additionally, if you are dealing with specific varieties, check out our guide on propagating Kalanchoe Blossfeldiana cuttings.
Best Time to Take Cuttings
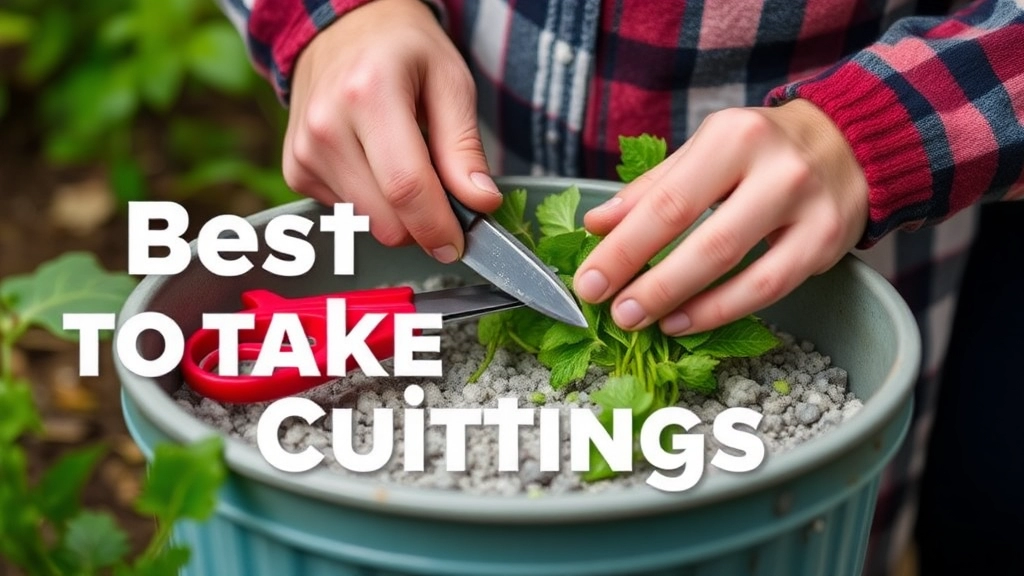
So, you’re ready to propagate your Kalanchoe? Great choice!
But when’s the best time to take those cuttings?
Timing is everything in the world of plant propagation.
Here’s what you need to know:
- Spring and Summer: This is prime time for taking cuttings. The warmer weather encourages growth, making it easier for your cuttings to root.
- Healthy Plants: Ensure your Kalanchoe is healthy and thriving. Look for those vibrant, plump leaves. If your plant is stressed or sick, it’s not the right time.
- Morning Hours: Try to take cuttings in the morning when the plant is well-hydrated. This helps reduce stress on the cutting.
- Avoid Flowering Stages: If your Kalanchoe is in bloom, it’s best to wait. Flowering can divert energy away from rooting.
- Consider the Weather: If it’s too hot or too cold outside, hold off. You want stable temperatures to give your cuttings the best chance.
Taking cuttings at the right time sets you up for success.
Rooting Kalanchoe Cuttings in Soil
After preparing your Kalanchoe cuttings, the next step is to root them in soil. This method is often preferred for its simplicity and effectiveness.
Why Choose Soil?
Many gardeners opt for soil rooting because it provides a stable environment for the cuttings.
- Nutrient-Rich: Soil contains essential nutrients that promote healthy root development.
- Moisture Retention: It helps maintain the right level of moisture, crucial for rooting.
Steps to Root Kalanchoe Cuttings in Soil
- Select the Right Soil:
- Use a well-draining potting mix.
- A cactus or succulent mix works wonders.
- Prepare the Pot:
- Choose a small pot with drainage holes.
- Fill it with the potting mix, leaving about an inch of space at the top.
- Insert the Cuttings:
- Make a small hole in the soil with your finger or a pencil.
- Place the cutting in the hole, ensuring the cut end is buried about an inch deep.
- Firm the soil around the cutting gently to provide support.
- Water Sparingly:
- Lightly moisten the soil after planting.
- Avoid overwatering, as this can lead to rot.
- Create a Humid Environment:
- Cover the pot with a clear plastic bag or a plastic dome to maintain humidity.
- Ensure it doesn’t touch the leaves to prevent mould.
- Place in Indirect Light:
- Position the pot in a location with bright, indirect sunlight.
- Avoid direct sunlight, which can scorch the cuttings.
Monitoring Progress
- Check the soil moisture regularly.
- Remove the cover for a few hours each day to allow airflow and prevent mould.
Rooting Kalanchoe cuttings in soil is a straightforward process that can yield beautiful results. For more detailed tips, you might find the Ultimate Guide to Kalanchoe Flaming Katy Houseplant Care useful. Additionally, if you are interested in different varieties, the Top Kalanchoe Mother of Thousands Varieties article offers great insights.
Rooting Kalanchoe Cuttings in Water
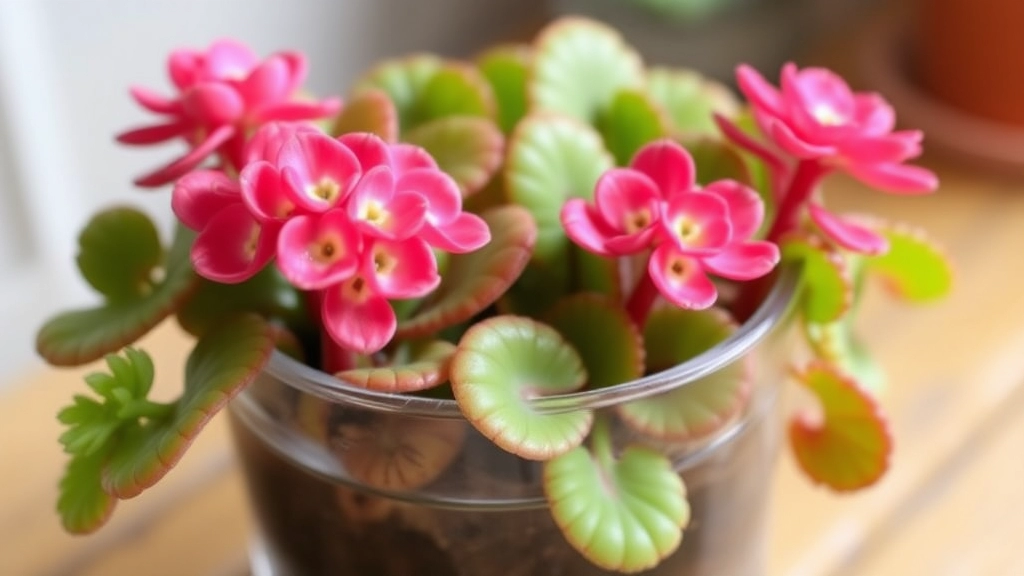
If you’ve decided to propagate your Kalanchoe cuttings in water, you’re not alone. Many plant enthusiasts prefer this method for its simplicity and visibility. However, you might be wondering: how do I ensure my cuttings thrive in water?
Steps to Root Kalanchoe Cuttings in Water
- Choose the Right Cuttings: Select healthy stems from your Kalanchoe plant. Look for cuttings that are at least 3-4 inches long and have several leaves.
- Prepare the Cuttings: Remove the lower leaves, leaving a few at the top. This prevents rot and allows the cutting to focus on root development.
- Place in Water: Submerge the cut end of the cutting in a glass or jar filled with clean water. Ensure that the leaves remain above the waterline.
- Provide Proper Light: Set the jar in a bright, indirect light location. Direct sunlight can be too harsh and may cause the cutting to wilt.
- Change the Water Regularly: To prevent bacterial growth, change the water every few days. This keeps the environment fresh and encourages healthy root growth.
- Monitor Root Development: In about 2-4 weeks, you should start to see roots emerging. Once they reach about 2 inches in length, your cuttings are ready to be potted.
Tips for Success
- Use Filtered Water: Tap water can contain chemicals that may hinder root growth. Filtered or distilled water is a better choice.
- Avoid Overcrowding: If you’re rooting multiple cuttings, ensure they have enough space. Crowding can lead to competition for nutrients and light.
Rooting Kalanchoe cuttings in water can be an exciting and rewarding process. It allows you to witness the growth firsthand and gives you the chance to nurture your plants from the very beginning.
Once your Kalanchoe cuttings have successfully rooted, the next step is to ensure they thrive in their new environment. You might be wondering, how do I care for these delicate plants to promote healthy growth?
### Watering
– Allow the soil to dry out slightly between waterings.
– Water thoroughly but avoid letting the cuttings sit in water.
– Overwatering can lead to root rot, a common issue for new cuttings.
### Light Requirements
– Place your cuttings in a location with bright, indirect sunlight.
– Too much direct sunlight can scorch the leaves, while too little light can stunt growth.
### Temperature and Humidity
– Kalanchoe prefers warmer temperatures, ideally between 18°C to 24°C.
– Maintain moderate humidity levels; avoid overly damp environments.
### Fertilisation
– After a month, you can start fertilising with a diluted, balanced liquid fertiliser.
– Fertilise every 4-6 weeks during the growing season (spring and summer).
### Repotting
– Once your cuttings have established a strong root system, consider repotting them into larger pots.
– Use well-draining soil to prevent water retention.
Taking care of newly rooted Kalanchoe cuttings is essential for their long-term health and growth. By providing the right conditions, you can ensure that your cuttings flourish. For more detailed guidance on how to grow and care for Kalanchoe, check out our [complete guide to Kalanchoe plant care](https://planthq.org/complete-guide-to-kalanchoe-plant-care/). Additionally, if you are interested in specific care tips for different Kalanchoe varieties, you might find our [Kalanchoe species identification guide](https://planthq.org/kalanchoe-species-identification-guide-key-features-tips/) helpful.
Common Issues and Solutions
So, you’ve taken the leap and started propagating your Kalanchoe cuttings. But wait, what if things don’t go as planned?
It’s totally normal to face a few hiccups along the way. Here are some common issues you might encounter and how to tackle them like a pro.
1. Cuttings Not Rooting
What’s Happening? You’ve done everything right, but your cuttings are just sitting there, doing nothing.
Solutions:
- Check the Environment: Make sure your cuttings are in a warm, bright spot but not in direct sunlight.
- Humidity Matters: If the air is too dry, try covering the cuttings with a plastic bag to create a mini greenhouse.
- Use Fresh Soil: Old or compacted soil can hinder root growth. Fresh, well-draining soil is key.
2. Leaves Turning Yellow
What’s Happening? Your once vibrant cuttings are looking a bit sickly.
Solutions:
- Overwatering Alert: Yellow leaves often mean your cuttings are getting too much water. Let the soil dry out before watering again.
- Nutrient Deficiency: If they’ve been in the same soil for a while, they might need a little feed. A diluted succulent fertilizer can work wonders.
3. Fungal Issues
What’s Happening? You see fuzzy spots or a white powder on your cuttings. Yikes!
Solutions:
- Airflow Is Key: Ensure good airflow around your cuttings. Crowded spaces can lead to fungal growth.
- Remove Infected Areas: If you spot any fungus, trim away the affected parts immediately.
- Use a Fungicide: A mild fungicide can help if the problem persists.
4. Stunted Growth
What’s Happening? Your cuttings are growing, but they’re just not thriving.
Solutions:
- Light Levels: Make sure they’re getting enough light. If they’re stretching towards the light, they need a brighter spot.
- Repotting: Sometimes, they just need a bigger pot to spread their roots.
For more detailed guidance on propagation, check out our step-by-step guide on propagating Kalanchoe Blossfeldiana cuttings. Additionally, if you’re facing issues with leggy growth, our expert tips on fixing a leggy Kalanchoe might come in handy.
FAQs on Growing Kalanchoe from Cuttings
Can you grow Kalanchoe from cuttings?
Yes, you can grow Kalanchoe from cuttings. This method is popular among plant enthusiasts due to its simplicity and effectiveness.
When is the best time to take Kalanchoe cuttings?
The best time to take Kalanchoe cuttings is during spring and summer. The warmer weather encourages growth, making it easier for your cuttings to root.
What should I look for in a healthy Kalanchoe plant before taking cuttings?
Ensure your Kalanchoe is healthy and thriving with vibrant, plump leaves. Avoid taking cuttings from stressed or sick plants.
Is it better to take cuttings in the morning?
Yes, it is recommended to take cuttings in the morning when the plant is well-hydrated. This helps reduce stress on the cutting.
Should I avoid taking cuttings while the Kalanchoe is flowering?
Yes, it’s best to avoid taking cuttings when your Kalanchoe is in bloom. Flowering can divert energy away from rooting.
How do I root Kalanchoe cuttings in water?
To root Kalanchoe cuttings in water, follow these steps:
- Choose healthy stems that are at least 3-4 inches long with several leaves.
- Remove the lower leaves, leaving a few at the top to prevent rot.
- Submerge the cut end in a glass or jar filled with clean water, keeping the leaves above the waterline.
- Place the jar in a bright, indirect light location.
- Change the water every few days to prevent bacterial growth.
- Monitor root development, which should occur in about 2-4 weeks.
What type of water should I use for rooting cuttings?
It is recommended to use filtered or distilled water, as tap water can contain chemicals that may hinder root growth.
How can I avoid overcrowding when rooting multiple cuttings?
If you’re rooting multiple cuttings, ensure they have enough space to prevent competition for nutrients and light.
How long does it take for Kalanchoe cuttings to develop roots in water?
Roots typically start to emerge in about 2-4 weeks. Once they reach about 2 inches in length, the cuttings are ready to be potted.
Why is it important to change the water regularly when rooting cuttings?
Changing the water regularly helps prevent bacterial growth and keeps the environment fresh, encouraging healthy root development.
Can I root Kalanchoe cuttings in soil instead of water?
Yes, you can also root Kalanchoe cuttings directly in soil. However, rooting in water allows you to visibly monitor the root development process.
References
-
Gardening Know How – Propagating Kalanchoe
-
The Spruce – How to Grow Kalanchoe Indoors
-
House Plants Expert – Kalanchoe Plant Care