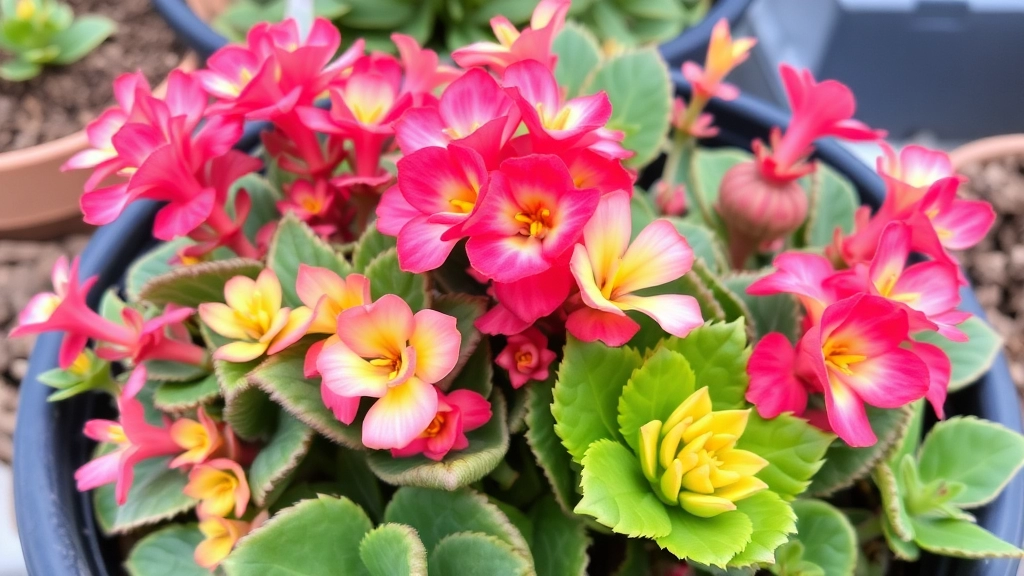
Kalanchoe Calandiva Mix Care Guide
If you’re passionate about growing vibrant succulents, the Kalanchoe Calandiva Mix is a fantastic choice. This flowering plant not only adds a splash of colour to your indoor garden but is also relatively low-maintenance. In this guide, I’ll share essential tips on light conditions, watering practices, soil mixes, and more to help your Calandiva thrive.
Understanding Care Requirements
Understanding the care requirements for the Kalanchoe Calandiva Mix is crucial for its optimal growth. From choosing the right soil mix to ensuring proper drainage and light conditions, I’ll cover everything you need to know. Whether you’re a seasoned gardener or a newbie, these practical tips will keep your Calandiva healthy and blooming.
Essential Light Conditions for Calandiva
Are you struggling to get your Calandiva to thrive? One of the most critical factors influencing its health is light.
Calandiva, a vibrant variety of Kalanchoe, flourishes under specific lighting conditions. Understanding these can make all the difference in achieving those stunning blooms.
Ideal Light Exposure
- Bright, Indirect Light: Calandiva thrives in bright, indirect sunlight. A south or east-facing window is ideal.
- Avoid Direct Sunlight: Too much direct sunlight can scorch the leaves, leading to brown patches. For more tips on managing brown spots, check out how to treat brown spots on Kalanchoe leaves effectively.
- Supplemental Lighting: If natural light is limited, consider using grow lights to supplement.
Duration of Light
- 12-14 Hours: Aim for about 12 to 14 hours of light per day. This helps stimulate blooming. For more detailed guidance, read our tips on how often Kalanchoe bloom and rebloom.
- Rest Period: Allow a period of darkness for at least 10 hours. This mimics natural conditions and promotes healthy growth.
Signs of Improper Lighting
- Leggy Growth: If your Calandiva appears stretched or leggy, it may be seeking more light.
- Faded Leaves: Leaves that lose their vibrant colour could indicate too much direct sunlight or inadequate light.
Optimal Watering Practices for Calandiva
So, you’ve got your Calandiva, and now you’re wondering: how much water does this beauty really need?
Watering can be a bit tricky, especially if you’re new to caring for these stunning plants.
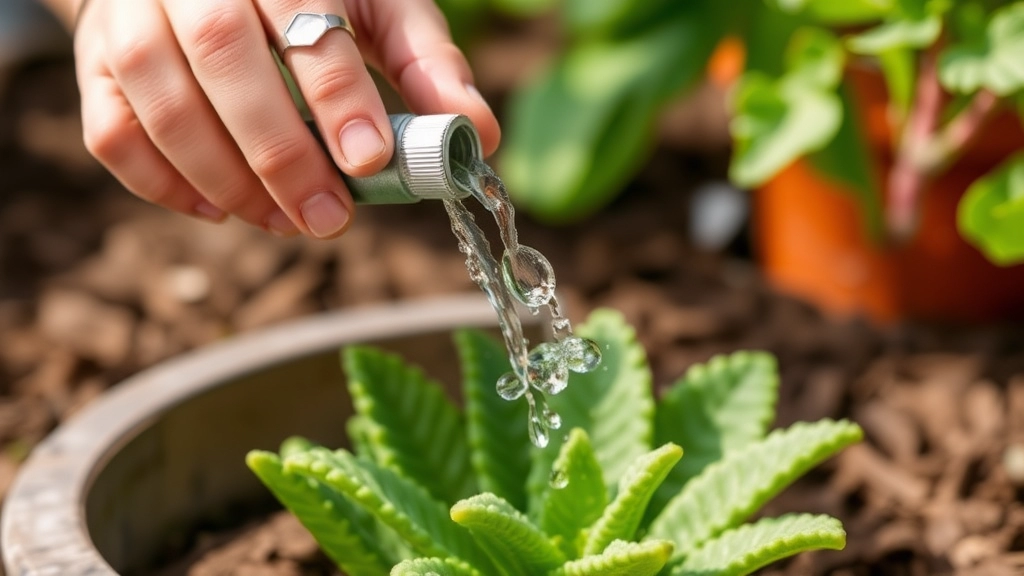
Key Watering Tips:
- Let It Dry: Calandiva prefers to dry out between waterings. Stick your finger in the soil; if it feels dry an inch down, it’s time to water.
- Water Deeply: When you do water, give it a good soak. Make sure water runs out of the drainage holes at the bottom of the pot. This ensures the roots get the moisture they crave.
- Frequency: Generally, watering once a week is a good rule of thumb. However, adjust based on your home’s humidity and temperature. In warmer months, you might need to water more often.
- Seasonal Adjustments: During the winter, reduce watering. Calandiva goes dormant and doesn’t need as much moisture.
- Watch for Signs: Yellowing leaves? That could be a sign of overwatering. If the leaves are shriveling, it’s likely thirsty.
Additional Considerations:
- Water Quality: Use room temperature water, preferably rainwater or distilled water. Tap water can contain chemicals that stress your plant.
- Humidity Matters: While Calandiva loves humidity, don’t mist it directly. Instead, place a tray of water near the plant to increase humidity without wetting the leaves.
Best Soil Mixes and Drainage Solutions for Calandiva
When it comes to keeping your Calandiva healthy, the right soil mix and drainage solutions are crucial. You might be wondering what type of soil will give your plant the best chance to thrive.
Ideal Soil Mix
Calandiva, a type of Kalanchoe, prefers a well-draining soil mix that prevents root rot. Here’s what I recommend:
- Cactus or Succulent Mix: This is specifically designed for plants that require excellent drainage.
- DIY Mix: Combine equal parts of:
- Potting soil
- Perlite or coarse sand for aeration
- Orchid bark to enhance drainage
This combination ensures that water flows freely while still providing essential nutrients.
Drainage Solutions
Even the best soil can fail if drainage isn’t up to scratch. Here are some tips to ensure your Calandiva has the right drainage:
- Pot Selection: Use pots with drainage holes to allow excess water to escape. Terracotta pots are a great choice as they absorb moisture and help regulate soil moisture levels.
- Layering: Add a layer of gravel or small stones at the bottom of the pot before adding soil. This further enhances drainage and prevents water from pooling.
- Avoid Overwatering: Always check that the top inch of soil is dry before watering again. This simple practice can save your plant from root rot.
By focusing on the right soil mix and drainage solutions, you can create a thriving environment for your Calandiva. For more detailed care tips, you might find our expert tips for thriving plants useful. Additionally, if you notice any issues with your plant, our guide on causes and solutions for brown spots on Kalanchoe leaves could be helpful.
Temperature and Humidity Needs
When caring for your Calandiva, understanding its temperature and humidity requirements is crucial for thriving growth.
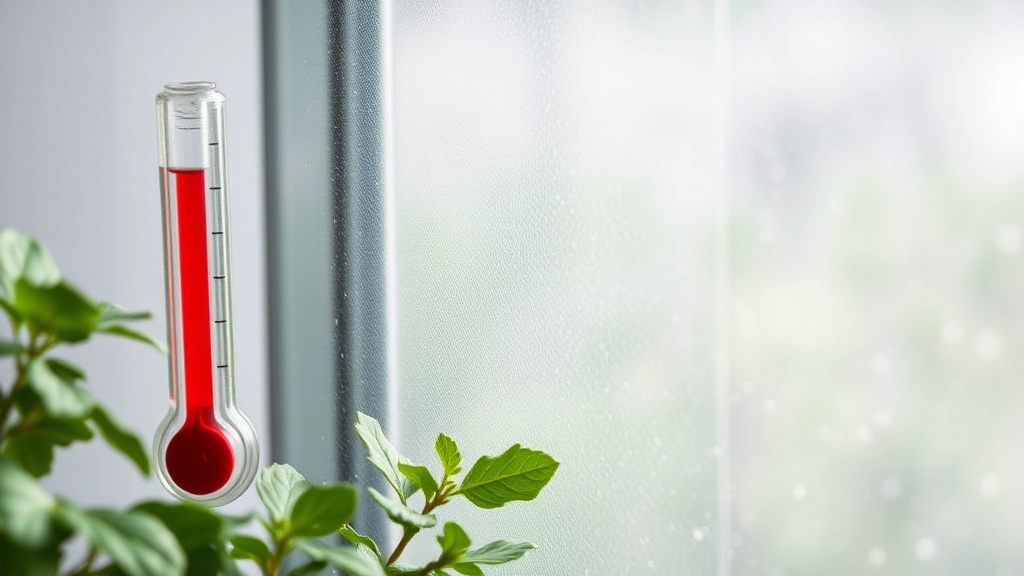
Ideal Temperature Range
Calandiva prefers a warm environment, thriving best in temperatures between 20°C to 25°C (68°F to 77°F) during the day.
- Nighttime Temperature: A slight drop to around 15°C to 18°C (59°F to 65°F) is ideal.
- Avoid Extremes: Protect your plant from sudden temperature changes and cold drafts.
Humidity Preferences
Calandiva is not particularly fussy about humidity, but it does prefer moderate levels.
- Optimal Humidity: Aim for 40% to 60% humidity.
- Dry Conditions: While it can tolerate lower humidity, prolonged dry air may lead to stress.
Tips for Maintaining Temperature and Humidity
- Location: Place your Calandiva in a warm room with bright, indirect sunlight.
- Avoid Heating/Cooling Vents: Keep the plant away from air conditioning and heating vents to prevent temperature fluctuations.
- Humidity Boost: If your home is dry, consider using a pebble tray or a humidifier to maintain adequate humidity levels.
Monitoring and Adjustments
Regularly check the temperature and humidity around your plant.
- Thermometers and Hygrometers: Use these tools to keep an eye on conditions.
- Signs of Stress: Yellowing leaves or wilting can indicate temperature or humidity issues.
Fertilizing Tips for Prolonged Blooming
After ensuring your Calandiva receives the right light and water, fertilization plays a crucial role in promoting vibrant blooms.
Are you worried about your Calandiva not flowering as much as you’d like? You’re not alone. Many plant enthusiasts grapple with the challenge of keeping their Kalanchoe blooming beautifully.
Understanding Fertilization Needs
Calandiva thrives on a balanced diet. Here are some essential tips to keep in mind:
- Type of Fertilizer: Use a balanced, water-soluble fertilizer. A formula with equal parts nitrogen, phosphorus, and potassium (e.g., 20-20-20) is ideal.
- Frequency: Fertilize every 4-6 weeks during the growing season (spring and summer). This encourages continuous blooming.
- Dilution: Always dilute the fertilizer to half the recommended strength. This prevents root burn and ensures your plant absorbs nutrients effectively.
- Post-Bloom Care: After the blooming period, reduce fertilization to once every 8-10 weeks. This helps your Calandiva rest and prepare for the next flowering cycle.
Signs of Nutrient Deficiency
Keep an eye out for signs that your Calandiva might need a nutrient boost:
- Pale Leaves: Indicates a lack of nitrogen.
- Poor Flowering: Suggests insufficient phosphorus.
- Stunted Growth: Could be a sign of potassium deficiency.
By addressing these signs promptly, you can ensure your Calandiva remains healthy and vibrant.
Additional Tips for Success
- Organic Options: Consider using organic fertilizers, such as fish emulsion or compost tea, for a more natural approach.
- Watering After Fertilizing: Always water your plant after fertilizing to help distribute the nutrients evenly and prevent root damage.
- Seasonal Adjustments: Adjust your fertilization routine based on the season. During winter, your Calandiva needs less fertilizer due to its dormant state.
If you’re looking for more comprehensive advice, check out our post-flowering care tips for Kalanchoe. Additionally, for those interested in the different varieties of this plant, our Kalanchoe succulent identification guide provides detailed information on top varieties and their traits.
Common Pests and Diseases to Watch Out For
So, you’ve got your Calandiva thriving, but what happens when those pesky pests or sneaky diseases show up uninvited?
Here’s what you need to know:
- Mealybugs
– These little white fluff balls love to hide in the leaf joints.
– They suck the sap, weakening your plant.
– Tip: Wipe them off with a cotton swab dipped in rubbing alcohol. - Spider Mites
– Tiny and hard to see, they create fine webs on your plant.
– They thrive in dry conditions, so keep an eye out during hot months.
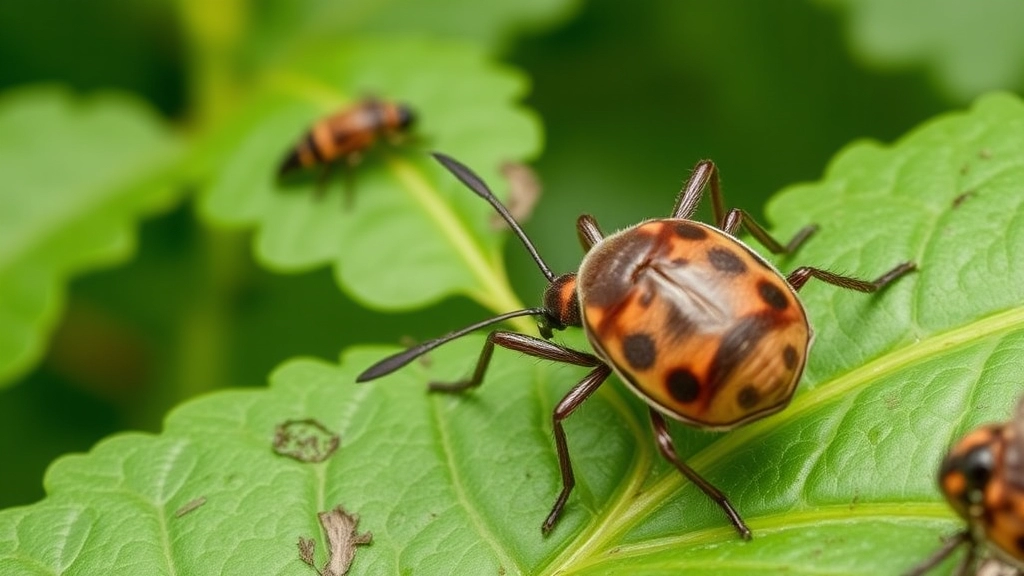
– Tip: Increase humidity or spray with a strong jet of water to dislodge them. - Aphids
– Small and green, they can multiply quickly.
– They cause curling leaves and stunted growth.
– Tip: Introduce ladybugs or spray with insecticidal soap. - Fungal Diseases
– Overwatering can lead to root rot or powdery mildew.
– Look for yellowing leaves or a white powdery substance.
– Tip: Ensure proper drainage and avoid wetting the leaves when watering. - Bacterial Infections
– These can cause dark spots or mushy leaves.
– They’re often a result of poor air circulation.
– Tip: Remove affected leaves and improve airflow around your plant.
Prevention is Key!
- Keep your Calandiva clean by regularly dusting the leaves.
- Rotate your plant occasionally for even light exposure.
- Quarantine any new plants for a few weeks before introducing them to your collection.
As we delve deeper into the care of your Calandiva, it’s essential to understand the importance of pruning and repotting in maintaining its health and vibrancy.
### Why Pruning Matters
Pruning isn’t just about aesthetics; it plays a crucial role in your plant’s overall wellbeing.
Here’s why you should consider it:
– **Encourages Growth**: Regular pruning helps stimulate new growth, making your Calandiva bushier and more vibrant.
– **Removes Dead Leaves**: Cutting away dead or yellowing leaves prevents disease and allows the plant to focus its energy on healthier parts.
– **Promotes Air Circulation**: Thinning out crowded areas ensures better air circulation, reducing the risk of pests and diseases.
### How to Prune Your Calandiva
– Use clean, sharp scissors or pruning shears.
– Trim back leggy stems to encourage fuller growth.
– Remove any dead or discoloured leaves at the base.
– Aim to prune in early spring, just before the growing season begins.
### Repotting for Optimal Health
Repotting is another vital aspect of Calandiva care, especially as it grows.
Here’s when and how to do it:
– **When to Repot**: If you notice roots emerging from the drainage holes or if the plant appears to be outgrowing its pot, it’s time to repot. For more detailed steps, check out our [step-by-step guide to planting Kalanchoe in a pot](https://planthq.org/how-to-plant-kalanchoe-in-a-pot-stepbystep-guide/).
– **Choose the Right Pot**: Select a pot that is one size larger than the current one, ensuring it has good drainage.
– **Soil Selection**: Use a well-draining soil mix, ideally designed for succulents or cacti, to prevent root rot.
### Steps to Repot Your Calandiva
1. Gently remove the plant from its current pot, being careful not to damage the roots.
2. Shake off excess soil and inspect the roots for any signs of rot.
3. Place the plant in the new pot and fill with fresh soil, ensuring it sits at the same depth as before.
4. Water lightly to help settle the soil, but avoid overwatering. For additional tips, you might find our [guide on how often to water a Kalanchoe plant](https://planthq.org/how-often-do-you-water-a-kalanchoe-plant/) useful.
By incorporating these pruning and repotting practices, you can ensure your Calandiva remains healthy and thriving.
Propagation Methods for Calandiva Kalanchoe
So, you’re loving your Calandiva and want to multiply its beauty? You’re not alone! Many plant enthusiasts are keen to learn how to propagate their Kalanchoe. It’s a fun and rewarding process, and I’m here to guide you through it.
Why Propagate?
Propagation lets you create new plants from your existing ones. It’s a cost-effective way to expand your collection or share with friends. Plus, who doesn’t love a little greenery around the house?
Methods of Propagation
Here are the most popular methods to propagate Calandiva:
1. Leaf Cuttings
- Choose a Healthy Leaf: Pick a plump, healthy leaf from your Calandiva.
- Cut the Leaf: Use a clean, sharp knife to cut the leaf at the base.
- Let it Callous: Place the leaf in a dry spot for a couple of days until the cut end dries out.
- Plant it: Once calloused, place the leaf in a well-draining soil mix, burying just the cut end.
- Water Sparingly: Mist the soil lightly and keep it in a warm spot with indirect sunlight.
2. Stem Cuttings
- Select a Stem: Look for a healthy stem with a few leaves.
- Cut the Stem: Snip the stem just below a leaf node.
- Callous Time: Let the cut end dry for a day or two.
- Potting: Plant the stem in a pot with well-draining soil.
- Water and Wait: Water lightly and keep it warm and bright.
3. Offsets
- Identify Offsets: These are small plants that grow at the base of the parent plant.
- Gently Remove: Carefully pull the offset away from the main plant.
- Replant: Place it in its own pot with a suitable soil mix and water lightly.
Tips for Successful Propagation
- Keep it Warm: A warm environment helps roots develop faster.
- Humidity is Key: Covering the pot with a plastic bag can help maintain humidity.
- Be Patient: Roots can take a few weeks to develop, so don’t rush it!
If you are interested in more detailed steps, you might want to check out our step-by-step guide to propagating Kalanchoe Pink Butterflies. Additionally, for those who have pets, it’s crucial to know if Kalanchoe is toxic to cats to ensure a safe environment for everyone.
FAQs on Kalanchoe Calandiva Mix
What is the optimal watering schedule for Calandiva?
Generally, watering once a week is a good rule of thumb. However, you should adjust based on your home’s humidity and temperature. In warmer months, you might need to water more often, and during the winter, you should reduce watering as Calandiva goes dormant.
How do I know when my Calandiva needs water?
Stick your finger in the soil; if it feels dry an inch down, it’s time to water. Also, watch for signs like yellowing leaves, which could indicate overwatering, or shriveling leaves, which suggest the plant is thirsty.
What type of water should I use for my Calandiva?
Use room temperature water, preferably rainwater or distilled water. Tap water can contain chemicals that stress your plant.
What are the ideal temperature and humidity levels for Calandiva?
Calandiva thrives in temperatures between 20°C to 25°C (68°F to 77°F) during the day and prefers a slight drop to around 15°C to 18°C (59°F to 65°F) at night. Aim for 40% to 60% humidity for optimal growth.
How can I maintain the right humidity for my Calandiva?
If your home is dry, consider using a pebble tray or a humidifier to maintain adequate humidity levels. Avoid misting the plant directly; instead, place a tray of water near the plant to increase humidity without wetting the leaves.
What are common pests that affect Calandiva, and how can I control them?
Common pests include mealybugs, spider mites, and aphids. You can control mealybugs by wiping them off with a cotton swab dipped in rubbing alcohol. Increase humidity or spray with a strong jet of water to dislodge spider mites. Introduce ladybugs or spray with insecticidal soap to combat aphids.
What diseases should I watch out for in my Calandiva?
Overwatering can lead to fungal diseases like root rot or powdery mildew. Ensure proper drainage and avoid wetting the leaves when watering. Bacterial infections can cause dark spots or mushy leaves, often due to poor air circulation. Remove affected leaves and improve airflow around your plant.
How can I prevent pests and diseases in my Calandiva?
Keep your Calandiva clean by regularly dusting the leaves and rotating the plant occasionally for even light exposure. Quarantine any new plants for a few weeks before introducing them to your collection to prevent the spread of pests and diseases.
References
-
Guide to Houseplants: Calandiva
-
The Spruce: Calandiva Plant Care
-
Gardening Know How: Calandiva Plant Care Tips