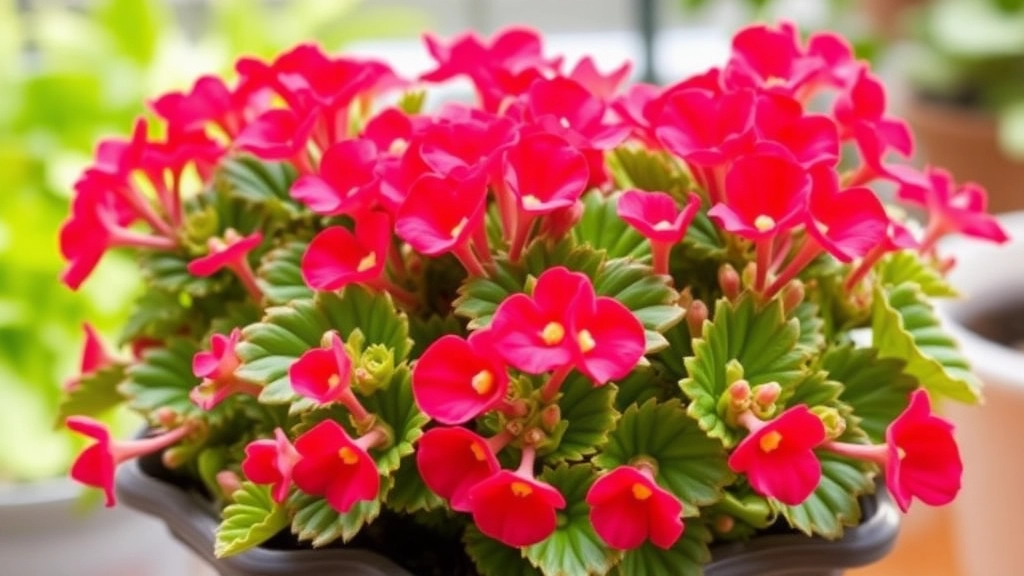
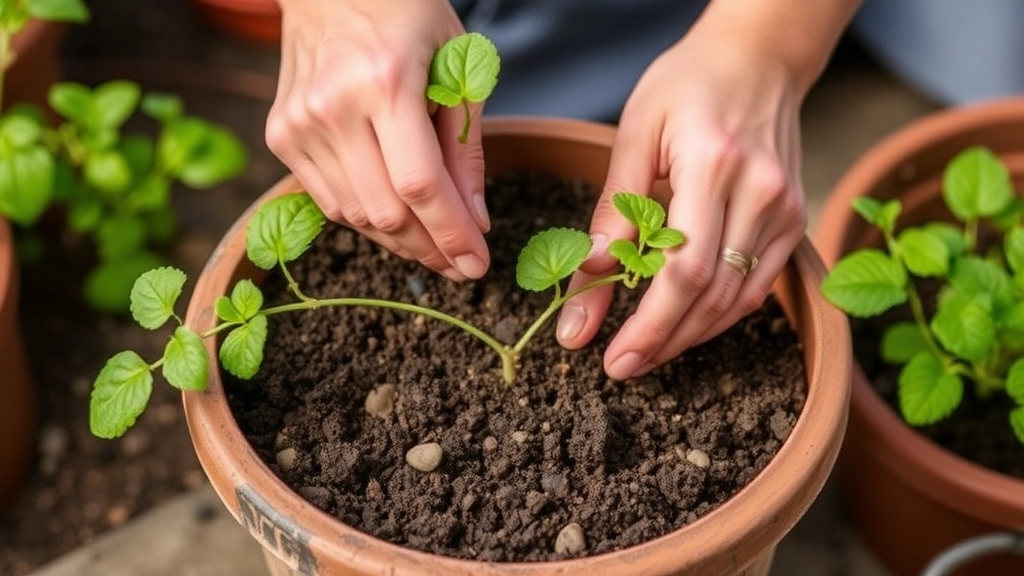
How to Grow Kalanchoe from Cuttings
Ever wondered how to grow Kalanchoe from cuttings? It’s simpler than you might think! In this guide, I’ll show you how to propagate this beautiful plant right at home. Whether you’re a seasoned gardener or a newbie, you’ll find these steps easy to follow and incredibly rewarding.
What You’ll Need
- A healthy Kalanchoe plant
- A clean pair of scissors
- Well-draining soil
Steps to Propagate
- Snip a stem cutting just below a leaf node.
- Let it dry for a day or two.
- Plant it in soil.
- Water sparingly and keep it in indirect sunlight.
Before you know it, you’ll see new roots forming, and your Kalanchoe will be thriving!
Selecting the Right Kalanchoe Cutting
When embarking on the journey of propagating Kalanchoe, one of the most pressing concerns is selecting the right cutting.
You might wonder: How do I know which cutting will thrive?
- Choose Healthy Plants: Always start with a healthy parent plant. Look for vibrant leaves and no signs of disease or pests.
- Select the Right Stem: Aim for a stem that is firm and robust. It should be at least a few inches long, with several leaves attached.
- Look for Maturity: Ideally, select a cutting from a mature plant, as younger cuttings may struggle to root effectively.
- Avoid Flowering Stems: While it may be tempting, avoid taking cuttings from stems that are currently flowering. Focus on non-flowering stems for better root development.
- Check for Pests: Inspect the cutting for any pests or damage. A clean cutting will ensure a healthier start.
For a detailed step-by-step process, you can refer to our guide on how to grow Kalanchoe from cuttings. Additionally, if you’re interested in specific care tips for different Kalanchoe varieties, our guide to Kalanchoe species provides valuable insights.
Preparing Your Tools and Materials
So, you’ve decided to propagate a Kalanchoe cutting? Brilliant choice! But before diving into the fun part, let’s chat about getting your tools and materials ready.
Why is this important?
Having everything at hand saves you time and ensures a smooth process. Plus, it makes the whole experience feel more enjoyable, like prepping for a little gardening adventure.
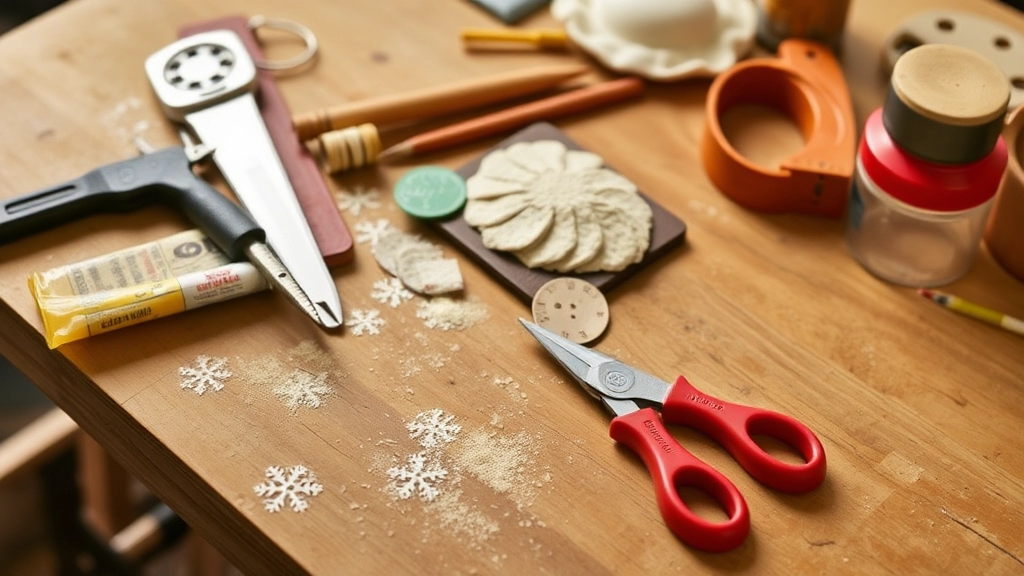
What You’ll Need:
- Sharp, Clean Scissors or Pruning Shears
A clean cut means less chance for disease. - Small Pot with Drainage Holes
Kalanchoes love well-draining soil. - Potting Mix
A mix designed for succulents is ideal. - Rooting Hormone (Optional)
This can give your cutting a little boost, but it’s not strictly necessary. - Watering Can or Spray Bottle
You’ll need this for gentle watering.
Quick Tips:
- Sanitize your tools
A quick wipe with rubbing alcohol can prevent any nasties from hitching a ride on your cuttings. - Gather everything in one spot
This way, you won’t be running around like a headless chicken when you’re ready to plant.
Cutting Techniques for Optimal Growth
When it comes to propagating Kalanchoe, the cutting technique you employ can significantly impact the plant’s growth potential. Many enthusiasts worry about how to make the perfect cut, and rightly so. The right approach can lead to a thriving new plant.
Allowing the Cutting to Callus

After selecting the right Kalanchoe cutting, the next crucial step is to allow it to callus. Many beginners often overlook this process, but it is essential for ensuring the cutting’s success in rooting.
Why Callusing Matters
When a Kalanchoe cutting is taken, the exposed end can be vulnerable to rot if placed directly into the soil. Allowing it to callus helps to form a protective layer over the cut surface, reducing the risk of infection and promoting healthy root growth.
How to Allow Your Cutting to Callus:
- Placement:
- Lay the cutting on a clean, dry surface.
- A plate or a piece of cardboard works well.
- Duration:
- Leave the cutting to dry for about 1 to 3 days.
- The time may vary depending on humidity and temperature.
- Environment:
- Choose a warm, dry area with indirect sunlight.
- Avoid placing it in direct sunlight, as this may dry it out too quickly.
- Observation:
- Check the cut end for a dry, hardened layer.
- This indicates that the callusing process is complete.
Allowing your Kalanchoe cutting to callus is a simple yet vital step that can significantly enhance its chances of thriving.
Preparing the Potting Mix
When it comes to propagating Kalanchoe cuttings, the right potting mix is crucial for their success.
You might be wondering, what kind of soil is best for Kalanchoe?
Here are some simple guidelines to prepare an optimal potting mix:
- Well-Draining Soil: Kalanchoe thrives in soil that drains well. A mix specifically designed for succulents is ideal, as it prevents water retention that can lead to root rot.
- Ingredients to Consider:
- Cactus Mix: This is a great base as it is formulated to allow excess moisture to escape.
- Perlite or Pumice: Adding these materials improves aeration and drainage.
- Organic Matter: A small amount of compost can provide essential nutrients without making the mix too dense.
- Mix Ratios: A good starting point is:
- 50% cactus mix
- 30% perlite or pumice
- 20% compost
- Sterilisation: If you’re using garden soil, consider sterilising it in the oven to eliminate any pests or diseases.
For more detailed guidance on propagation, check out our step-by-step guide to propagating Kalanchoe Tomentosa. Additionally, if you’re interested in learning about different Kalanchoe varieties, explore our top succulent Kalanchoe types for your garden.
VI. Planting the Kalanchoe Cutting
So, you’ve got your Kalanchoe cutting all set and ready to go. Now, it’s time to plant it and watch it thrive!
Choosing the Right Pot
Before you dive in, think about the pot.
- Size: A small pot is ideal to start with.
- Drainage: Make sure it has drainage holes. Kalanchoes hate sitting in water!
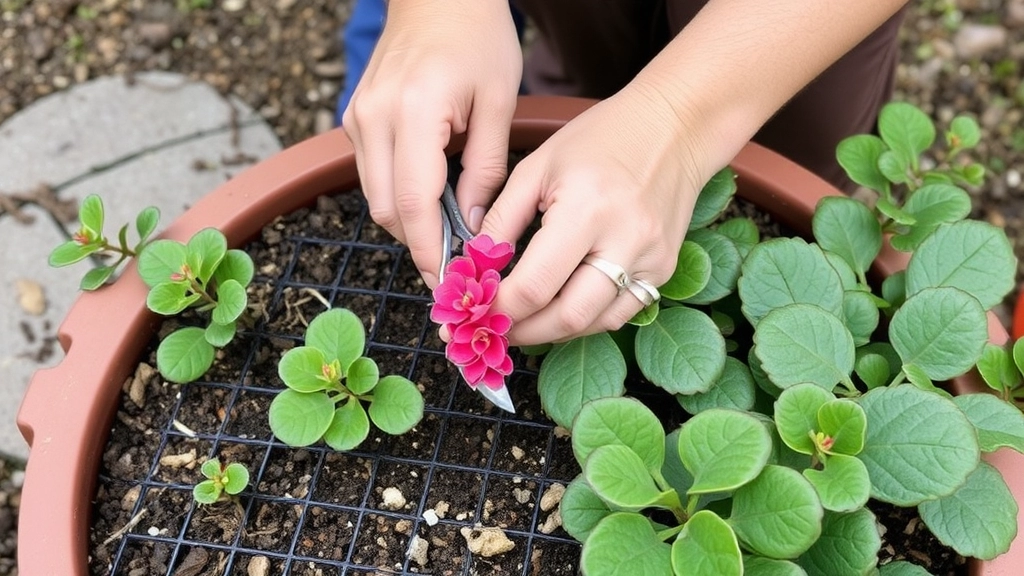
Planting Steps
- Make a Hole: Use your finger or a pencil to create a small hole in the potting mix.
- Insert the Cutting: Gently place your cutting into the hole, ensuring that at least a couple of leaves are above the soil.
- Firm it Down: Lightly press the soil around the cutting to secure it in place.
Post-Planting Care
- Avoid Overpacking: Don’t pack the soil too tightly; roots need space to grow.
- Check the Depth: The cutting should be stable but not buried too deep.
Watering and Initial Care
After you’ve successfully planted your Kalanchoe cutting, it’s crucial to focus on watering and initial care to ensure its healthy growth.
Common Concerns:
- How often should I water my new cutting?
- Am I overwatering or underwatering?
- What signs indicate that my cutting is thriving?
Watering Guidelines:
- Initial Watering: After planting, give your cutting a light watering. This helps settle the soil around the roots.
- Frequency: Allow the soil to dry out completely between waterings. Generally, this means watering every 1-2 weeks, depending on your environment. For more detailed instructions, check out this complete guide on how often to water Kalanchoe.
- Signs of Overwatering: Yellowing leaves or a mushy stem can indicate overwatering.
- Signs of Underwatering: Wrinkled leaves or a dry, shrivelled appearance suggests your cutting needs more water.
Initial Care Tips:
- Humidity: Kalanchoe prefers a drier environment. Avoid placing it in overly humid conditions.
- Temperature: Keep your cutting in a warm area, ideally between 18-24°C (65-75°F).
- Fertilisation: Hold off on fertilising for the first month. Once established, use a diluted succulent fertiliser. For more information on common issues, you might find this article on why Kalanchoe flowers turn brown helpful.
By following these guidelines, your Kalanchoe cutting will have the best chance of establishing strong roots and thriving in its new pot.
Providing Adequate Light and Temperature
So, you’ve got your Kalanchoe cutting all set, and now you’re probably wondering, “What’s next?” Well, let’s talk about light and temperature—two crucial elements for your plant’s success.
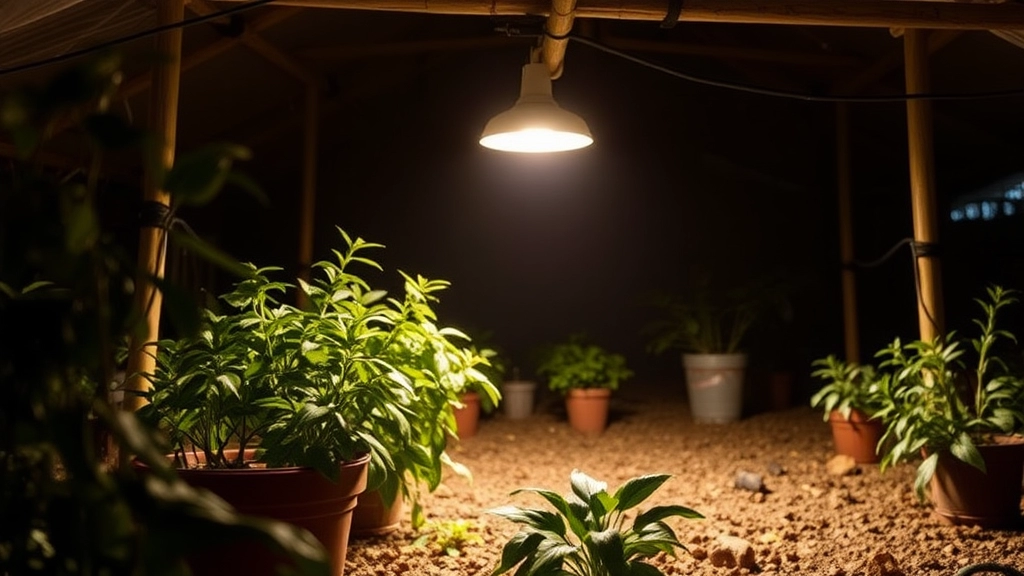
The Right Light
Kalanchoes thrive in bright, indirect sunlight. Here’s how to make sure your cutting gets just the right amount:
- Location: Place your cutting near a sunny window, but avoid direct sunlight. Too much sun can scorch those delicate leaves.
- Duration: Aim for about 6 hours of light daily. If your space is a bit dim, consider using a grow light to supplement.
- Rotation: Rotate your cutting every week to ensure even growth. Trust me, it makes a difference!
Ideal Temperature
Temperature plays a huge role in how well your Kalanchoe cutting develops. Here’s what you need to keep in mind:
- Daytime: Aim for a cozy 20-25°C (68-77°F).
- Nighttime: A slight drop to around 15-18°C (59-65°F) is perfect for resting.
- Avoid Extremes: Keep your cutting away from drafts, heaters, or air conditioning vents. Sudden temperature changes can stress your plant.
By giving your Kalanchoe the right light and temperature, you’re setting the stage for healthy growth.
Monitoring for Root Development
Once you’ve planted your Kalanchoe cutting, the next crucial step is monitoring for root development.
You might be wondering: How do I know if my cutting is rooting properly?
It’s a common worry for many plant enthusiasts. The good news is there are clear signs to look out for.
Signs of Successful Root Development
- New Growth: If you notice new leaves or stems emerging, it’s a good indicator that roots are forming.
- Firmness: Gently tug on the cutting. If it feels secure in the soil, roots are likely anchoring it down.
- Moisture Levels: Check the soil. Healthy roots will help maintain moisture, so if the soil is drying out too quickly, it might indicate weak root growth.
Tips for Monitoring
- Patience is Key: Rooting can take anywhere from a few weeks to a couple of months.
- Avoid Disturbing the Cutting: Frequent checking can damage delicate new roots.
- Use Transparency: If you’re using a clear container, you can visually inspect root growth without disturbing the plant.
- Temperature and Humidity: Ensure the environment remains warm and humid. This encourages faster root development.
By keeping an eye on these signs, you can ensure your Kalanchoe cutting is on the right path to thriving. For more detailed tips, you might want to check out the Kalanchoe Stem Propagation Step-by-Step Guide and learn about the Ultimate Guide to Caring for Kalanchoe Flaming Katy.
Transplanting to a Larger Pot
So, you’ve nurtured your Kalanchoe cutting, and it’s starting to show signs of growth.
But when is the right time to move it to a larger pot?
Here’s the lowdown:
- Signs It’s Time to Transplant:
- Roots are poking out of the drainage holes.
- Growth has slowed down significantly.
- The plant looks top-heavy or is leaning.
Transplanting is all about giving your Kalanchoe the space it needs to thrive.
Steps to Transplant:
- Choose the Right Pot:
- Go for a pot that’s about 2 inches wider in diameter than the current one.
- Ensure it has drainage holes to prevent waterlogging.
- Prepare the New Pot:
- Add a layer of fresh potting mix at the bottom.
- This mix should be well-draining, ideally a cactus or succulent blend.
- Gently Remove the Plant:
- Carefully take the Kalanchoe out of its old pot.
- Try not to disturb the roots too much.
- Inspect the Roots:
- If they’re tightly bound, gently tease them apart.
- Trim any dead or mushy roots.
- Position the Plant:
- Place your Kalanchoe in the new pot, ensuring it sits at the same depth as before.
- Fill in around the roots with potting mix, pressing lightly to eliminate air pockets.
- Water After Transplanting:
- Give it a good drink, but don’t soak it.
- This helps settle the soil and reduces transplant shock.
Transplanting is a crucial step in ensuring your Kalanchoe continues to flourish.
Aftercare Tips:
- Avoid direct sunlight for a week post-transplant to help it adjust.
- Keep the soil slightly moist but not soggy.
When propagating Kalanchoe cuttings, it’s not uncommon to encounter a few hiccups along the way.
**What if my cutting isn’t rooting?**
If your cutting seems to be struggling, here are some common issues and their solutions:
– **Too much moisture:** Overwatering is a leading cause of root rot. Ensure your potting mix is well-draining and only water when the soil feels dry to the touch.
– **Insufficient light:** Kalanchoe thrives in bright, indirect sunlight. If your cutting is in a dim spot, consider moving it to a brighter location.
– **Improper temperature:** Kalanchoe prefers temperatures between 20-25°C (68-77°F). Extreme cold or heat can hinder growth, so keep it in a stable environment.
– **Pests:** Check for signs of pests like aphids or mealybugs. If found, treat them with a gentle insecticidal soap or neem oil.
– **Fungal issues:** If you notice a white, powdery substance on the leaves, it could be powdery mildew. Improve air circulation around the plant and consider using a fungicide if necessary.
**What if my cutting is wilting?**
Wilting can be a sign of stress. Here’s how to address it:
– **Check the soil moisture:** If it’s too dry, give it a light watering. If it’s too wet, allow it to dry out before watering again.
– **Assess light conditions:** Ensure it’s receiving adequate light. If it’s too intense, consider providing some shade.
– **Inspect for root damage:** If you suspect root rot, gently remove the cutting from the soil and check the roots. Trim away any black or mushy roots and repot in fresh soil.
By addressing these common issues promptly, you can set your Kalanchoe cutting on the path to successful growth. For more detailed guidance, you might find our [step-by-step guide to Kalanchoe propagation from leaves](https://planthq.org/stepbystep-guide-kalanchoe-propagation-from-leaves/) helpful. Additionally, if you’re dealing with specific varieties, our [guide on propagating Kalanchoe Pink Butterflies](https://planthq.org/how-to-propagate-kalanchoe-pink-butterflies-a-stepbystep-guide/) offers tailored advice.
Tips for Healthy Growth and Maintenance
So, you’ve successfully planted your Kalanchoe cutting, and now it’s time to ensure it thrives.
You might be wondering, âHow do I keep my Kalanchoe healthy and happy?â
Here are some straightforward tips to help you on this journey:
- Water Wisely:
- Let the soil dry out between waterings.
- Overwatering is the quickest way to stress your plant.
- Fertilise Sparingly:
- Use a balanced, water-soluble fertiliser every few weeks during the growing season.
- Too much fertiliser can burn the roots.
- Prune Regularly:
- Remove any dead or yellowing leaves to encourage new growth.
- This helps keep your plant looking fresh and vibrant.
- Check for Pests:
- Keep an eye out for common pests like aphids or mealybugs.
- If you spot any, treat them promptly with insecticidal soap.
- Repot When Necessary:
- If your Kalanchoe outgrows its pot, it’s time for a bigger home.
- This gives the roots more space to grow and absorb nutrients.
- Watch the Temperature:
- Kalanchoes prefer temperatures between 15°C and 25°C.
- Avoid placing them in drafty areas or near heating vents.
By following these tips, you’ll create an environment where your Kalanchoe can flourish. For more detailed guidance, check out our Kalanchoe Chocolate Soldier Care Guide and learn about the causes and treatment of Kalanchoe leaf spot.
FAQs on Growing Kalanchoe from Cuttings
What tools and materials do I need to propagate a Kalanchoe cutting?
You’ll need sharp, clean scissors or pruning shears, a small pot with drainage holes, succulent potting mix, optional rooting hormone, and a watering can or spray bottle. Make sure to sanitize your tools to prevent disease.
Why is it important to allow the Kalanchoe cutting to callus?
Allowing the cutting to callus helps form a protective layer over the cut surface, reducing the risk of infection and promoting healthy root growth. This step significantly enhances the chances of your cutting thriving.
How do I allow my Kalanchoe cutting to callus?
Place the cutting on a clean, dry surface like a plate or piece of cardboard. Leave it to dry for about 1 to 3 days in a warm, dry area with indirect sunlight. Check for a dry, hardened layer on the cut end to ensure the callusing process is complete.
What kind of pot should I use for planting the Kalanchoe cutting?
Choose a small pot with drainage holes. Kalanchoes prefer well-draining soil and dislike sitting in water.
What are the steps to plant a Kalanchoe cutting?
First, make a hole in the potting mix using your finger or a pencil. Insert the cutting, ensuring a couple of leaves are above the soil. Lightly press the soil around the cutting to secure it in place.
What light and temperature conditions are ideal for a Kalanchoe cutting?
Kalanchoes thrive in bright, indirect sunlight. Aim for about 6 hours of light daily. Ideal temperatures are 20-25°C (68-77°F) during the day and 15-18°C (59-65°F) at night. Avoid sudden temperature changes and direct sunlight.
When should I transplant my Kalanchoe to a larger pot?
Transplant your Kalanchoe when you see roots poking out of the drainage holes, growth has slowed down, or the plant looks top-heavy. Choose a pot about 2 inches wider in diameter than the current one and ensure it has drainage holes.
What are the steps for transplanting a Kalanchoe to a larger pot?
Prepare the new pot with fresh, well-draining potting mix. Gently remove the plant from its old pot, inspect and trim the roots if necessary, and position it in the new pot at the same depth as before. Fill in around the roots with potting mix and water lightly to settle the soil.
What aftercare is needed post-transplanting?
Avoid direct sunlight for a week to help the plant adjust. Keep the soil slightly moist but not soggy to reduce transplant shock.
References
-
How to Propagate Kalanchoe
-
Propagating Kalanchoe Plants
-
Propagating Kalanchoe Succulents: A Step-by-Step Guide