How to Propagate Kalanchoe Cuttings in Water
Ever wondered how to propagate Kalanchoe cuttings in water? You’re in the right place! In this guide, I’ll walk you through the simple steps to get those Kalanchoe cuttings thriving in no time. Forget the soil and let’s dive into water propagation—it’s easy, efficient, and a fun way to watch your plants grow.
Steps to Propagate Kalanchoe Cuttings
First, you’ll need a healthy Kalanchoe plant to take cuttings from. Snip a few leaves or stems and place them in a clean container filled with water. Make sure the cuttings are submerged just enough to cover the base. Change the water every few days to keep things fresh.
Before you know it, you’ll see roots sprouting, ready to be planted in soil or left to grow in water. It’s that simple!
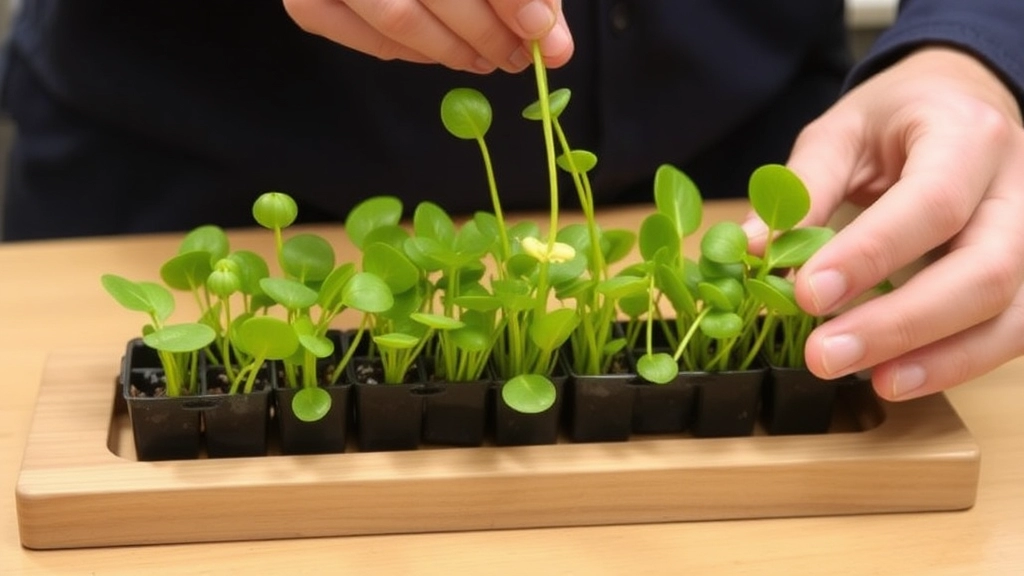
Selecting Healthy Kalanchoe Cuttings
When it comes to propagating Kalanchoe, the first step is crucial: selecting healthy cuttings. You might wonder, “How do I know which cuttings are suitable?” This decision can significantly impact the success of your propagation journey.
Preparing Cuttings for Water Propagation
So, you’ve chosen your healthy Kalanchoe cuttings. Now, what’s next?
Getting your cuttings ready for water propagation is crucial. If you skip this step, you might not see the roots you’re hoping for.
Here’s how to prepare your cuttings:
- Choose the Right Stem:
Look for a stem that’s healthy, firm, and at least a few inches long. Avoid any that look wilty or have brown spots. - Make the Cut:
Use clean, sharp scissors or shears to snip just below a leaf node. This is where the roots will sprout. A clean cut helps prevent disease. - Remove Lower Leaves:
Strip off the leaves from the bottom half of the cutting. This keeps them from rotting in the water. You want to focus energy on root growth. - Let Them Callous:
Place your cuttings in a dry spot for a few hours or even overnight. This helps the cut end form a protective layer, reducing the risk of rot when submerged. - Optional – Use Rooting Hormone:
If you have rooting hormone on hand, dip the cut end in it. This isn’t necessary, but it can speed up the rooting process.
By preparing your cuttings this way, you set them up for success in water propagation.
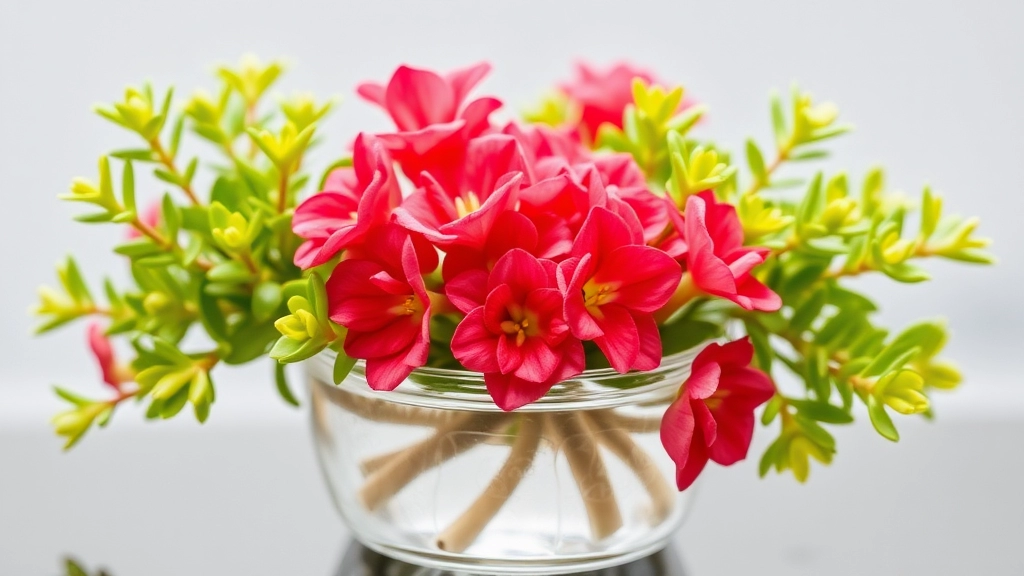
Setting Up the Water Propagation System
Once you’ve selected your healthy Kalanchoe cuttings, it’s time to create the ideal environment for water propagation.
You might be wondering, “What do I need to successfully propagate my Kalanchoe cuttings in water?”
Here’s a straightforward guide to setting up your water propagation system:
- Choose the Right Container:
- Opt for a clear glass or jar.
- This allows you to monitor root growth easily.
- Ensure it’s clean to prevent any bacterial growth.
- Fill with Water:
- Use distilled or filtered water to avoid any chemicals that might harm the cuttings.
- Fill the container enough to submerge the cut end of the cutting, but not the leaves.
- Positioning the Cuttings:
- Place the cuttings upright in the container.
- Ensure the cut ends are submerged while the leaves remain above water.
- This prevents rot and encourages healthy root development.
- Finding the Right Spot:
- Place your container in a bright, indirect light location.
- Avoid direct sunlight, as it can overheat and damage the cuttings.
- A windowsill with filtered light works well.
- Maintain Water Levels:
- Check the water levels regularly and top up as necessary.
- Change the water every week to keep it fresh and oxygenated.
By following these steps, you’ll create a thriving environment for your Kalanchoe cuttings. For more detailed tips on Kalanchoe care, you can refer to our essential care tips and tricks and learn about the step-by-step guide for Kalanchoe propagation from leaves.
Monitoring Root Development
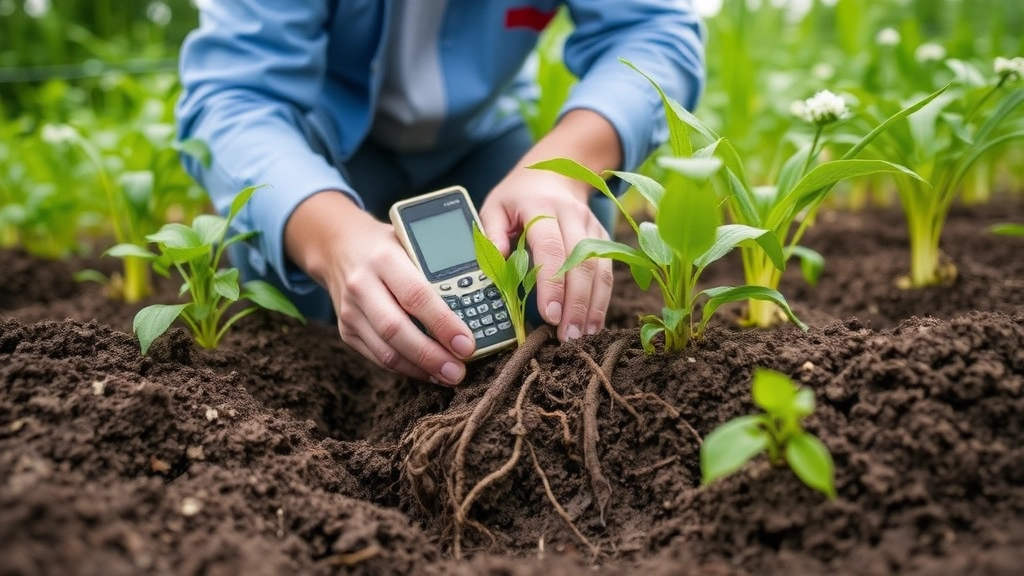
After transferring your Kalanchoe cuttings to water, the next crucial step is monitoring root development.
You might be wondering, “How do I know if my cuttings are thriving?”
Here are some key indicators to look for:
- Clear Water: Ensure the water remains clear. Cloudiness can indicate bacterial growth, which can hinder root development.
- Healthy Appearance: Check that the cuttings maintain a vibrant colour. Yellowing leaves may signal stress or rot.
- Root Growth: Look for tiny white roots emerging from the nodes. This is a sign that your cuttings are establishing themselves.
- Timeframe: Generally, you should start seeing root development within 1-3 weeks, depending on environmental conditions.
While monitoring, it’s essential to keep the water level consistent.
Tips to ensure optimal growth:
- Change the water every week to keep it fresh.
- Place the cuttings in a bright, indirect light location. Too much direct sunlight can scorch the leaves.
- Avoid overcrowding. Each cutting should have enough space to breathe and grow.
By keeping a close eye on these factors, you’ll be able to ensure the health of your Kalanchoe cuttings.
Once your Kalanchoe cuttings have developed healthy roots, it’s time to transfer them to soil. This step is crucial for ensuring their long-term growth and vitality. You might be wondering: how do I make this transition smooth and successful?
FAQs on Kalanchoe Cuttings In Water
How do I choose the right stem for Kalanchoe cuttings?
Choose a stem that is healthy, firm, and at least a few inches long. Avoid stems that look wilty or have brown spots.
What tools should I use to make the cut?
Use clean, sharp scissors or shears to snip just below a leaf node. A clean cut helps prevent disease.
Why do I need to remove the lower leaves?
Removing the lower leaves prevents them from rotting in the water and focuses the plant’s energy on root growth.
Is it necessary to let the cuttings callous before placing them in water?
Yes, allowing the cuttings to callous for a few hours or overnight helps form a protective layer, reducing the risk of rot when submerged.
Should I use rooting hormone on my Kalanchoe cuttings?
Using rooting hormone is optional but can speed up the rooting process if you have it on hand.
How do I know if my Kalanchoe cuttings are thriving in water?
Look for clear water, vibrant color in the cuttings, tiny white roots emerging from the nodes, and root development within 1-3 weeks.
How often should I change the water?
Change the water every week to keep it fresh and prevent bacterial growth.
Where should I place my Kalanchoe cuttings for optimal growth?
Place the cuttings in a bright, indirect light location. Avoid too much direct sunlight as it can scorch the leaves.
Can I place multiple cuttings in the same container?
Avoid overcrowding. Each cutting should have enough space to breathe and grow.
What should I do if the water becomes cloudy?
Cloudy water can indicate bacterial growth. Change the water immediately to ensure the health of your cuttings.
References
-
Gardening Know How: Propagating Kalanchoe
-
The Spruce: How to Propagate Kalanchoe
-
Houseplant 411: Kalanchoe Plant Care Tips