Guide to Kalanchoe Leaf Propagation
If you’re looking to expand your Kalanchoe collection, leaf propagation is a simple and effective method. In this guide, I’ll walk you through the essential steps for successful Kalanchoe leaf propagation, from selecting the best leaves to ensuring optimal growth conditions.
Steps for Successful Propagation
- Choose Healthy Leaves: First, choose healthy leaves from your Kalanchoe plant.
- Prepare Soil Mix: Next, prepare a well-draining soil mix to encourage root development.
- Allow to Dry: After cutting the leaf, allow it to dry for a few days to prevent rot.
- Plant the Cuttings: Once dried, plant the leaf cuttings and maintain the right watering and humidity levels.
Optimal Growth Conditions
With proper light and temperature conditions, your new Kalanchoe plants will thrive. Stay tuned for troubleshooting tips and aftercare advice to keep your propagated Kalanchoe healthy.
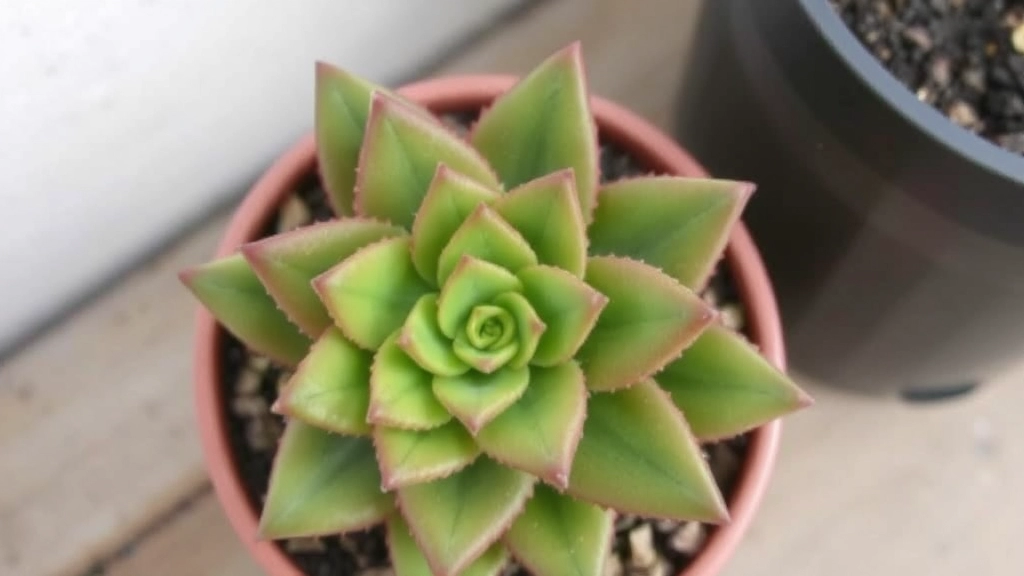
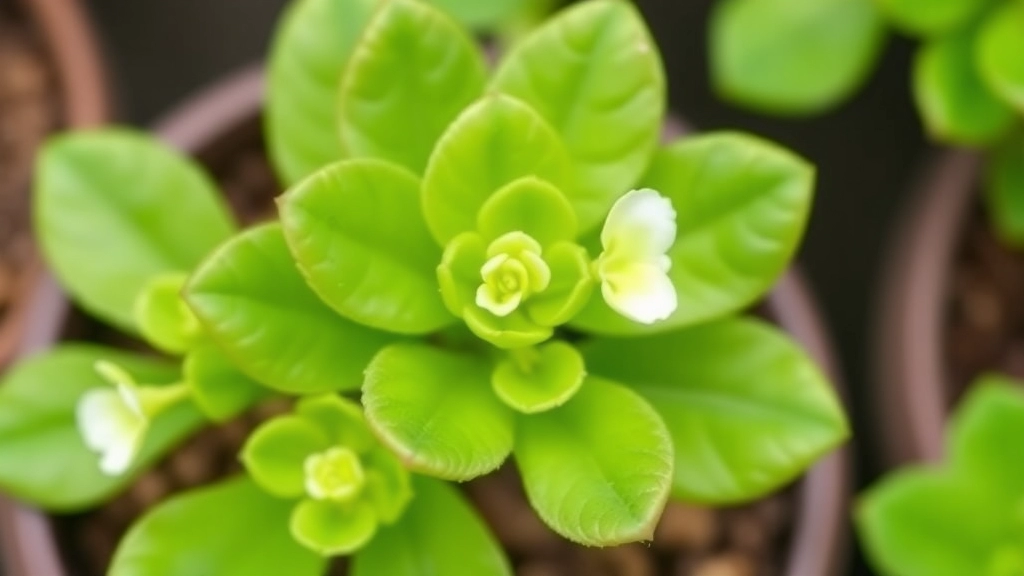
When it comes to propagating Kalanchoe, the selection of leaves is crucial. Many gardeners often wonder which leaves yield the best results.
### Key Considerations for Leaf Selection:
– **Health of the Plant:** Choose leaves from a healthy Kalanchoe. Look for vibrant, green leaves without any signs of disease or pests.
– **Age of the Leaves:** Opt for mature leaves. Young, tender leaves may not have the strength needed for successful propagation.
– **Size Matters:** Larger leaves generally have more stored energy, which aids in rooting. Aim for leaves that are at least a few inches long.
– **Avoid Damage:** Ensure the leaves are intact and free from blemishes. Damaged leaves are less likely to root successfully.
By carefully selecting the right leaves, you set the stage for a successful propagation process. For more detailed guidance, you might find the [Kalanchoe Mother of Thousands Care and Propagation Guide](https://planthq.org/kalanchoe-mother-of-thousands-care-and-propagation-guide/) useful. Additionally, if you’re dealing with specific varieties, the [Complete Guide to Growing Kalanchoe Copper Spoons](https://planthq.org/complete-guide-to-growing-kalanchoe-copper-spoons/) offers valuable insights.
Preparing the Ideal Soil Mix for Kalanchoe
So, you’ve got your Kalanchoe leaves ready for propagation, but what about the soil?
Choosing the right soil mix is crucial for the success of your new plants.
Why Does Soil Matter?
Kalanchoe prefers well-draining soil. If the soil retains too much moisture, it can lead to root rot. Trust me, you don’t want that!
What to Use:
Here’s a simple yet effective soil mix you can create at home:
- Cactus Mix: Start with a pre-made cactus mix. It’s designed for excellent drainage.
- Perlite or Pumice: Add a handful of perlite or pumice. This will improve aeration and drainage.
- Coir or Peat: Mix in some coir or peat for moisture retention without sogginess.
Mixing It Up:
- Combine Ingredients: In a large bowl, mix two parts cactus mix with one part perlite and one part coir.
- Check Consistency: The soil should feel light and crumbly, not heavy and compact.
pH Level:
Kalanchoe prefers slightly acidic to neutral soil, around 6.0 to 7.0. A simple pH test kit can help you check this.
Once your soil mix is ready, it’s time to move on to cutting and drying those leaves.
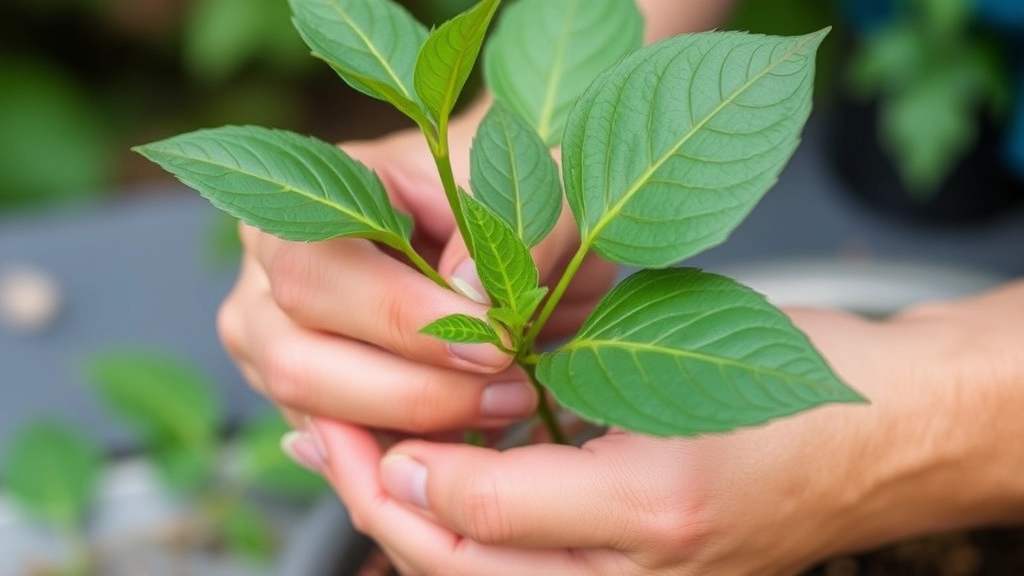
Cutting and Drying the Leaf
You might be wondering how to effectively cut and prepare your Kalanchoe leaves for propagation. This step is crucial in ensuring successful rooting and growth.
Proper Planting Techniques for Leaf Cuttings
Once you’ve successfully cut and dried your Kalanchoe leaves, it’s time to focus on the planting techniques that will give your cuttings the best chance to thrive.
Why Proper Planting Matters
You might be wondering why planting techniques are so crucial. The right method ensures that your cuttings establish roots efficiently, which is vital for their overall health and growth.
Steps for Planting Leaf Cuttings:
- Choose the Right Container
- Use small pots or trays with drainage holes.
- Ensure the container is clean to prevent disease.
- Fill with Soil Mix
- Use a well-draining soil mix, ideally a blend of potting soil and perlite or sand.
- This prevents waterlogging, which can rot the cuttings.
- Plant the Cuttings
- Make small holes in the soil with your finger or a pencil.
- Place the leaf cuttings upright, ensuring the cut end is buried slightly in the soil.
- Space them apart to allow airflow.
- Press Down Gently
- Lightly press the soil around the cuttings to secure them.
- Avoid compacting the soil too much; it should remain loose for root growth.
- Label Your Cuttings
- Consider labelling each pot with the date and type of Kalanchoe.
- This helps you track their progress and care.
By following these planting techniques, you set the stage for successful rooting and growth.
As we dive deeper into the propagation process, understanding the watering and humidity needs is crucial for the successful rooting of Kalanchoe leaf cuttings.
### Watering Guidelines:
– **Initial Watering:** After planting your leaf cuttings, wait about a week before watering. This allows the cut surface to callous, reducing the risk of rot.
– **Frequency:** Water sparingly. Kalanchoe thrives in dry conditions, so only water when the top inch of the soil feels dry to the touch.
– **Method:** Use a spray bottle or a watering can with a fine spout to deliver water gently, avoiding direct contact with the leaves to prevent rot.
– **Signs of Overwatering:** Yellowing leaves or a mushy texture are indicators that you may be watering too much.
### Humidity Levels:
– **Ideal Conditions:** Kalanchoe prefers moderate humidity levels, ideally between 40-60%. Too much humidity can lead to fungal issues, while too little can hinder rooting.
– **Creating Humidity:** If your environment is too dry, consider placing a humidity tray filled with water and pebbles near your cuttings. This will help maintain moisture without direct contact.
– **Monitoring Humidity:** Use a hygrometer to keep track of humidity levels, ensuring they remain within the ideal range for optimal growth.
For more detailed advice, you can refer to our [complete guide to caring for Kalanchoe Mother of Millions](https://planthq.org/complete-guide-to-caring-for-kalanchoe-mother-of-millions-plant/) and learn about [different types of Kalanchoe Daigremontiana](https://planthq.org/different-types-of-kalanchoe-daigremontiana-explained/).
Light and Temperature Conditions for Optimal Growth
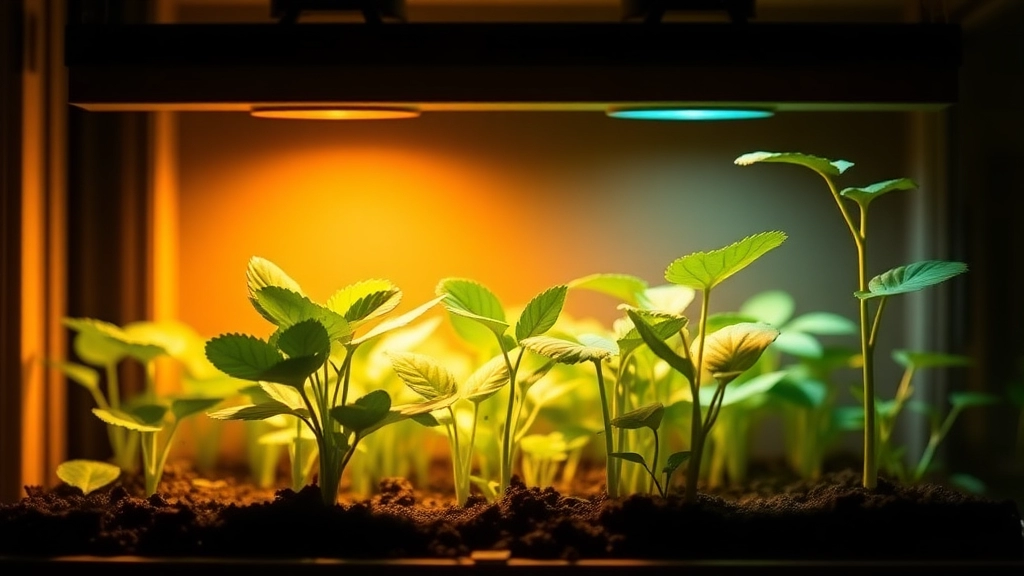
So, you’ve got your Kalanchoe leaf cuttings ready to go. Now, let’s chat about something super important: light and temperature.
You might be wondering, “How much light does my Kalanchoe need?”
Well, Kalanchoe loves bright, indirect sunlight. Direct sunlight can scorch those lovely leaves, so think about placing them near a window that gets plenty of light but isn’t baking hot.
Here’s how to nail the light situation:
- Bright Indirect Light: Aim for a spot where they can soak up the sun without getting fried.
- Rotate Your Pots: Every week or so, give them a little spin so all sides get a fair share of light.
- Watch for Stretching: If you notice your plants getting leggy, they’re likely craving more light.
Now, let’s not forget about temperature. Kalanchoe thrives in warmth, so keeping them cozy is key.
Temperature Tips:
- Ideal Range: Aim for 20-25°C (68-77°F) during the day.
- Nighttime Chill: They can handle cooler temps at night, but try to keep it above 10°C (50°F).
- Avoid Drafts: Keep them away from cold drafts or sudden temperature changes.
Getting the light and temperature just right can make all the difference in how your Kalanchoe grows.
As you embark on the journey of propagating Kalanchoe, you might encounter a few bumps along the way.
### Common Issues:
– **Leaf Rot:**
– This often occurs due to excessive moisture.
– Ensure your soil mix drains well and avoid overwatering.
– **Slow Root Development:**
– If your cuttings aren’t rooting as expected, check the temperature.
– Kalanchoe thrives in warmer conditions; aim for 20-25°C (68-77°F).
– **Discoloration:**
– Yellowing leaves can indicate overwatering or nutrient deficiencies.
– Adjust your watering schedule and consider a diluted fertiliser.
– **Pests:**
– Watch out for mealybugs and aphids.
– Regularly inspect your plants and treat with insecticidal soap if needed.
– **Leggy Growth:**
– If your new plants are stretching towards the light, they may not be receiving enough.
– Ensure they have adequate light exposure.
In my experience, addressing these challenges promptly can make a significant difference in your propagation success.
### Proactive Measures:
– **Monitor Conditions:** Regularly check soil moisture and light levels.
– **Use Clean Tools:** Always use sterilised cutting tools to prevent disease.
– **Patience is Key:** Rooting can take time; don’t rush the process.
By staying vigilant and responding to these common issues, you can foster a healthy environment for your Kalanchoe cuttings. For more detailed care tips, you might find this [complete guide to Kalanchoe plant care](https://planthq.org/complete-guide-to-kalanchoe-plant-care/) helpful. Additionally, if you’re dealing with post-flowering issues, check out this [post-flowering Kalanchoe care guide](https://planthq.org/postflowering-kalanchoe-care-pruning-watering-reblooming-tips/) for more insights.
When and How to Transplant New Kalanchoe Plants
So, you’ve successfully propagated your Kalanchoe, and those little cuttings are starting to grow roots.
Now, when should you think about transplanting them into their own pots?
Timing is Key
- Wait until your cuttings have developed a solid root system.
- Look for roots that are at least 2-3 inches long.
- This usually takes about 4-6 weeks, but keep an eye on them!
Choosing the Right Pot
- Go for a pot that’s slightly larger than the root ball.
- Ensure it has drainage holes; Kalanchoes hate sitting in soggy soil.
- Terracotta pots are a great choice as they allow for airflow.
Soil Selection
- Use a well-draining mix, like a cactus or succulent blend.
- You can even mix regular potting soil with sand or perlite for extra drainage.
Transplanting Steps
- Prepare the New Pot: Add a layer of your soil mix at the bottom.
- Remove the Cutting: Gently take the cutting from its rooting container.
- Place it in the New Pot: Position the cutting in the centre and fill in with soil, ensuring the roots are covered but the leaves are above the soil line.
- Firm it Up: Lightly press down the soil around the cutting to eliminate air pockets.
After Transplanting Care
- Water the newly transplanted Kalanchoe lightly.
- Keep it in a warm, bright spot but out of direct sunlight for a week or so.
Aftercare Tips for Healthy Kalanchoe Growth
Once your Kalanchoe cuttings have rooted and established themselves, proper aftercare is crucial for their continued health and growth. You may wonder, “How can I ensure my new plants thrive?” Here are some essential tips to keep your Kalanchoe flourishing.
Watering
- Frequency: Water your Kalanchoe only when the top inch of soil feels dry. Overwatering can lead to root rot, a common issue with succulents.
- Method: Use the soak-and-dry method. Water thoroughly until it drains from the bottom, then allow the soil to dry out completely before the next watering.
Fertilisation
- Type: Use a balanced, diluted fertiliser specifically designed for succulents.
- Schedule: Fertilise every 4-6 weeks during the growing season (spring and summer). Reduce or stop feeding in the dormant months (autumn and winter).
Pruning
- Timing: Regularly prune dead or yellowing leaves to encourage new growth and maintain the plant’s appearance.
- Technique: Use clean, sharp scissors to make clean cuts, reducing the risk of disease.
Pest Management
- Inspection: Check for common pests like mealybugs and aphids. Early detection is key.
- Treatment: If pests are present, treat them with insecticidal soap or neem oil.
Potting and Soil
- Repotting: Consider repotting your Kalanchoe every couple of years to refresh the soil and provide room for growth.
- Soil Mix: Use a well-draining cactus or succulent mix to prevent water retention.
Light Conditions
- Sunlight: Ensure your Kalanchoe receives bright, indirect sunlight for optimal growth. Too much direct sunlight can scorch the leaves.
- Rotation: Rotate your plant every few weeks to ensure even light exposure on all sides.
By implementing these aftercare tips, you can help your Kalanchoe plants thrive, ensuring they remain healthy and vibrant. For more detailed care instructions, check out our essential Kalanchoe care tips for summer success and our comprehensive guide on caring for Kalanchoe Brasiliensis.
FAQs on Kalanchoe Leaf Propagation
What is the ideal soil mix for propagating Kalanchoe leaves?
The ideal soil mix for Kalanchoe leaf propagation should be well-draining to prevent root rot. A simple mix includes a pre-made cactus mix, perlite or pumice for aeration, and coir or peat for moisture retention.
Why is proper planting technique important for Kalanchoe leaf cuttings?
Proper planting techniques ensure that your Kalanchoe cuttings establish roots efficiently, which is crucial for their overall health and growth.
What type of container should I use for planting Kalanchoe cuttings?
Use small pots or trays with drainage holes to prevent waterlogging. Ensure the containers are clean to avoid disease.
How much light does Kalanchoe need for optimal growth?
Kalanchoe thrives in bright, indirect sunlight. Direct sunlight can scorch the leaves, so place them near a window with plenty of light but not direct heat.
What temperature is best for Kalanchoe growth?
Kalanchoe prefers a daytime temperature range of 20-25°C (68-77°F) and can handle cooler temperatures at night, but try to keep it above 10°C (50°F). Avoid cold drafts and sudden temperature changes.
When should I transplant my new Kalanchoe plants?
Transplant your Kalanchoe cuttings when they have developed a solid root system, with roots at least 2-3 inches long. This usually takes about 4-6 weeks.
What type of pot should I use for transplanting Kalanchoe?
Choose a pot slightly larger than the root ball with drainage holes. Terracotta pots are ideal as they allow for airflow.
What is the best soil mix for transplanting Kalanchoe?
Use a well-draining mix, such as a cactus or succulent blend. You can also mix regular potting soil with sand or perlite for extra drainage.
How should I care for Kalanchoe after transplanting?
After transplanting, water the Kalanchoe lightly and keep it in a warm, bright spot out of direct sunlight for about a week to help it acclimate.
References
-
Kalanchoe Plant Care: How To Care For A Kalanchoe
-
How to Grow Kalanchoe Indoors
-
Kalanchoe: How to Grow and Care for Kalanchoe Plants