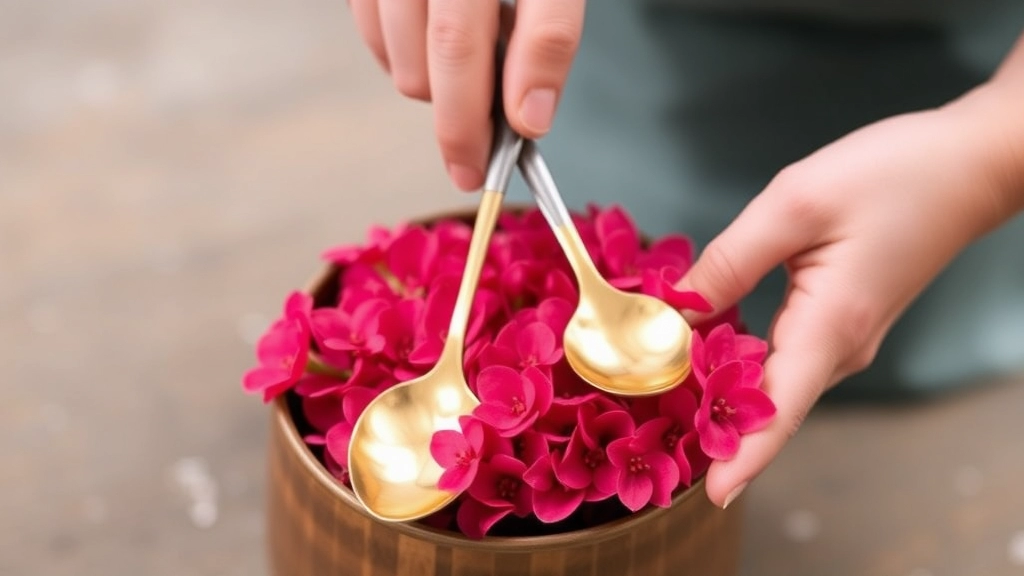
Propagation Guide for Kalanchoe Copper Spoons
Looking to propagate your Kalanchoe Copper Spoons? You’ve come to the right place. In this guide, I’ll walk you through the steps for successful Kalanchoe Copper Spoons cutting. From selecting the healthiest stems or leaves to ensuring the right care during propagation, you’ll find all the essential tips here.
Getting Started
First, choose the best time for propagation and gather your tools. It’s crucial to pick healthy, undamaged parts of the plant for cutting. Whether you’re opting for stem or leaf cuttings, I’ll show you how to prepare them properly.
Benefits of Rooting Hormone
Plus, discover the benefits of using rooting hormone and the ideal soil mix to encourage root growth. Ready to get started? Let’s dive in!
Before diving into the specifics of cutting and propagating your copper spoons, it’s essential to ensure they are ready for the process.
Many enthusiasts worry about the best way to prepare their plants for cutting.
Here’s how to get started:
– **Choose Healthy Plants**: Ensure your copper spoons are thriving. Look for vibrant, healthy leaves and a robust stem. Avoid any plants that show signs of disease or pest infestation. For more detailed guidance on maintaining healthy plants, you can refer to the [complete care guide for Kalanchoe Blossfeldiana succulent](https://planthq.org/complete-care-guide-for-kalanchoe-blossfeldiana-succulent/).
– **Gather Your Tools**: You will need sharp, clean scissors or pruning shears. A clean cut reduces the risk of disease. Additionally, have a clean container of water or potting mix ready for the cuttings.
– **Timing is Key**: The best time to take cuttings is during the growing season, typically in spring or early summer. This gives your cuttings the best chance to root. For more tips on timing and care, check out the [post-flowering Kalanchoe care guide](https://planthq.org/postflowering-kalanchoe-care-pruning-watering-reblooming-tips/).
– **Avoid Stress**: Make sure your plants are not under stress from extreme weather or recent changes in their environment. Stress can hinder the success of your cuttings.
Selecting the Right Cutting
So, you’re ready to dive into propagation, but how do you choose the right cutting?
It can be a bit daunting, right?
You want to ensure you’re starting with the best possible material to set your new plants up for success.
Here’s what to keep in mind:
- Healthy Growth: Look for stems that are vibrant and green. Avoid any that are brown or shriveled.
- Length Matters: Aim for cuttings that are about 4 to 6 inches long. This size tends to root well.
- Node Selection: Always include at least one node in your cutting. This is where new roots will sprout from.
- Avoid Flowers: If your plant is blooming, skip those stems. Focus on the vegetative parts for propagation.
I remember the first time I tried this. I got overly excited and snipped a flower stem, thinking it would work. Spoiler alert: it didn’t.
Choosing the right cutting is crucial for a successful start.
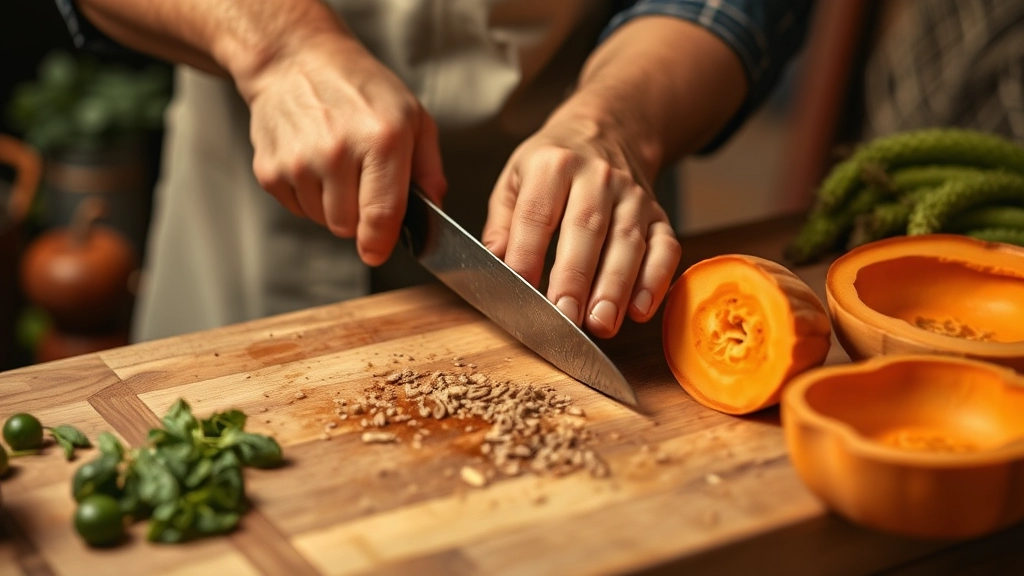
How to Take Stem Cuttings
Taking stem cuttings is a straightforward yet vital step in propagating your copper spoons. Many enthusiasts worry about the right technique or the timing, leading to unsuccessful attempts. Fear not; with the right approach, you can increase your chances of success.
Steps for Taking Stem Cuttings:
- Choose the Right Stem:
- Look for healthy, non-flowering stems.
- Aim for stems that are at least 4-6 inches long.
- Use Clean Tools:
- Always use sharp, sterilised scissors or pruning shears.
- This prevents the spread of diseases.
- Make the Cut:
- Cut just below a leaf node at a 45-degree angle.
- This angle increases the surface area for rooting.
- Remove Lower Leaves:
- Strip off the leaves from the bottom half of the cutting.
- This helps prevent rot when placed in soil.
- Optional: Let Them Callus:
- Allow your cuttings to sit for a few hours or overnight.
- This forms a protective layer on the cut end, reducing the risk of rot.
Taking stem cuttings is an essential skill for any plant enthusiast, and mastering it sets the foundation for successful propagation. For more detailed steps on propagation, you can refer to our step-by-step guide on propagating Kalanchoe Flapjack. Additionally, understanding the complete care guide for Pink Kalanchoe can further enhance your plant care skills.
Propagating Through Leaf Cuttings
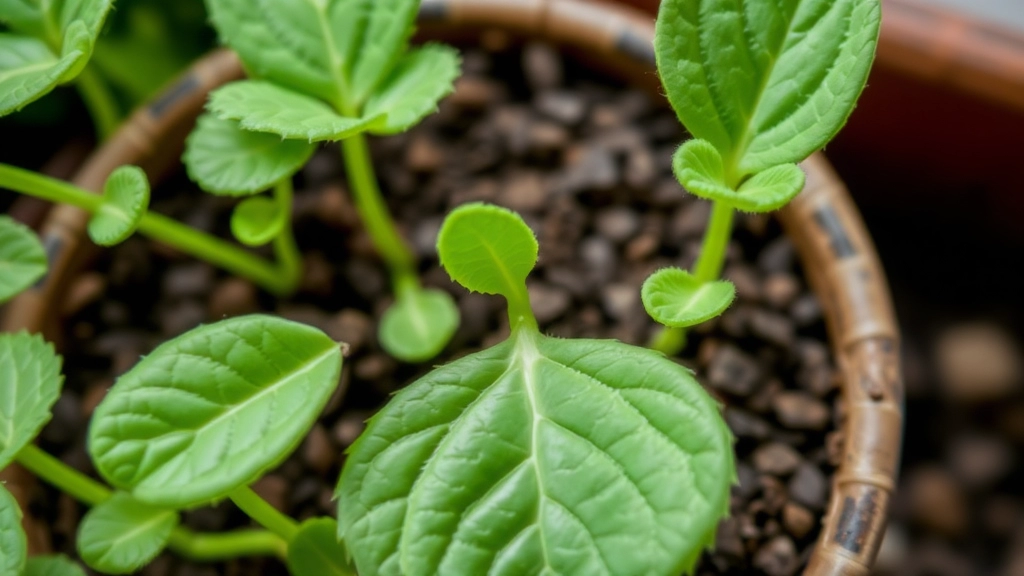
After understanding the basics of stem cuttings, it’s time to explore another effective method: propagating through leaf cuttings.
Many plant enthusiasts often wonder if they can propagate their favourite plants using just a leaf. The answer is yes! Leaf cuttings can be a simple and rewarding way to expand your collection.
Why Choose Leaf Cuttings?
- Simplicity: Leaf cuttings require minimal tools and can be done with just a sharp knife or scissors.
- Space-Saving: Perfect for those with limited space, as you can propagate multiple plants from a single leaf.
- Cost-Effective: No need to purchase new plants when you can grow them from what you already have.
Steps for Successful Leaf Cutting Propagation
- Select Healthy Leaves:
- Choose mature, healthy leaves from the parent plant.
- Avoid any leaves that show signs of disease or damage.
- Prepare the Leaves:
- Cut the leaf into sections, ensuring each piece has a vein or midrib.
- Each section should be around 3-4 inches long.
- Allow to Callus:
- Place the leaf cuttings in a dry, shaded area for a few hours to allow the cut edges to callus over.
- This helps prevent rot when planted.
- Plant the Cuttings:
- Insert the cut ends into a well-draining potting mix, burying them about an inch deep.
- Ensure the cuttings are placed upright.
- Water Gently:
- Lightly mist the soil to moisten it without over-saturating.
- Keep the soil consistently moist, but not soggy.
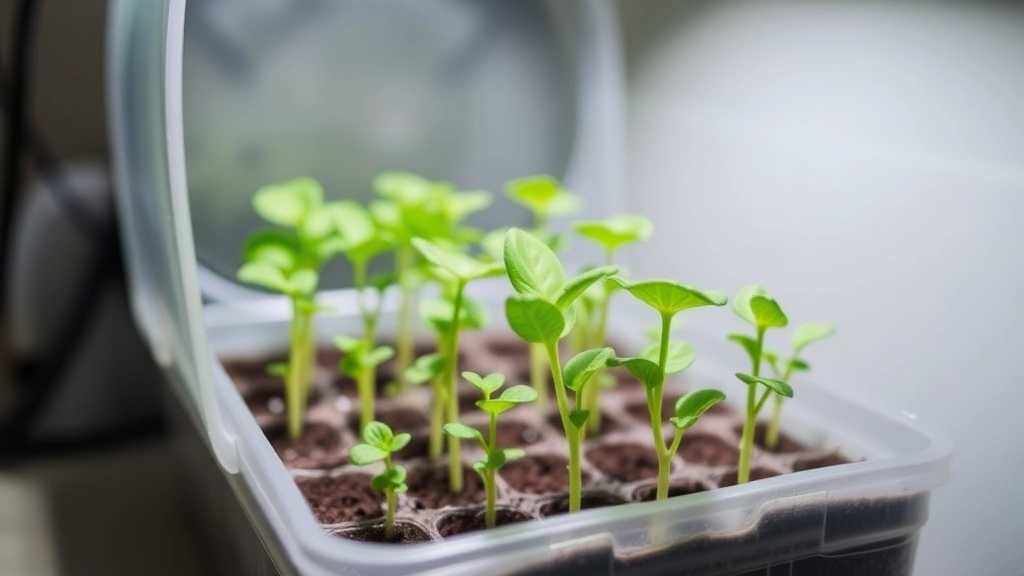
- Create a Humid Environment:
- Cover the pot with a plastic bag or a clear plastic dome to maintain humidity.
- Ensure there’s some airflow to prevent mould.
By following these steps, you can enjoy the satisfaction of watching new roots develop from your leaf cuttings.
Using Rooting Hormone for Better Success
When propagating copper spoons, one question often arises: how can I increase my chances of success? A powerful tool at your disposal is rooting hormone.
Rooting hormone promotes quicker and more robust root development, making it an invaluable ally in the propagation process.
Why Use Rooting Hormone?
- Accelerates Root Growth: Using rooting hormone can significantly speed up the time it takes for cuttings to develop roots.
- Enhances Success Rates: It can improve the overall success rate of your cuttings, especially for those that are notoriously tricky to propagate.
- Provides Protection: Some rooting hormones contain fungicides that help protect your cuttings from diseases.
Types of Rooting Hormone
- Powder: The most common form, easy to apply, and effective for a variety of plants.
- Liquid: Often used for soaking cuttings before planting, allowing for thorough coverage.
- Gel: A thicker option that clings to the cutting, providing a consistent application.
How to Apply Rooting Hormone
- Prepare Your Cuttings: Ensure your cuttings are healthy and properly trimmed.
- Dip the Cutting: Lightly dip the end of your cutting into the rooting hormone, ensuring it’s coated but not overloaded.
- Plant Immediately: Place the cutting into your chosen potting mix right after applying the hormone.
- Avoid Contamination: Always use a clean tool to scoop out the hormone to prevent contamination of the product.
Using rooting hormone can make a significant difference in your propagation journey. For more detailed advice on propagation, check out our Kalanchoe Tomentosa care and propagation tips. Additionally, if you’re looking to buy quality plants, you can buy Kalanchoe Tomentosa online at the best prices.
Soil and Potting Mix for Propagation
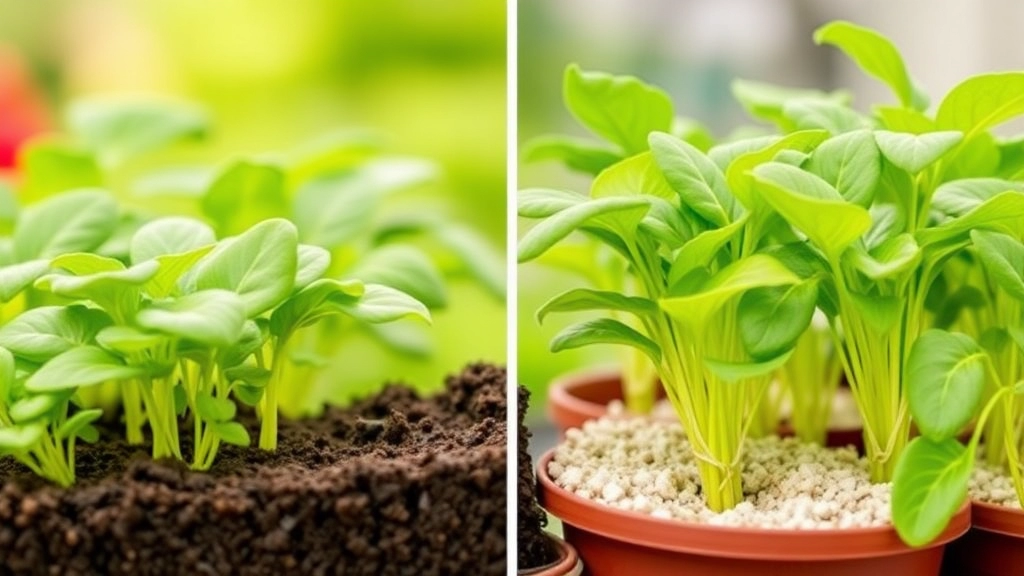
Choosing the right soil for your copper spoon cuttings can make all the difference.
Are you worried about whether your cuttings will thrive?
Let’s dive into what you need for the perfect potting mix.
Why Soil Matters
The soil you choose affects drainage, moisture retention, and nutrient availability.
Using the wrong mix can lead to root rot or stunted growth.
Best Soil Types
- Well-draining potting mix
Look for a blend specifically designed for propagation.
It should be light and fluffy to allow roots to breathe. - Cactus or succulent mix
These mixes are excellent for copper spoons.
They provide the drainage your cuttings crave. - DIY Mix
Combine equal parts of peat moss, perlite, and coarse sand.
This mix promotes aeration and moisture retention.
What to Avoid
- Heavy garden soil: It can compact and suffocate roots.
- Miracle-Gro or similar products: These often have too many nutrients for young cuttings.
Tips for Success
- Sterilize your soil: This helps prevent diseases. You can do this by baking it in the oven for about 30 minutes.
- Check pH levels: Aim for a slightly acidic to neutral pH (around 6.0 to 7.0).
Potting Up
When you’re ready to pot your cuttings, fill your containers with the chosen mix.
Make sure to leave enough space for roots to grow.
Watering Guidelines During Propagation
When propagating copper spoons, one of the most frequent concerns is how to manage watering effectively. Overwatering or underwatering can lead to issues that hinder root development.
Ideal Light Conditions for Root Development
So, you’ve taken those cuttings and are ready to give them the best chance at thriving. One of the biggest questions I hear is, “How much light do my cuttings need?”
Getting the light conditions right is crucial for root development.
Here’s what I’ve learned:
- Indirect Light is Key: Direct sunlight can be too harsh and can scorch your delicate cuttings. Instead, aim for bright, indirect light. A north-facing window or a spot a few feet away from a south-facing window works wonders.
- Duration Matters: Aim for about 12-16 hours of light each day. If natural light is lacking, consider using grow lights. They can mimic the sun’s rays and help your cuttings thrive.
- Watch for Signs: If your cuttings start to stretch towards the light, they might need a bit more. But if the leaves start to yellow or burn, you may need to move them to a shadier spot.
- Rotate Your Cuttings: To ensure even growth, rotate your cuttings every few days. This way, all sides get a fair share of light.
- Humidity and Light: Remember, higher humidity can allow for slightly brighter light conditions. If your environment is humid, your cuttings can handle a bit more light.
Getting the light right sets the stage for strong root development.
Temperature and Humidity Requirements
After ensuring the right conditions for cutting techniques, the next vital aspect to consider is temperature and humidity.
Many plant enthusiasts often wonder:
- What temperature is optimal for propagation?
- How much humidity do my cuttings need to thrive?
Optimal Temperature Range
For successful propagation, maintaining the right temperature is crucial. Generally, a range of 20°C to 24°C (68°F to 75°F) is ideal.
- Too cold: Below 15°C (59°F) can slow down growth and increase the risk of rot.
- Too hot: Above 27°C (81°F) can stress the plants and hinder root development.
Humidity Levels
Humidity plays a significant role in keeping your cuttings hydrated. Aim for a humidity level of around 50% to 70%.
- Low humidity: Can lead to wilting and desiccation of cuttings.
- High humidity: Over 80% may encourage fungal issues.
Practical Tips for Managing Temperature and Humidity
- Use a humidity dome: This helps retain moisture around your cuttings.
- Mist regularly: A light misting can boost humidity without over-saturating the soil.
- Monitor with a hygrometer: This handy tool will help you keep track of humidity levels.
By creating a stable environment, you ensure your cuttings have the best chance of developing strong roots. For more detailed advice, you can refer to our step-by-step guide on Kalanchoe stem propagation. Additionally, if you face issues with your Kalanchoe leaves, our guide on solving soft leaves might be helpful.
Common Problems and How to Avoid Them
So, you’ve prepped your copper spoons, picked the right cutting method, and nurtured them with love. But what if things don’t go as planned?
Let’s chat about some common hiccups you might face during propagation and how to sidestep them.
1. Rotting Cuttings
- What’s the issue? Too much moisture can lead to rot.
- Solution:
- Ensure your cuttings are in well-draining soil.
- Water only when the top inch feels dry.
2. Wilting Leaves
- What’s the issue? This often signals dehydration.
- Solution:
- Check the soil moisture.
- Mist the leaves lightly if they look droopy.
3. Leggy Growth
- What’s the issue? Not enough light can cause your plants to stretch.
- Solution:
- Position your cuttings in a bright spot but avoid direct sunlight.
- Rotate them occasionally for even growth.
4. Pest Infestations
- What’s the issue? Unwanted guests like aphids can wreak havoc.
- Solution:
- Inspect your plants regularly.
- Use neem oil or insecticidal soap if you spot any pests.
5. Fungal Issues
- What’s the issue? Fungi thrive in damp conditions.
- Solution:
- Ensure good airflow around your cuttings.
- Avoid overwatering and use sterilised tools.
6. Slow Root Development
- What’s the issue? Sometimes, roots take their sweet time.
- Solution:
- Consider using rooting hormone to boost growth.
- Keep the environment warm and humid.
Repotting the New Plants
After successfully propagating your copper spoons, it’s time to consider the next crucial step: repotting the new plants. This transition is vital for their continued growth and health.
Why Repotting Matters
You might wonder why repotting is necessary. New plants often outgrow their initial containers quickly. Repotting allows for:
- Enhanced Root Growth: More space for roots to expand.
- Fresh Nutrients: New potting mix replenishes essential nutrients.
- Improved Drainage: Prevents waterlogging, which can lead to root rot.
When to Repot
Timing is key. Here are some signs it’s time to repot your copper spoons:
- Roots are visible through drainage holes.
- The growth has slowed down significantly.
- The soil dries out too quickly after watering.
How to Repot
Repotting can be straightforward. Follow these steps:
- Choose a New Pot: Select a pot that is 1-2 inches larger in diameter than the current one.
- Prepare the Potting Mix: Use a well-draining mix suitable for succulents or cacti.
- Remove the Plant: Gently take the plant out of its current pot, being careful not to damage the roots.
- Inspect the Roots: Trim any dead or damaged roots with sterile scissors.
- Place in New Pot: Position the plant in the centre of the new pot and fill with potting mix, ensuring the base of the plant is level with the soil.
- Water Thoroughly: Give the plant a good drink to settle the soil around the roots.
Aftercare
Once repotted, keep an eye on your plants. They may need some time to adjust.
- Monitor Watering: Allow the top inch of soil to dry out before watering again.
- Avoid Direct Sunlight: For the first week, place them in a shaded area to prevent shock.
Repotting is a significant step in nurturing your copper spoons. It sets the stage for their future growth and ensures they thrive in their new environment. For more detailed care, check out our Kalanchoe Copper Spoons Care Guide. Additionally, if you’re interested in other varieties, our Types of Kalanchoe Tomentosa Varieties and Care Tips might be helpful.
Ongoing Care After Propagation
So, you’ve successfully propagated your copper spoons! Now, what comes next?
Caring for your new plants is crucial to ensure they thrive and grow into beautiful specimens. Here are some straightforward tips to keep in mind:
FAQs on Kalanchoe Copper Spoons Cutting and Propagation
What is the best way to select a cutting for Kalanchoe Copper Spoons propagation?
When selecting a cutting, look for vibrant and green stems that are about 4 to 6 inches long. Ensure the cutting includes at least one node and avoid stems with flowers.
Can I propagate Kalanchoe Copper Spoons using leaf cuttings?
Yes, leaf cuttings are a simple and effective method for propagating Kalanchoe Copper Spoons. Select mature, healthy leaves and follow the steps to prepare, callus, and plant them.
What type of soil is best for propagating Kalanchoe Copper Spoons?
Use a well-draining potting mix, such as a cactus or succulent mix. You can also create a DIY mix with equal parts of peat moss, perlite, and coarse sand. Avoid heavy garden soil and overly nutrient-rich mixes like Miracle-Gro.
How much light do Kalanchoe Copper Spoons cuttings need for root development?
Place your cuttings in bright, indirect light, avoiding direct sunlight. Aim for 12-16 hours of light per day, and consider using grow lights if natural light is insufficient.
What are common problems during propagation and how can I avoid them?
Common issues include rotting cuttings, wilting leaves, leggy growth, pest infestations, fungal issues, and slow root development. Ensure well-draining soil, proper watering, adequate light, regular inspections for pests, good airflow, and consider using rooting hormone to boost growth.
How do I prevent my cuttings from rotting?
To prevent rot, use well-draining soil and water only when the top inch of soil feels dry. Allow cut edges to callus before planting.
What should I do if my Kalanchoe Copper Spoons cuttings have wilting leaves?
Check the soil moisture and mist the leaves lightly if they appear droopy. Ensure the soil is not too dry or too wet.
Why are my cuttings growing leggy, and how can I fix it?
Leggy growth is often due to insufficient light. Place your cuttings in a bright spot with indirect light and rotate them occasionally to ensure even growth.
How can I deal with pest infestations on my cuttings?
Inspect your plants regularly for pests. If you spot any, use neem oil or insecticidal soap to treat the infestation.
What should I do if I notice fungal issues on my cuttings?
Ensure good airflow around your cuttings and avoid overwatering. Use sterilized tools to prevent the spread of fungi.
Why are my cuttings developing roots slowly, and how can I speed up the process?
Slow root development can be accelerated by using rooting hormone and maintaining a warm, humid environment for your cuttings.
References
-
Choosing the Right Cutting
-
Propagating Through Leaf Cuttings
-
Soil and Potting Mix for Propagation