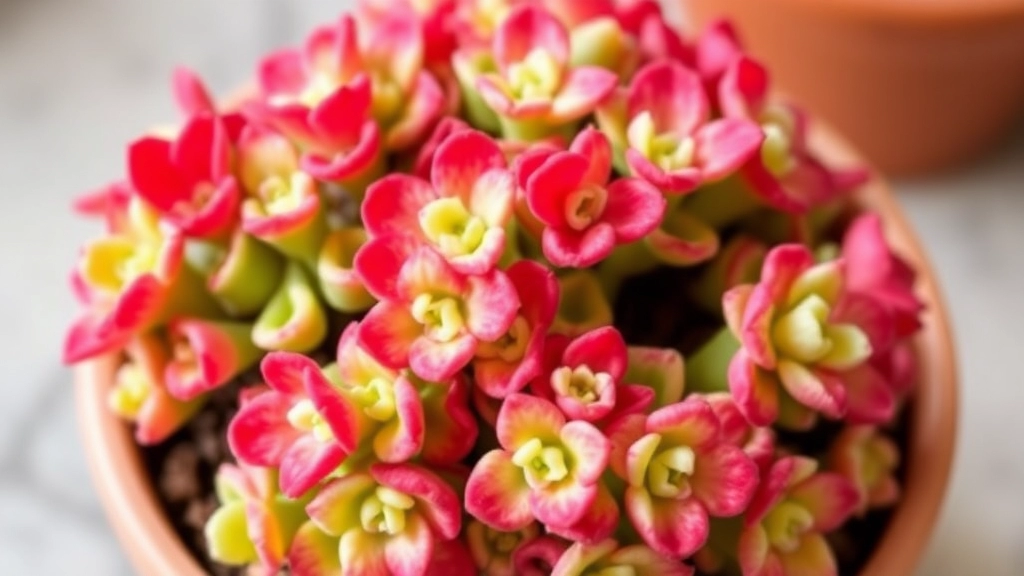
How to Propagate Kalanchoe Flapjack
Looking to expand your succulent collection? Let’s dive into how to propagate Kalanchoe Flapjack, also known as the Paddle Plant. This guide will walk you through the best times for propagation, the tools you’ll need, and step-by-step methods to ensure a thriving new plant. Whether you’re using stem cuttings or offsets, we’ve got you covered.
Propagation is a rewarding way to grow your garden, but it can come with challenges like rot or slow root development. Don’t worry; we’ll also tackle common issues and provide tips on ideal soil, light, and watering conditions. By the end of this, you’ll be ready to transplant your new Kalanchoe Flapjack with confidence.
Choosing the Right Time for Propagation
When is the best time to propagate your Kalanchoe Flapjack? This is a common question among plant enthusiasts, and the timing can significantly influence your success.
Necessary Tools and Materials for Propagation
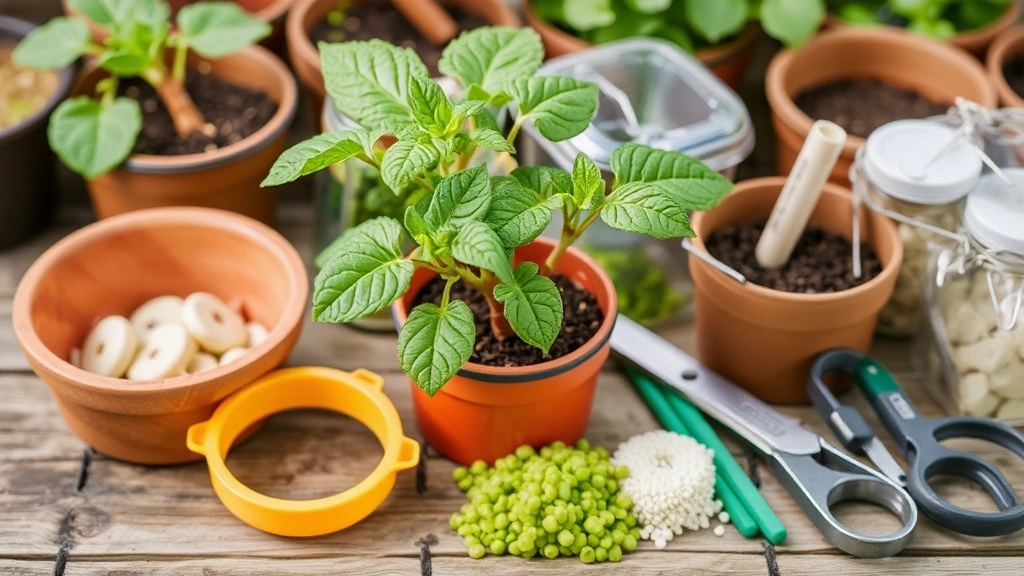
So, you’re ready to dive into propagating your Kalanchoe Flapjack? Awesome! Before you get your hands dirty, let’s talk about the tools and materials you’ll need. Having the right gear makes all the difference, trust me.
Essential Tools:
- Sharp Knife or Scissors: You need something that can make clean cuts. A dull blade can damage the plant.
- Small Pot or Container: Choose one with drainage holes. This helps prevent root rot.
- Potting Mix: A well-draining mix is essential. Look for cactus or succulent soil. You can also mix regular potting soil with sand or perlite for better drainage.
- Watering Can or Spray Bottle: For gentle watering. You don’t want to drown your cuttings!
Optional Tools:
- Rooting Hormone: This isn’t a must, but it can help speed up root development. If you have it, great! If not, no stress.
- Gloves: If you’re sensitive to plant sap, a pair of gloves might come in handy.
Materials to Have on Hand:
- Labels: If you’re propagating multiple plants, labels can help you keep track of what’s what.
- Plastic Bag or Dome: This can help create a humid environment for your cuttings, which is especially useful in dry climates.
Having these tools ready will set you up for success.
Step-by-Step Guide to Propagating Kalanchoe Flapjack from Stem Cuttings
So, you’ve decided to propagate your Kalanchoe Flapjack from stem cuttings. That’s a fantastic choice! This method is not only straightforward but also rewarding. Let’s dive into the step-by-step process to ensure your success.
Step 1: Gather Your Materials
Before you start, make sure you have the following tools ready:
- Sharp, clean scissors or pruning shears: This ensures a clean cut, reducing the risk of disease.
- Small pots or containers: Use ones with drainage holes to prevent waterlogging.
- Cactus or succulent potting mix: This provides the right drainage and nutrients.
- Rooting hormone (optional): While not necessary, it can encourage faster root growth.
Step 2: Take the Cuttings
- Select a healthy stem: Look for a stem that is firm and free from blemishes.
- Cut the stem: Aim for a cutting that is about 4-6 inches long. Make the cut just below a leaf node for the best chance of rooting.
- Remove lower leaves: Strip off the leaves from the bottom half of the cutting to prevent rot when planted.
Step 3: Allow the Cuttings to Callous
Let the cuttings dry: Place them in a warm, dry location for 1-2 days. This allows the cut end to callous over, which helps prevent rot when planted.
Step 4: Plant the Cuttings
- Prepare the pot: Fill your pot with cactus or succulent potting mix.
- Insert the cutting: Make a small hole in the soil and gently place the cutting in, ensuring the calloused end is buried.
- Firm the soil: Lightly press the soil around the cutting to provide stability.
Step 5: Water and Care
Initial watering: Lightly mist the soil to moisten it. Avoid soaking it, as this can lead to rot.
Create a humidity dome (optional): If you live in a dry climate, placing a plastic bag over the pot can help retain moisture.
Step 6: Monitor and Wait
Place in indirect light: Kalanchoe Flapjacks prefer bright, indirect sunlight.
Check moisture: Only water when the top inch of soil feels dry. This helps prevent overwatering.
Propagation Using Offsets: A Quick Method

If you’re short on time and looking for a fast way to propagate your Kalanchoe Flapjack, using offsets is an excellent choice.
Offsets, or “pups,” are small plants that grow at the base of the main plant. They are often ready to be separated and planted on their own, making this method both efficient and rewarding.
Here’s how to do it:
- Identify Offsets: Look for healthy offsets that are at least a few inches tall. Ensure they have a few roots formed.
- Separation: Gently twist or cut the offset from the main plant. Be careful not to damage the roots of either the offset or the parent plant.
- Drying: Allow the offset to sit in a dry, shaded area for a few days. This helps the cut end to callous over, reducing the risk of rot.
- Planting: Prepare a pot with well-draining soil. Plant the offset, burying it just enough to stabilize it.
- Watering: Lightly water the soil to settle it around the roots but avoid soaking it.
- Light Conditions: Place the newly potted offset in bright, indirect light. This encourages healthy growth without overwhelming the plant.
Ensuring the success of your Kalanchoe Flapjack involves focusing on the right soil, light, and watering conditions.
### Ideal Soil Conditions
The right soil is foundational for healthy growth.
– **Well-Draining Soil**: Use a cactus or succulent mix to ensure excess water drains away.
– **pH Level**: Aim for a slightly acidic to neutral pH (around 6.0 to 7.0).
– **Additives**: Consider adding perlite or sand to enhance drainage.
For more detailed soil requirements, you might find our [comprehensive guide on caring for Kalanchoe Brasiliensis](https://planthq.org/comprehensive-guide-caring-for-kalanchoe-brasiliensis/) helpful.
### Light Requirements
Kalanchoe Flapjack thrives in bright conditions but requires some balance.
– **Direct Sunlight**: Place your plant in a spot that receives at least 6 hours of direct sunlight daily.
– **Avoid Overexposure**: Too much intense sunlight can scorch the leaves. A south or west-facing window is ideal.
– **Supplemental Light**: If natural light is limited, consider using grow lights.
To understand more about light needs, check out our [optimal care guide for Kalanchoe Blossfeldiana](https://planthq.org/optimal-care-for-kalanchoe-blossfeldiana-growth/).
### Watering Guidelines
Watering is critical but often mismanaged.
– **Frequency**: Water only when the top inch of soil feels dry. This could be every 1-2 weeks, depending on humidity and temperature.
– **Technique**: Water thoroughly, allowing excess to drain out. Never let your plant sit in water.
– **Signs of Overwatering**: Watch for yellowing leaves or a mushy stem, indicating too much moisture.
Common Issues During Propagation and How to Solve Them

So, you’ve taken the plunge into propagating your Kalanchoe Flapjack. Exciting, right? But let’s be real—sometimes things don’t go as planned. Here’s a rundown of the common hiccups you might face and how to tackle them, so your propagation journey stays smooth.
1. Stem Cuttings Rotting
What’s Happening? If your cuttings are turning mushy, it’s likely due to overwatering.
Solution: Ensure your cuttings are placed in well-draining soil. Allow the soil to dry out completely before watering again.
2. Lack of Root Development
What’s Happening? You’ve waited weeks, but there’s still no sign of roots.
Solution: Check that your cuttings are in a warm, bright spot but out of direct sunlight. Sometimes, a little warmth can stimulate root growth.
3. Leaves Wilting or Dropping
What’s Happening? Your cuttings are looking sad and droopy.
Solution: This can be a sign of underwatering or shock from the cutting process. Give them a gentle drink and ensure they’re in a stable environment.
4. Pests Invading Your Cuttings
What’s Happening? Tiny bugs are munching on your precious plants.
Solution: Keep an eye out for pests like aphids or mealybugs. A simple wash with soap and water can do wonders.
5. Fungal Issues
What’s Happening? You might spot some fuzzy mould on the soil.
Solution: This often happens in overly humid conditions. Make sure your cuttings have good airflow and consider using a fungicide if things get out of hand.
6. Too Much Sunlight
What’s Happening? Your cuttings are getting scorched.
Solution: Bright, indirect light is key. If you notice crispy edges, move them to a shadier spot.
By being aware of these common issues, you can stay one step ahead and keep your Kalanchoe Flapjack thriving.
When and How to Transplant Your New Kalanchoe Flapjack
After successfully propagating your Kalanchoe Flapjack, the next important step is knowing when and how to transplant it.
You might be wondering, “How do I know when it’s time to move my new plant?”
Signs It’s Time to Transplant
- Root Development: If you notice roots emerging from the drainage holes of the pot, it’s a clear sign that your plant needs more space.
- Stunted Growth: If your Flapjack seems to have stopped growing, it may be root-bound and require a larger pot.
- Soil Degradation: Over time, the soil can lose its nutrients. If it looks compacted or discoloured, it’s time for a change.
How to Transplant Your Kalanchoe Flapjack
Transplanting is straightforward. Here’s a step-by-step guide to ensure a smooth transition:
- Choose the Right Pot: Select a pot that is one size larger than the current one. Ensure it has drainage holes to prevent waterlogging.
- Prepare the Soil: Use a well-draining soil mix, ideally a cactus or succulent blend. This will help maintain the right moisture levels.
- Remove the Plant: Gently take the Flapjack out of its current pot. You can tap the sides to help loosen the soil.
- Inspect the Roots: Look for any damaged or rotten roots and trim them away with clean scissors. This helps promote healthy growth.
- Place in New Pot: Add a layer of soil to the bottom of the new pot. Position your Kalanchoe Flapjack in the centre and fill in around it with more soil, ensuring it sits at the same depth as before.
- Water Sparingly: After transplanting, give it a light watering. Avoid soaking the soil; just enough to settle it around the roots.
- Choose a Good Location: Place your newly transplanted Flapjack in a spot with bright, indirect sunlight.
Aftercare
- Monitor Watering: Keep an eye on the moisture levels over the next few weeks. Allow the soil to dry out between waterings.
- Avoid Fertilising Immediately: Wait a few weeks before applying fertiliser to give your plant time to adjust.
If you want to learn more about caring for your Kalanchoe, check out our complete guide on caring for Kalanchoe succulents. Additionally, for tips on growing different varieties, visit our Kalanchoe Tomentosa care guide.
FAQs on How to Propagate Kalanchoe Flapjack
What tools do I need to propagate Kalanchoe Flapjack?
Essential tools include a sharp knife or scissors for clean cuts, a small pot or container with drainage holes, well-draining potting mix, and a watering can or spray bottle. Optional tools are rooting hormone and gloves if you’re sensitive to plant sap.
Can I propagate Kalanchoe Flapjack using offsets?
Yes, propagating using offsets, or “pups,” is a quick and efficient method. Look for healthy offsets, separate them carefully, let them dry, and then plant them in well-draining soil.
Why are my stem cuttings rotting?
Rotting is usually due to overwatering. Ensure your cuttings are in well-draining soil and allow the soil to dry out completely before watering again.
What should I do if my cuttings aren’t developing roots?
Place your cuttings in a warm, bright spot out of direct sunlight. Sometimes, a little warmth can stimulate root growth.
Why are my cuttings wilting or dropping leaves?
This could be a sign of underwatering or shock from the cutting process. Provide a gentle drink of water and ensure they’re in a stable environment.
How can I deal with pests on my cuttings?
For pests like aphids or mealybugs, a simple wash with soap and water can be effective. Keep an eye out and address any infestations promptly.
What should I do if I notice fungal issues?
Fungal issues often occur in overly humid conditions. Ensure good airflow around your cuttings and consider using a fungicide if necessary.
How much sunlight do my cuttings need?
Bright, indirect light is ideal. If you notice the edges of the leaves getting crispy, move them to a shadier spot.
Are there any materials I should have on hand?
Having labels to keep track of your plants and a plastic bag or dome to create a humid environment for your cuttings can be helpful, especially in dry climates.
References
-
Kalanchoe Plant Propagation: How to Propagate Kalanchoe Plants
-
How to Grow Kalanchoe Indoors
-
Kalanchoe: How to Care for Kalanchoe Plants