
Kalanchoe Propagation Guide
Looking to expand your Kalanchoe collection? Kalanchoe propagation from stem cuttings is a straightforward and rewarding method. By following a few simple steps, you can ensure your cuttings grow into healthy, vibrant plants.
Steps for Propagation
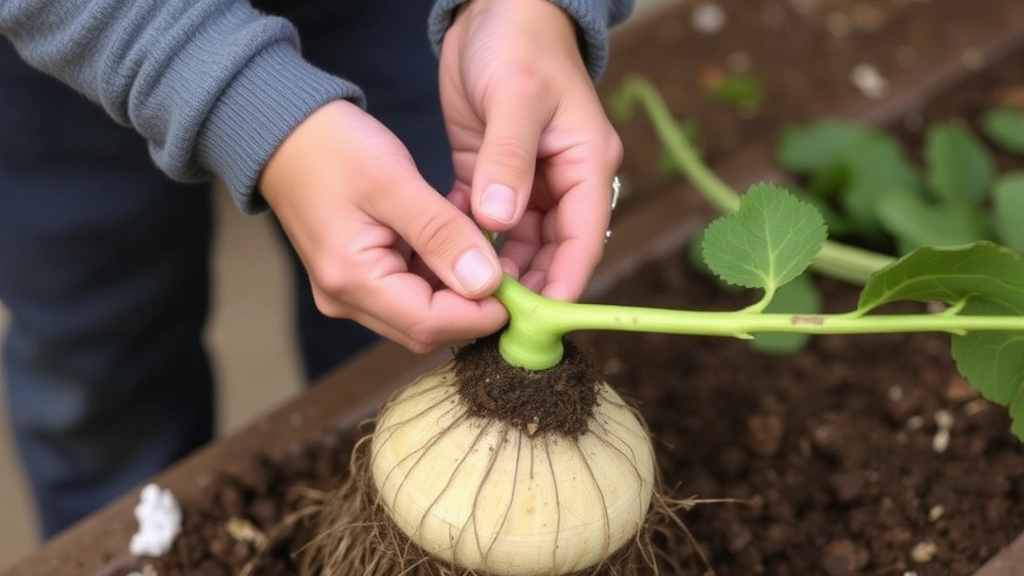
- Select Healthy Stems: Start by selecting healthy Kalanchoe stems for propagation. Ensure the stems are disease-free and have a few leaves attached.
- Make the Cut: With a clean, sharp knife, cut a segment of the stem, then let it dry for a day or two to prevent rot.
- Dip in Rooting Hormone: Once dried, dip the cut end in rooting hormone to boost your chances of successful rooting.
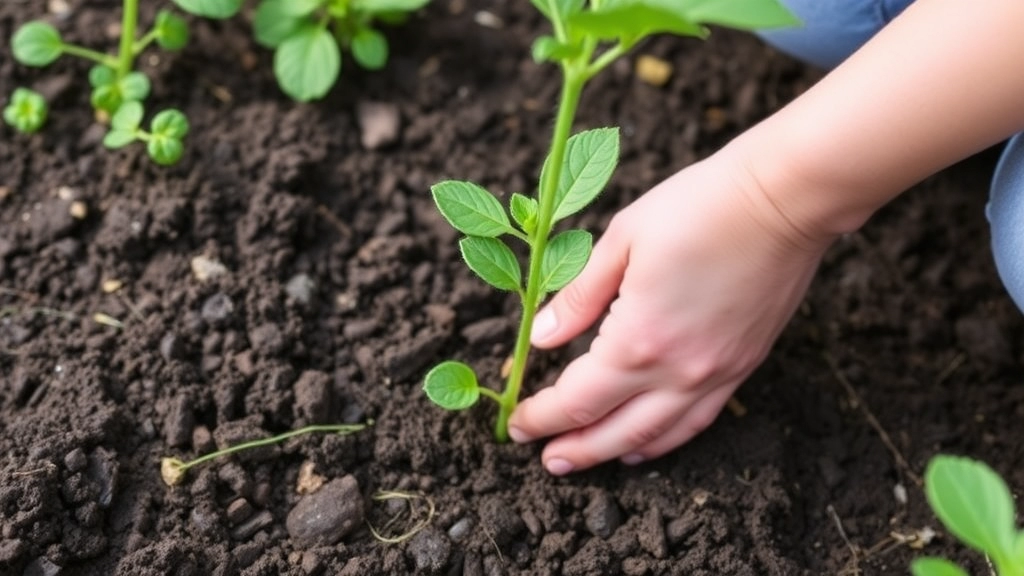
- Planting: Plant the stem in well-draining soil and place it in a spot with indirect sunlight.
- Watering: Keep the soil slightly moist, and soon you’ll see new growth!
Selecting Healthy Kalanchoe Stems for Propagation
When considering how to propagate Kalanchoe, the first step is selecting healthy stems.
You might be wondering, “How do I know which stems are suitable?”
Here’s what to look for:
- Vibrant Colour: Choose stems that exhibit a rich green hue. This indicates they are healthy and free from disease.
- Firm Texture: Gently squeeze the stems; they should feel firm and not mushy. A firm stem is more likely to root successfully.
- No Signs of Pests: Inspect for any pests or damage. Avoid stems with visible infestations or lesions.
- Length and Thickness: Aim for stems that are at least 4-6 inches long and have a thickness of about pencil size. Thicker stems generally root better.
- Mature Leaves: Look for stems with mature leaves, as younger stems may not have the energy to root effectively.
For more detailed steps on propagation, you can refer to our Kalanchoe Synsepala Propagation Guide. Additionally, if you’re interested in specific varieties, our Kalanchoe Mother of Thousands Varieties Care Guide offers valuable insights.
Preparing and Cutting the Stem for Rooting
So, you’ve picked out some healthy Kalanchoe stems. Now, how do you get them ready for rooting? It’s a common worry for plant lovers, but don’t stress! I’m here to guide you through it.
Gather Your Tools
First things first, you’ll need a few essential tools:
- Sharp, clean scissors or pruning shears: This ensures a clean cut, reducing the risk of disease.
- A clean surface: You want to avoid contamination.
- A small container: For holding your cuttings.
Cutting the Stem
Here’s how to make those cuts:
- Choose the Right Stem: Look for stems that are healthy, firm, and free from any discoloration or pests.
- Make the Cut: Aim for a length of about 4 to 6 inches. Cut just below a leaf node, as this is where roots are more likely to sprout.
- Remove Lower Leaves: Strip off the leaves from the bottom half of the cutting. This helps focus energy on root development.
Tips for Success
- Avoid Cutting Too Many Stems: Stick to a few cuttings at a time. Too many can be overwhelming.
- Keep Them Moist: If you’re not planting right away, place your cuttings in a glass of water to keep them hydrated.
After selecting and cutting your Kalanchoe stems, the next crucial step is to prepare them for rooting. Many enthusiasts often wonder why drying the cuttings is essential. The answer lies in preventing rot and promoting healthy root development.
Allowing your Kalanchoe cuttings to dry for a few hours or even overnight is vital. This process helps form a callus over the cut end, which acts as a protective barrier. Here’s how to do it:
– **Place the cuttings in a cool, dry area.**
– **Avoid direct sunlight.** This can cause the cuttings to dry out too quickly.
Once the cuttings have dried, it’s time to enhance their chances of successful rooting. Rooting hormone can significantly boost growth. Here’s how to apply it:
1. **Choose the right rooting hormone.** Available in powder, gel, or liquid forms.
2. **Dip the cut end into the hormone.** Ensure it’s well-coated, but avoid excess.
3. **Tap off any extra.** This prevents clumping and ensures even distribution.
Using rooting hormone not only accelerates the rooting process but also increases the likelihood of developing strong, healthy roots. For more detailed steps on propagating Kalanchoe, you can refer to the [step-by-step guide to florist Kalanchoe propagation](https://planthq.org/stepbystep-guide-to-florist-kalanchoe-propagation/) or learn about the [best practices for outdoor Kalanchoe care](https://planthq.org/outdoor-kalanchoe-care-expert-tips-and-best-practices/).
Planting the Stem in Well-Draining Soil
After preparing and drying your Kalanchoe cutting, the next crucial step is planting it in well-draining soil. This ensures that the roots can develop without the risk of rot, which is a common issue when dealing with succulents.
Choosing the Right Soil
For optimal growth, select a soil mix specifically designed for succulents or cacti. This type of soil typically contains a blend of:
- Perlite: Helps with aeration and drainage.
- Sand: Improves drainage and mimics the plant’s natural habitat.
- Organic matter: Provides essential nutrients.
Planting Process
- Fill a Pot: Choose a pot with drainage holes and fill it with the well-draining soil mix.
- Create a Hole: Use your finger or a stick to make a small hole in the centre of the soil.
- Insert the Cutting: Gently place the Kalanchoe cutting into the hole. Ensure that at least one node is buried in the soil, as this is where roots will emerge.
- Firm the Soil: Lightly press the soil around the cutting to secure it in place.
Watering After Planting
- Initial Watering: Avoid watering immediately after planting.
- Wait a Few Days: Allow the cutting to settle for about three to five days before giving it a light watering.
Monitoring Growth
Keep an eye on the cutting for signs of new growth, which indicates successful rooting.
Ensuring Optimal Light and Water Conditions for Growth
After successfully planting your Kalanchoe stem, the next crucial step is to ensure it receives the right light and water conditions for optimal growth.
Light Requirements
Kalanchoe thrives in bright, indirect sunlight. Here’s how to provide the best light conditions:
- Location: Place your plant near a south or west-facing window. This ensures it gets ample light without the risk of scorching.
- Duration: Aim for about 12-14 hours of light daily. If natural light is limited, consider using grow lights to supplement.
- Signs of Stress: Watch for signs of distress. If the leaves become pale or stretch towards the light, your plant may need more exposure.
Watering Guidelines
Watering is just as important as light. Here’s how to keep your Kalanchoe happy:
- Frequency: Water when the top inch of soil feels dry. Overwatering can lead to root rot, while underwatering can stunt growth.
- Method: Use the “soak and dry” method. Water thoroughly until it drains from the bottom, then allow the soil to dry out before the next watering.
- Humidity: Kalanchoe prefers low humidity. Avoid misting the leaves, as this can promote fungal issues.
Additional Tips
- Temperature: Keep your Kalanchoe in a warm environment, ideally between 18-24°C (65-75°F). For more detailed information, you can refer to the ideal temperature for Kalanchoe Blossfeldiana growth.
- Rotation: Rotate your plant occasionally to ensure even growth on all sides. If you notice issues with your plant, such as pale leaves, you might want to check out tips on fixing etiolated Kalanchoe Blossfeldiana.
Troubleshooting Common Problems During Propagation
So, you’ve taken the plunge into propagating Kalanchoe, but things aren’t going as smoothly as you’d hoped.
Don’t worry; it happens to the best of us!
Here are some common issues you might encounter and how to tackle them:
1. Cutting Wilting or Yellowing
- What’s happening? Your cuttings are drooping or turning yellow.
- Possible causes: Overwatering or not enough light.
- Solutions:
- Check the soil moisture. If it’s soggy, let it dry out before watering again.
- Move your cuttings to a brighter spot, but avoid direct harsh sunlight.
2. No Root Development
- What’s happening? Your cuttings just aren’t rooting.
- Possible causes: Too much humidity or using old cuttings.
- Solutions:
- Ensure good air circulation around your cuttings.
- Use fresh, healthy stems for better chances of rooting.
3. Fungal Growth
- What’s happening? You see fuzzy spots on your cuttings.
- Possible causes: Excess moisture or poor drainage.
- Solutions:
- Switch to well-draining soil if you haven’t already.
- Reduce watering frequency and consider using a fungicide if needed.
4. Pest Infestation
- What’s happening? Tiny bugs are munching on your cuttings.
- Possible causes: Unclean environment or infected soil.
- Solutions:
- Inspect your plants regularly.
- Use insecticidal soap or neem oil to tackle any pests.
5. Slow Growth
- What’s happening? Your cuttings seem to be taking forever to grow.
- Possible causes: Insufficient light or nutrients.
- Solutions:
- Ensure they are getting enough indirect sunlight.
- Consider a diluted liquid fertiliser to give them a boost.
For more detailed guidance on propagating Kalanchoe, check out our step-by-step guide on propagating Kalanchoe Blossfeldiana cuttings. Additionally, if you’re facing issues with pests, our guide on dealing with black spots on Kalanchoe leaves might offer some helpful solutions.
FAQs on Kalanchoe Propagation From Stem
What tools do I need for propagating Kalanchoe from a stem?
You will need a few essential tools: sharp, clean scissors or pruning shears for making clean cuts, a clean surface to avoid contamination, and a small container to hold your cuttings.
How do I choose the right stem for propagation?
Select stems that are healthy, firm, and free from any discoloration or pests. This ensures that your cuttings have the best chance of rooting successfully.
What is the correct way to cut the stem?
Cut a length of about 4 to 6 inches, just below a leaf node. This is where roots are more likely to sprout. Also, remove the leaves from the bottom half of the cutting to focus energy on root development.
Can I take multiple cuttings at once?
It’s best to avoid cutting too many stems at once. Stick to a few cuttings to make the process more manageable and increase your chances of success.
How do I keep the cuttings hydrated if I’m not planting them immediately?
If you’re not planting right away, place your cuttings in a glass of water to keep them hydrated.
What type of soil is best for planting Kalanchoe cuttings?
Use a soil mix specifically designed for succulents or cacti. This mix usually contains perlite for aeration, sand for drainage, and organic matter for essential nutrients.
How do I plant the Kalanchoe cutting in soil?
Fill a pot with well-draining soil, create a small hole in the center, and gently place the cutting into the hole. Ensure that at least one node is buried in the soil, and lightly press the soil around the cutting to secure it in place.
Should I water the cutting immediately after planting?
No, avoid watering immediately after planting. Allow the cutting to settle for about three to five days before giving it a light watering.
How do I know if my Kalanchoe cutting is successfully rooting?
Monitor the cutting for signs of new growth. New growth indicates that the cutting has successfully rooted.