Propagation of Florist Kalanchoe
Looking to propagate your florist kalanchoe (Kalanchoe blossfeldiana)? You’re in the right place. Let’s dive into the essentials of choosing the right plant and the best time of year for propagation. Whether you’re using stem cuttings, leaf cuttings, or offsets, I’ll guide you through each method to ensure success.
Gathering Tools and Materials
First, gather your tools and materials. A clean pair of scissors, rooting hormone, and a well-draining potting mix are key. Preparing your stem cuttings or leaf cuttings correctly sets the stage for healthy new growth. And don’t forget, proper watering and light conditions are crucial for those new cuttings to thrive.
Choosing the Right Florist Kalanchoe for Propagation
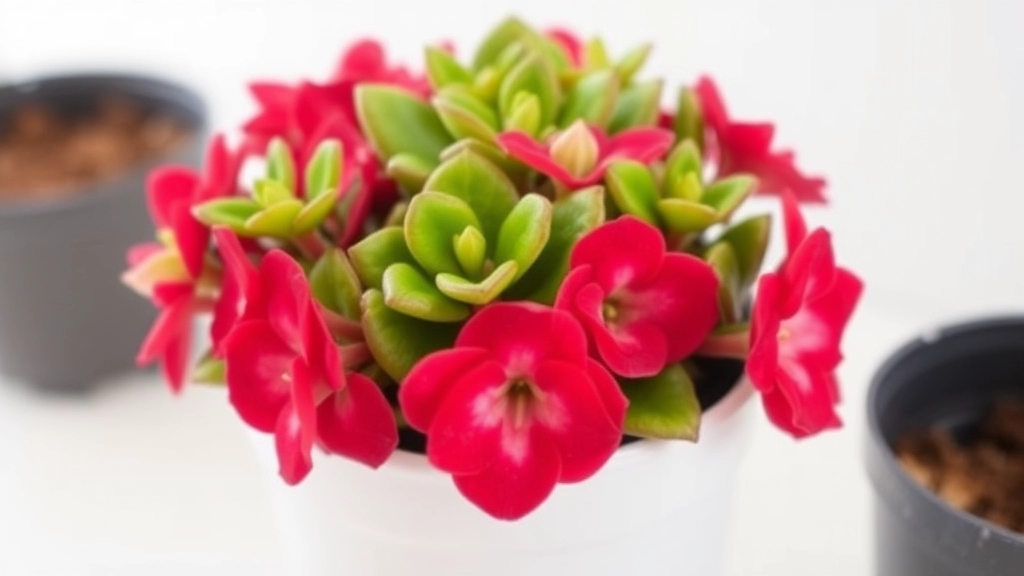
When considering propagation, selecting the right Florist Kalanchoe is crucial. You may wonder, how do I know which plant is suitable for this process?
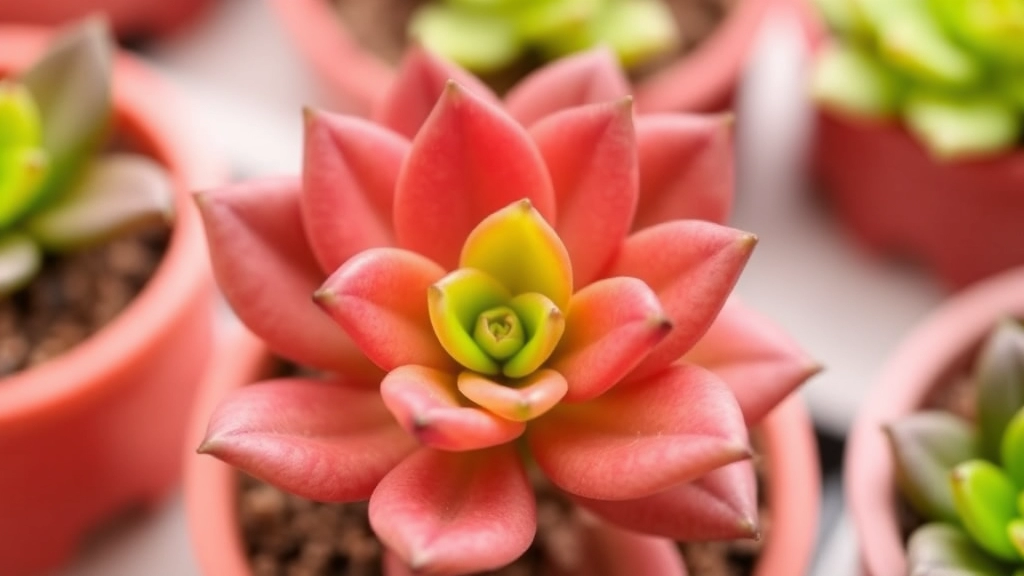
First, look for a healthy, mature plant. Signs of a healthy Kalanchoe include:
- Vibrant leaves: They should be firm and free from spots or discoloration.
- Strong stems: Look for stems that are thick and sturdy, as these will provide better cuttings.
- No pests or diseases: Ensure the plant is free from any visible pests or signs of disease.
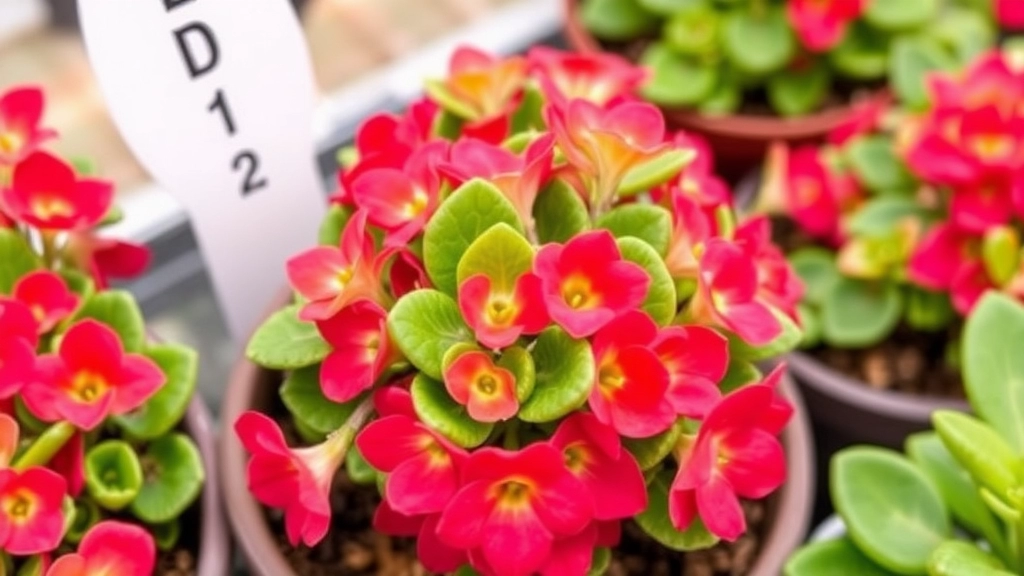
Choosing a variety that’s known for its hardiness can also make a significant difference. Popular varieties include:
- Kalanchoe blossfeldiana: Known for its stunning blooms.
- Kalanchoe tomentosa: Recognizable by its fuzzy leaves.
Once you’ve selected your plant, consider the timing for propagation. This will ensure the best chances for success.
Best Time of Year for Kalanchoe Propagation
So, you’re ready to propagate your Kalanchoe? That’s fantastic!
But when’s the best time to dive in?
Timing can really make a difference in your success with Kalanchoe propagation.
Ideal Seasons
- Spring: This is the prime time! As the days get longer and warmer, your Kalanchoe will be bursting with energy. It’s the perfect season for cuttings to establish roots.
- Early Summer: Still a good time, but keep an eye on the heat. You want to avoid scorching your new cuttings.
- Avoid Fall and Winter: These seasons are tricky. The shorter days and cooler temperatures can slow down growth, making it harder for your cuttings to thrive.
Why Timing Matters
- Growth Cycle: Kalanchoe is a succulent that loves warmth. Propagating during its active growth period means your cuttings will have a better chance to root and flourish.
- Light Availability: More sunlight in spring and summer helps your cuttings photosynthesize, which is crucial for their survival.
Quick Tips
- Check the Weather: If you’re in a colder climate, wait until the last frost has passed.
- Observe Your Plant: If your Kalanchoe is blooming and looking happy, it’s a sign that it’s the right time to propagate.
When embarking on the journey of propagating Florist Kalanchoe, having the right tools and materials is essential for success. You might be wondering, “What do I need to get started?”
Here’s a straightforward list to help you gather everything you need:
– **Sharp, Clean Scissors or Pruning Shears**:
– Ensure they are sterilised to prevent disease.
– **Small Pots or Containers**:
– Choose ones with drainage holes to prevent waterlogging.
– **Potting Mix**:
– A well-draining soil mix is crucial for healthy root development.
– **Rooting Hormone (optional)**:
– This can enhance root growth, though it’s not strictly necessary.
– **Watering Can or Spray Bottle**:
– For gentle watering without over-saturating the soil.
– **Labels**:
– To keep track of different cuttings, especially if you’re propagating multiple varieties.
– **Plastic Bags or Cling Film**:
– Useful for creating a mini greenhouse effect to maintain humidity.
– **Light Source**:
– A bright, indirect light source is ideal for the cuttings.
With these tools at your disposal, you’ll be well-prepared to tackle the propagation process. For a more detailed guide, you can refer to the [Florist Kalanchoe Propagation Guide](https://planthq.org/florist-kalanchoe-propagation-guide-stepbystep-methods/). Additionally, if you’re interested in learning about the different species and their care, the [Kalanchoe Species Identification Guide](https://planthq.org/kalanchoe-species-identification-guide-key-features-tips/) can be very helpful.
Preparing Stem Cuttings for Propagation
When you’re ready to propagate your Florist Kalanchoe, preparing the stem cuttings correctly is crucial for success. Many enthusiasts wonder how to ensure their cuttings thrive, and it all begins with the right preparation.
Steps for Preparing Stem Cuttings:
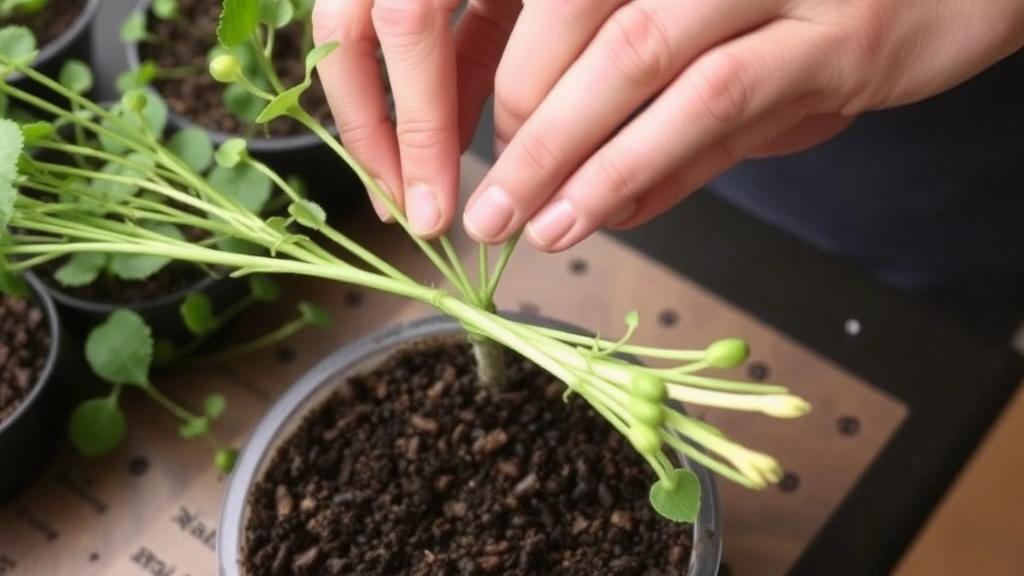
- Select Healthy Stems
Choose stems that are healthy, firm, and free from any signs of disease or pests. Look for stems that are about 4-6 inches long. - Use Clean Tools
Always use sterilised scissors or pruning shears to make your cuts. This helps prevent infections that can hinder growth. - Make the Cut
Cut the stem just below a leaf node. This is where new roots are likely to develop, increasing your chances of successful propagation. - Remove Lower Leaves
Trim off the lower leaves from the cutting, leaving a few at the top. This reduces moisture loss and helps focus the plant’s energy on root development. - Let Cuttings Callus
Place the cuttings in a dry, shaded area for a few hours or overnight. Allowing the cut ends to callus over helps prevent rot when they are eventually placed in soil.
By following these steps, you set a solid foundation for your Kalanchoe cuttings to take root.
Leaf Cutting Propagation Techniques
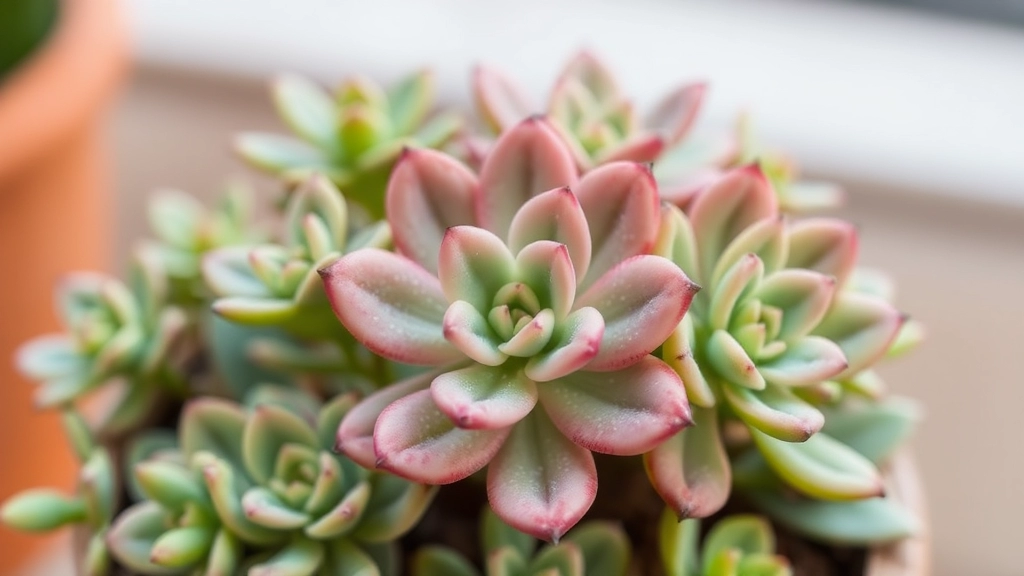
When considering propagation methods for Florist Kalanchoe, leaf cutting is an effective and rewarding technique. Many enthusiasts wonder if it’s as simple as it sounds.
Why Choose Leaf Cuttings?
Leaf cuttings are a fantastic option for those looking to multiply their Kalanchoe plants without the need for extensive tools or materials. This method allows you to propagate directly from the leaves, making it accessible for beginners and seasoned gardeners alike.
Using Offsets to Propagate Florist Kalanchoe
So, you’ve been thinking about how to get more of those stunning Florist Kalanchoe plants without breaking the bank?
Offsets are a fantastic way to propagate these beauties.
Offsets are small plantlets that grow around the base of the parent plant. They’re like little gifts just waiting to be separated and nurtured into new plants.
Here’s how to do it:
- Identify Healthy Offsets: Look for offsets that are at least a few inches tall and have a healthy green colour. They should have their own roots, which makes them easier to transplant.
- Gently Separate: Using clean hands or a small knife, gently pull or cut the offset away from the main plant. Be careful not to damage the roots.
- Let Them Callous: Before planting, let the offsets sit in a dry, shaded area for a few hours. This allows the cut ends to callous over, reducing the risk of rot when planted.
- Potting Up: Plant the offsets in a suitable potting mix. A well-draining soil is key here. You can use a cactus mix or a combination of potting soil and perlite.
- Water Sparingly: After potting, give them a light watering. Remember, Kalanchoe likes to dry out between waterings.
Using offsets is a simple and effective way to expand your Kalanchoe collection.
When propagating Florist Kalanchoe, one common concern is ensuring that your cuttings develop strong roots. This is where rooting hormone comes into play. It can significantly enhance the success rate of your propagation efforts.
Rooting hormone is a substance that encourages root growth in plant cuttings. It contains auxins, which are natural hormones that stimulate root development. Using rooting hormone can be particularly beneficial when propagating Kalanchoe, as it helps the cuttings establish themselves faster.
Choose the Right Type:
You can find rooting hormones in various forms: powders, gels, and liquids. Powders are the most common and easy to use for beginners.
Gather Your Materials:
Rooting hormone (powder or gel) Small container or dish for dipping Clean scissors or a sharp knife for cuttings
Preparation Steps:
Clean Your Tools: Ensure your scissors or knife are sterilised to prevent any infections.
Take Your Cuttings: Prepare your Kalanchoe cuttings as discussed in the previous section.
Dip the Cuttings:
For powder: Lightly dip the end of the cutting into the rooting hormone powder. Tap off any excess.
For gel: Apply a small amount of gel to the base of the cutting, ensuring it’s well coated.
Using Rooting Hormone Effectively:
Timing: Apply rooting hormone immediately after making your cuttings to maximise its effectiveness.
Placement: Once treated, place the cuttings in your chosen potting mix, ensuring they are positioned correctly.
Avoid Overuse: More hormone doesn’t mean better results. Follow the instructions on the packaging for optimal use.
By incorporating rooting hormone into your propagation routine, you can give your Kalanchoe cuttings the best chance of thriving. For more detailed guidance on caring for your Kalanchoe, check out the [complete guide to Kalanchoe Mother of Thousands care and propagation](https://planthq.org/complete-guide-to-kalanchoe-mother-of-thousands-care-propagation/) and learn about [fixing etiolated Kalanchoe Blossfeldiana](https://planthq.org/fixing-etiolated-kalanchoe-blossfeldiana-lighting-and-care-tips/) for optimal growth.
Potting Mix and Soil Requirements for Kalanchoe Cuttings
So, you’ve got your Kalanchoe cuttings ready, and you’re probably wondering what kind of potting mix to use.
Choosing the right soil is crucial for successful propagation.
Why Soil Matters:
- Kalanchoe plants thrive in well-draining soil.
- The right mix prevents root rot and encourages healthy growth.
Ideal Potting Mix:
- Cactus Mix: A pre-made cactus or succulent mix works wonders.
- DIY Option: Combine equal parts of:
- Perlite
- Coarse sand
- Potting soil
This blend ensures that moisture drains quickly while still retaining enough for the cuttings to establish roots.
Soil pH:
Aim for a slightly acidic to neutral pH, around 6.0 to 7.0.
Additional Tips:
- Always use clean pots to prevent any diseases.
- If you’re reusing pots, sterilise them with a mix of water and bleach.
Drainage is Key:
- Make sure your pot has drainage holes.
- If you’re using a pot without holes, consider adding a layer of gravel at the bottom.
Watering and Light Conditions for New Cuttings
After preparing your Kalanchoe cuttings, it’s essential to focus on their watering and light needs to ensure successful propagation.
Troubleshooting Common Propagation Problems

So, you’ve followed all the steps for propagating your Florist Kalanchoe, but things aren’t going quite as planned.
Let’s dive into some common issues and how to tackle them.
1. Cuttings Not Rooting
What’s Happening?
You’ve taken your cuttings and waited patiently, but they seem stuck.
Possible Reasons:
– Too Much Water: Overwatering can lead to rot.
– Insufficient Light: Cuttings need bright, indirect light.
– Wrong Time of Year: Propagation is best in spring or early summer.
Solutions:
– Check Soil Moisture: Let the soil dry out a bit.
– Adjust Light Conditions: Move them to a brighter spot.
– Timing: If it’s winter, be patient; wait for spring.
2. Leaves Wilting or Yellowing
What’s Happening?
Your cuttings look sad and droopy.
Possible Reasons:
– Underwatering: They might be thirsty.
– Overwatering: Too much moisture can cause root rot.
– Poor Air Circulation: Stagnant air can stress plants.
Solutions:
– Check Water Levels: Water only when the top inch of soil is dry.
– Improve Drainage: Ensure pots have drainage holes.
– Enhance Airflow: Place them in a spot with good air circulation.
3. Mould or Fungal Growth
What’s Happening?
You see fuzzy stuff on the soil or cuttings.
Possible Reasons:
– Excess Moisture: Too wet conditions can invite mould.
– Poor Airflow: Stagnant conditions promote fungal growth.
Solutions:
– Reduce Watering: Let the soil dry out more between waterings.
– Increase Airflow: Use a fan or move them to a breezy spot.
– Remove Affected Areas: Cut away any mouldy parts to prevent spreading.
4. Cuttings Rotting at the Base
What’s Happening?
Your cuttings are mushy and brown at the bottom.
Possible Reasons:
– Too Much Water: Roots can’t breathe.
– Contaminated Tools: Using dirty scissors can introduce rot.
Solutions:
– Let Them Dry: Allow cuttings to callous before planting.
– Clean Tools: Always use sterilised tools to prevent disease.
5. Slow Growth
What’s Happening?
Your new cuttings are taking their sweet time to grow.
Possible Reasons:
– Nutrient Deficiency: They might need a boost.
– Inadequate Light: Not enough light can slow growth.
Solutions:
– Feed Sparingly: Use a diluted fertiliser once roots develop.
– Adjust Light: Make sure they’re getting enough bright, indirect sunlight.
Post-Propagation Care and Transplanting
After successfully propagating your Florist Kalanchoe, the next crucial step is ensuring they thrive in their new environment. You might be wondering, “How do I care for my new cuttings?” or “When is the right time to transplant them?”
Initial Care for New Cuttings
Once your cuttings have rooted, it’s essential to provide them with the right conditions to flourish. Here are some key care tips:
- Humidity: Maintain a humid environment initially. A simple plastic bag or a propagation dome can help retain moisture.
- Temperature: Keep the cuttings in a warm area, ideally between 18-24°C (65-75°F). This range encourages healthy growth.
- Light: Place your cuttings in bright, indirect sunlight. Avoid direct sunlight, as it can scorch the delicate leaves.
Transplanting Your Kalanchoe
Transplanting is an exciting milestone in your propagation journey. Here’s how to do it effectively:
- Timing: Wait until your cuttings have developed a robust root system, typically a few weeks post-rooting.
- Choosing the Right Pot: Select a pot that is slightly larger than the root ball of your cutting. Ensure it has drainage holes to prevent waterlogging.
- Soil: Use a well-draining potting mix suitable for succulents. This ensures that excess moisture can escape, reducing the risk of root rot.
- Planting: Gently remove the cutting from its propagation container. Place it in the new pot, filling around it with soil. Ensure the base of the cutting is at soil level.
- Watering: Water lightly after transplanting to help settle the soil. Avoid overwatering, as the roots are still delicate.
Ongoing Care
After transplanting, continue to monitor your Kalanchoe:
- Watering Schedule: Allow the soil to dry out between waterings. This prevents overwatering, which is a common issue.
- Fertilisation: Once established, consider using a diluted succulent fertiliser every month during the growing season.
- Monitoring Growth: Keep an eye on the growth and health of your plants. If you notice any signs of stress, adjust their care accordingly.
For more detailed tips on caring for your Kalanchoe, check out our complete guide to Kalanchoe care. Additionally, if you’re interested in propagation methods, our guide on propagating Kalanchoe Blossfeldiana offers step-by-step instructions.
FAQs on Florist Kalanchoe Propagation
What is the best time of year to propagate Kalanchoe?
The ideal time for Kalanchoe propagation is during spring and early summer. These seasons offer longer days and warmer temperatures, which are perfect for cuttings to establish roots. Avoid propagating in fall and winter as the shorter days and cooler temperatures can slow down growth.
Why does timing matter for Kalanchoe propagation?
Timing is crucial because Kalanchoe thrives in warmth and sunlight. Propagating during its active growth period in spring and summer ensures that cuttings have a better chance to root and flourish. Additionally, more sunlight during these seasons helps with photosynthesis, which is vital for the cuttings’ survival.
How should I prepare stem cuttings for propagation?
Preparing stem cuttings involves several steps:
- Select healthy stems that are about 4-6 inches long.
- Use sterilized scissors or pruning shears to prevent infections.
- Cut the stem just below a leaf node.
- Remove the lower leaves to reduce moisture loss.
- Let the cuttings callus over for a few hours or overnight before planting.
Can I use offsets to propagate Florist Kalanchoe?
Yes, offsets are a great way to propagate Kalanchoe. Look for healthy offsets around the base of the parent plant, gently separate them, let them callus, and then plant them in a well-draining potting mix.
What type of potting mix should I use for Kalanchoe cuttings?
Kalanchoe cuttings thrive in well-draining soil. A cactus or succulent mix works well, or you can make your own by combining equal parts of perlite, coarse sand, and potting soil. Aim for a slightly acidic to neutral pH, around 6.0 to 7.0.
How do I troubleshoot common propagation problems?
Common issues and solutions include:
- Cuttings Not Rooting: Ensure proper soil moisture, adjust light conditions, and consider the timing.
- Leaves Wilting or Yellowing: Check water levels, improve drainage, and enhance airflow.
- Mould or Fungal Growth: Reduce watering, increase airflow, and remove affected areas.
- Cuttings Rotting at the Base: Let cuttings callus before planting and use sterilized tools.
- Slow Growth: Provide adequate nutrients and light.
What should I do if my cuttings are not rooting?
If your cuttings are not rooting, it could be due to overwatering, insufficient light, or the wrong time of year. Let the soil dry out a bit, move the cuttings to a brighter spot, and consider waiting until spring if it’s currently winter.
Why are my cuttings’ leaves wilting or yellowing?
Wilting or yellowing leaves can be caused by underwatering, overwatering, or poor air circulation. Check the water levels, ensure good drainage, and place the cuttings in a spot with good airflow.
How can I prevent mould or fungal growth on my cuttings?
To prevent mould or fungal growth, reduce watering, increase airflow, and remove any mouldy parts immediately. Let the soil dry out more between waterings and consider using a fan to improve air circulation.
What should I do if my cuttings are rotting at the base?
Rotting at the base is often due to too much water or using contaminated tools. Allow cuttings to callus before planting and always use sterilized tools to prevent disease.
Why are my new cuttings growing slowly?
Slow growth can be due to nutrient deficiency or inadequate light. Use a diluted fertilizer once roots develop and make sure the cuttings are getting enough bright, indirect sunlight.
References
-
How to Propagate Kalanchoe Plants
-
Propagating Kalanchoe Plants: Step-by-Step Guide
-
How to Propagate Kalanchoe