Mastering Kalanchoe Propagation in Water
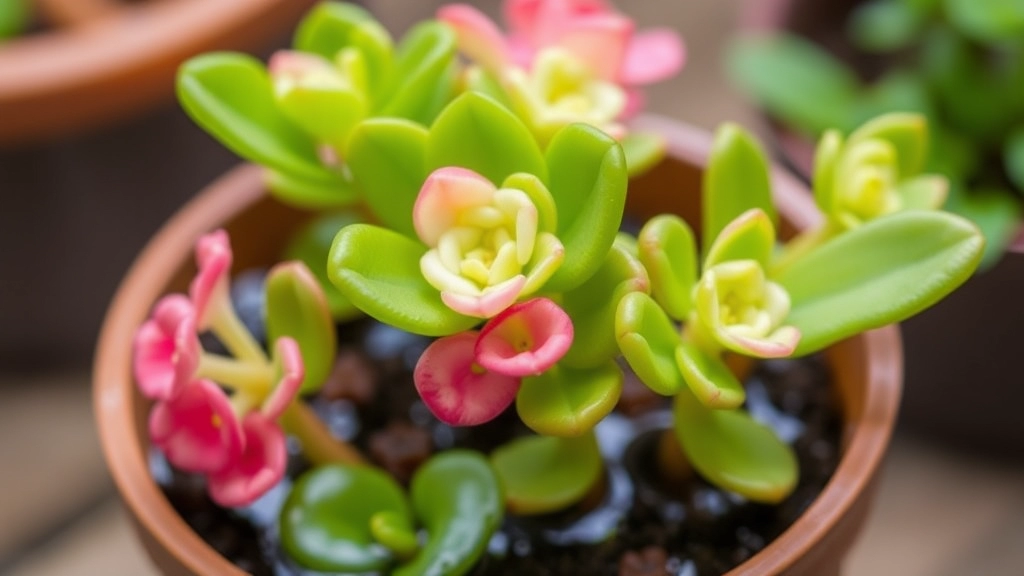
Ever wondered how to master Kalanchoe propagation in water? You’re in the right place. I’ve tried it myself, and it’s surprisingly straightforward. First, you need to choose the right cutting. Look for a healthy stem with a few leaves. This ensures your Kalanchoe has the best chance to thrive.
Next, prep your water container. A clear jar works wonders, letting you monitor root growth. Fill it with clean water and place your cutting inside. Make sure the stem is submerged but keep the leaves dry. Now, it’s all about patience and regular check-ins. Keep an eye on root development and change the water weekly to prevent stagnation.
Choosing the Right Kalanchoe Cutting
When considering propagating Kalanchoe, the first question that arises is, “How do I choose the right cutting?” Selecting a healthy cutting is crucial for successful propagation.
Key Factors to Consider
- Health of the Parent Plant:
- Ensure the parent plant is disease-free and thriving.
- Look for vibrant leaves and sturdy stems.
- Cutting Selection:
- Choose a stem that is at least 4-6 inches long.
- Look for a cutting with several leaves, as this will support better growth.
- Timing Matters:
- The best time to take cuttings is during the growing season, typically spring or early summer.
- Avoid taking cuttings during dormancy, as they may struggle to root.
- Leaf Condition:
- Select cuttings with healthy, unblemished leaves.
- Avoid any cuttings that show signs of yellowing or damage.
By focusing on these factors, you can significantly increase your chances of successful propagation. For a more detailed guide on propagation, you can refer to the step-by-step guide for propagating Kalanchoe Pink Butterflies. Additionally, to ensure your cuttings thrive, consider reading about the best soil for Kalanchoe.
Preparing the Water Container for Propagation
So, you’ve got your Kalanchoe cutting ready to go. But before we dive into the actual propagation, let’s chat about the water container you’ll need.
You might be wondering: What kind of container is best?
Here’s the scoop:
- Clear Containers: Using a clear glass or plastic container is a smart move. It lets you see the roots as they develop, which is super satisfying and helpful for monitoring progress.
- Size Matters: Choose a container that’s not too big. A small to medium-sized one is perfect. You don’t want the cutting swimming in a sea of water.
- Cleanliness is Key: Make sure your container is squeaky clean. Any leftover residues can mess with the growth process. A quick wash with soap and water will do the trick.
- Stability: If your cutting is a bit wobbly, you can use pebbles or marbles at the bottom. This helps keep it upright while it grows roots.
- Water Quality: Consider using distilled or rainwater if possible. Tap water can have chemicals that might not be friendly to your little cutting.
Step-by-Step Guide to Placing the Cutting in Water
Once you’ve selected the right Kalanchoe cutting, it’s time to get it ready for propagation in water. This step is crucial for ensuring your cutting thrives and develops healthy roots.
1. Gather Your Materials
Before you begin, make sure you have the following items:
- A clean glass or jar
- Fresh, room-temperature water
- A sharp, clean knife or scissors
2. Cut the Stem
Using your sharp knife or scissors, make a clean cut about 10-15 cm below the leaf node. This ensures that the cutting has enough stem to support root growth.
3. Remove Lower Leaves
Carefully remove any leaves from the lower half of the cutting. This prevents the leaves from sitting in water, which can lead to rot.
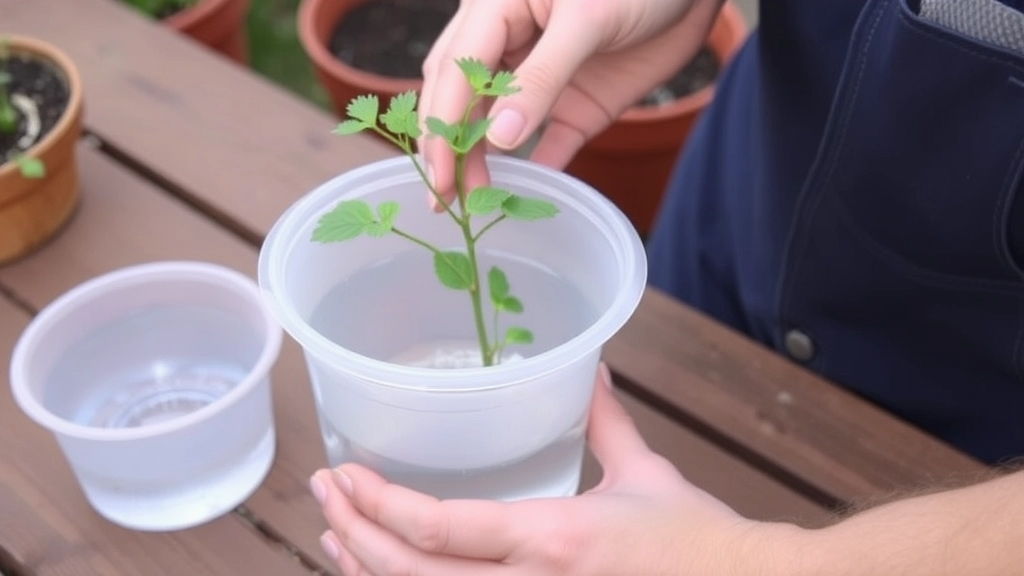
4. Place the Cutting in Water
- Fill your container with enough water to submerge the cut end of the stem, but not the leaves.
- Gently place the cutting in the water, ensuring it is upright.
5. Positioning the Container
Choose a bright, indirect light spot for your container. Avoid direct sunlight, as it can heat the water and harm the cutting. For more detailed guidance on propagation, you might find our guide on propagating Kalanchoe from leaves useful. Additionally, if you’re working with a specific variety like the Kalanchoe Panda Plant, check out our complete care guide for Kalanchoe Panda Plant to ensure optimal growth conditions.
Monitoring Root Development and Water Quality
Once your Kalanchoe cutting is nestled in its water container, the next crucial step is to keep an eye on both root development and the quality of the water.
Why is this important?
Monitoring these aspects ensures that your cutting thrives and develops a robust root system, setting the stage for a healthy plant.
Root Development
- Check for Roots: After about two weeks, gently lift the cutting to see if roots are forming.
- Ideal Root Length: Look for roots that are at least 2-3 inches long before considering the transition to soil.
- Consistency: If roots appear sparse or stunted, it may be time to reassess your water quality or light conditions.
Water Quality
- Change the Water Regularly: To prevent stagnation, change the water every week. This keeps it fresh and oxygenated.
- Use Clean Water: Tap water is fine, but filtered or distilled water is better to avoid any chemicals that may harm the cutting.
- Watch for Algae: If you notice algae growth, it’s a sign that the water is not being changed often enough. Clean the container thoroughly and replace the water.
By keeping a close watch on these factors, you can ensure that your Kalanchoe cutting is on the right path to becoming a flourishing plant.
As you embark on your journey of propagating Kalanchoe cuttings in water, challenges may arise that can hinder root development. It’s essential to be aware of these common issues to ensure your success.
### 1. Yellowing Leaves
If you notice your cutting’s leaves turning yellow, this could indicate poor water quality or insufficient light.
– **Solution:**
– Change the water regularly to prevent stagnation.
– Ensure your cutting receives bright, indirect sunlight.
### 2. Root Rot
Root rot is a prevalent issue caused by overly stagnant water or contaminated cuttings.
– **Solution:**
– Use clean, sterilised containers.
– If you see mushy roots, trim them away and place the cutting in fresh water.
### 3. No Root Growth
Sometimes, cuttings may take longer to develop roots than expected.
– **Solution:**
– Be patient; some varieties take longer.
– Ensure the cutting is not submerged too deeplyâjust the stem should be in water.
### 4. Algae Growth
Algae can thrive in the water, especially if it’s not changed frequently.
– **Solution:**
– Change the water weekly and clean the container regularly.
– Consider using a container that blocks light to reduce algae growth.
### 5. Wilting
If your cutting begins to wilt, it may be due to lack of moisture or too much exposure to direct sunlight.
– **Solution:**
– Move the cutting to a shadier spot.
– Ensure the water level is adequate.
By addressing these common issues promptly, you’ll set the stage for successful root development. For more detailed guidance, you can refer to our [step-by-step guide on propagating Kalanchoe leaves](https://planthq.org/how-to-propagate-kalanchoe-leaves-a-stepbystep-guide/) and [essential tips for healthy growth of Kalanchoe Panda Plant](https://planthq.org/kalanchoe-panda-plant-care-essential-tips-for-healthy-growth/).
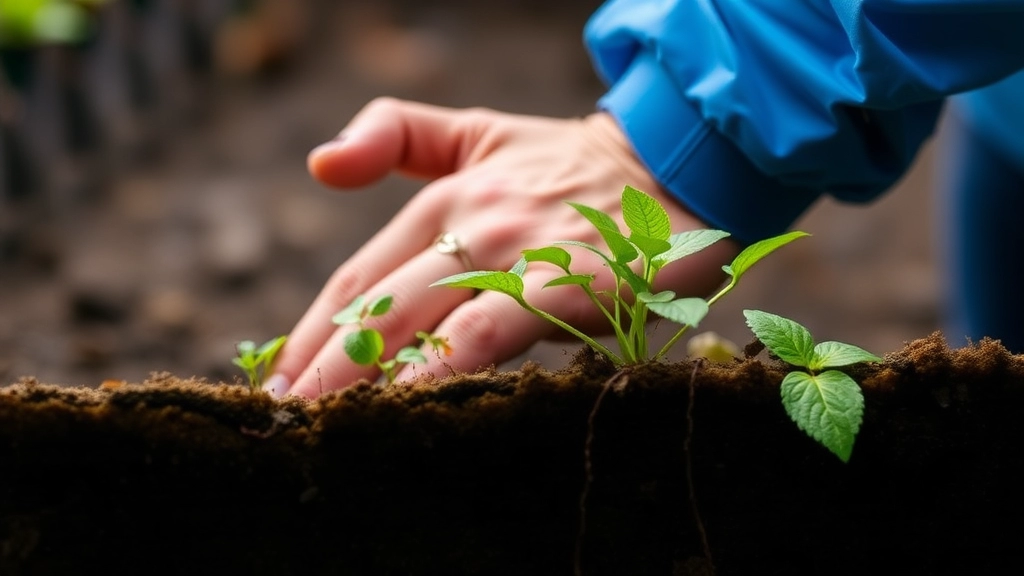
Transitioning the Kalanchoe Cutting from Water to Soil
So, you’ve successfully rooted your Kalanchoe cutting in water—congrats! Now, the next big step is getting that little green wonder into soil. This stage can feel a bit daunting, but don’t worry; I’ve got your back.
When to Transition
First things first: timing is everything.
- Wait until your roots are about 2-4 inches long.
- If they’re too short, they might struggle to anchor in soil.
- If they’re too long, they can get tangled and damaged during the transfer.
Choosing the Right Soil
You can’t just toss that cutting into any old dirt. Here’s what you need:
- Well-draining soil: Kalanchoes love to breathe. A cactus or succulent mix works wonders.
- pH balance: Aim for a slightly acidic to neutral pH, around 6.0 to 7.0.
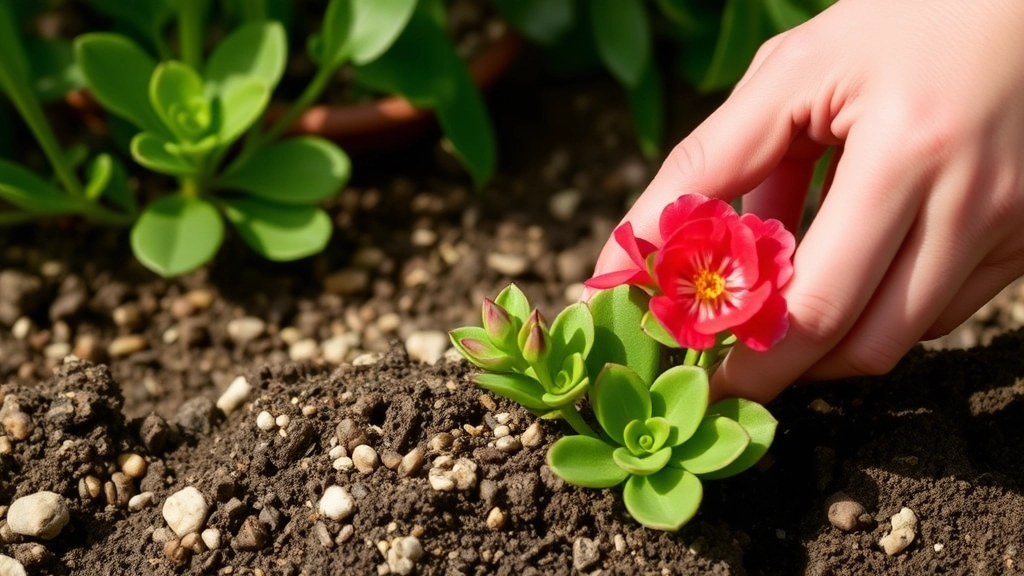
Repotting Steps
Let’s break it down:
- Prepare your pot: Choose a pot with drainage holes.
- Fill with soil: Add your well-draining mix, leaving some space at the top.
- Make a hole: Use your finger or a stick to create a small hole in the centre.
- Place the cutting: Gently insert your rooted cutting into the hole.
- Cover the roots: Lightly pack the soil around the base to secure it.
Watering After Transition
You might be tempted to drown it in water, but hold up!
- Water lightly after planting.
- Let the soil dry out a bit before the next watering.
Final Touches
- Place your newly potted Kalanchoe in a spot with indirect sunlight.
- Avoid direct sun for a week or so to help it adjust.
Aftercare Tips for Newly Propagated Kalanchoe Plants
After successfully transitioning your Kalanchoe cutting from water to soil, you might wonder how to ensure it thrives in its new environment.
FAQs on Kalanchoe Propagation in Water
What type of container should I use for propagating Kalanchoe in water?
It’s best to use a clear glass or plastic container to monitor root development. Ensure the container is not too large and is thoroughly cleaned to avoid any residues that could affect growth.
How often should I change the water in the propagation container?
Change the water every week to keep it fresh and oxygenated. This helps prevent stagnation and promotes healthy root development.
What kind of water is ideal for propagating Kalanchoe?
While tap water can be used, filtered or distilled water is preferable to avoid chemicals that may harm the cutting. Rainwater is also a good option.
How long does it take for Kalanchoe cuttings to develop roots in water?
Roots typically start forming within two weeks. Look for roots that are at least 2-3 inches long before transitioning the cutting to soil.
How do I know when to transition my Kalanchoe cutting from water to soil?
Wait until the roots are about 2-4 inches long. If they are too short, they might struggle in soil, and if too long, they can get tangled and damaged during the transfer.
What type of soil is best for planting Kalanchoe cuttings?
Use well-draining soil, such as a cactus or succulent mix. Aim for a slightly acidic to neutral pH, around 6.0 to 7.0.
How should I water my Kalanchoe after transitioning it to soil?
Water the plant lightly after planting and allow the soil to dry out a bit before the next watering. Avoid overwatering to prevent root rot.
Where should I place my newly potted Kalanchoe?
Place the plant in a spot with indirect sunlight. Avoid direct sun for about a week to help it adjust to its new environment.
References
-
How to Grow Kalanchoe from Cuttings
-
The Spruce: Growing Kalanchoe from Cuttings
-
Better Homes & Gardens: How to Propagate Kalanchoe