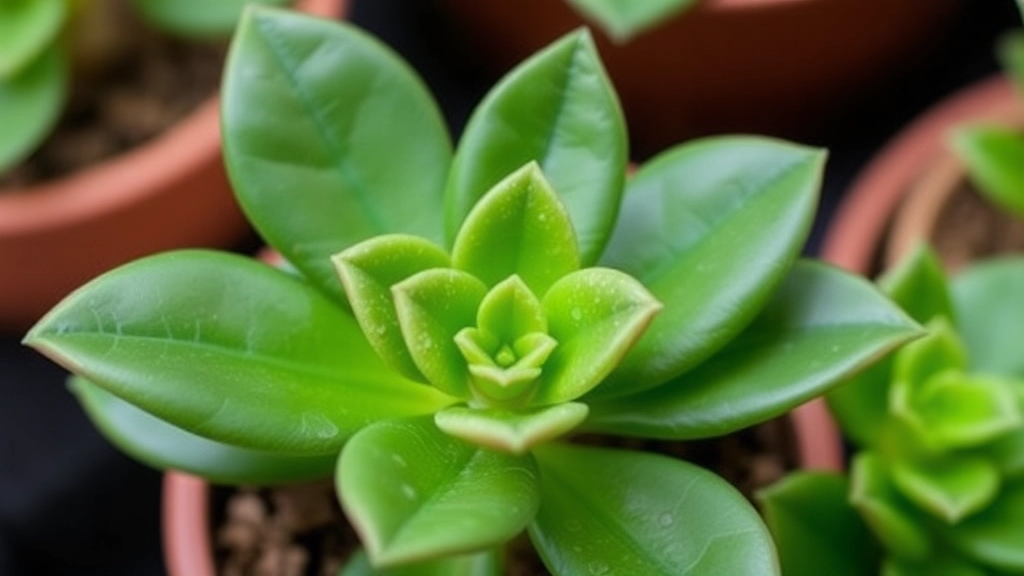
Propagating Kalanchoe Leaves
Propagating Kalanchoe leaves is a rewarding way to expand your plant collection. First, choose plump, healthy leaves from the mother plant, ensuring the base remains intact. This promotes new growth and sets the stage for successful propagation.
Steps for Successful Propagation
- Choose Healthy Leaves: Select plump, healthy leaves from the mother plant.
- Allow to Callus: Let the detached leaves dry in a warm, well-ventilated area for a few days until a callus forms over the wound.
This step is crucial to prevent rot when the leaves are planted. Follow these steps, and you’ll be on your way to growing new kalanchoe plants in no time!
When considering how to propagate Kalanchoe, a common concern is selecting the right leaves for the task.
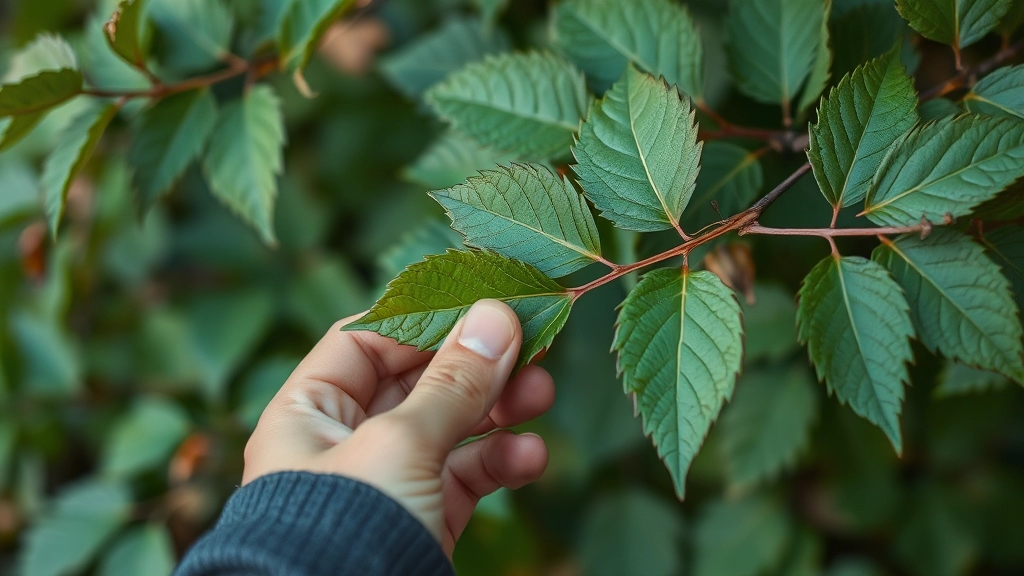
Choosing healthy leaves is crucial for successful propagation, as they serve as the foundation for new plants.
Here are some key tips to ensure you select the best leaves:
– **Look for Vibrant Colour**: Healthy Kalanchoe leaves should be bright green and free from discoloration. Avoid any leaves that appear yellow or brown, as these may indicate disease or stress.
– **Check for Firmness**: Gently squeeze the leaves. They should feel firm and fleshy, not limp or shrivelled. Firm leaves are more likely to root successfully.
– **Inspect for Pests**: Examine the leaves closely for any signs of pests or damage. Leaves with holes, spots, or webbing should be discarded to prevent transferring issues to new plants.
– **Choose Mature Leaves**: Select leaves that are fully developed. Younger, smaller leaves may not have enough energy reserves to propagate effectively.
By focusing on these criteria, you can significantly increase your chances of successful propagation. For more detailed instructions, you might want to check out our [step-by-step guide on propagating Kalanchoe from leaves](https://planthq.org/how-to-propagate-kalanchoe-from-leaves-successfully/). Additionally, if you’re interested in exploring various Kalanchoe varieties, our [comprehensive identification guide](https://planthq.org/kalanchoe-succulent-identification-guide-top-varieties-traits/) can be a valuable resource.
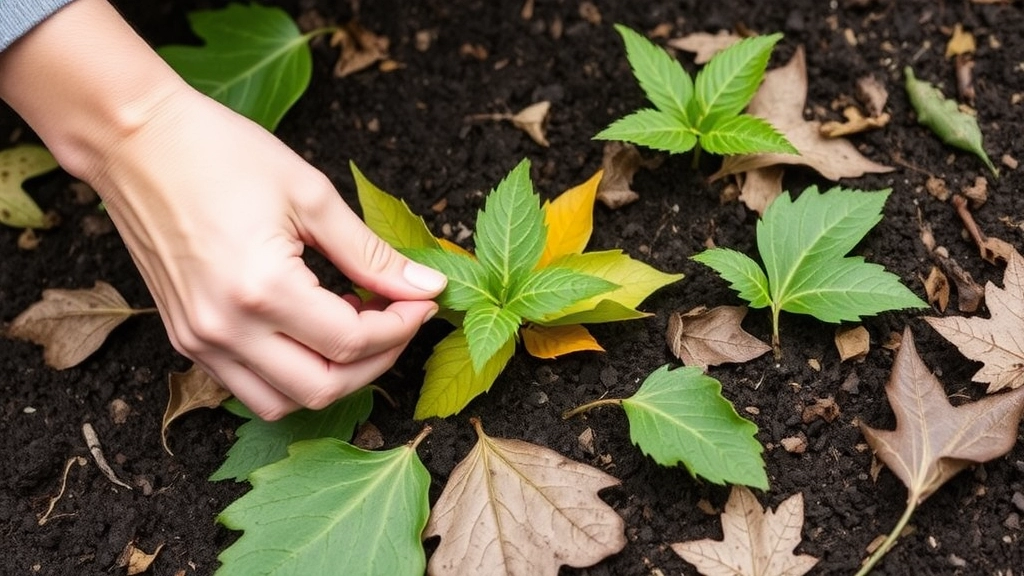
Allowing Leaves to Callus
So, you’ve chosen those perfect Kalanchoe leaves for propagation. Now, what’s next?
You need to let them callus before planting.
Why?
Well, this step is crucial to prevent rot when you place them in the soil.
Here’s how to do it:
- Find a Dry Spot: Look for a warm, dry area in your home. A windowsill is often perfect.
- Lay Them Flat: Place the leaves flat on a paper towel or a clean surface. This helps air circulate around them.
- Time is Key: Let them sit for about 2-3 days. This allows the cut ends to dry and form a protective layer.
You might be wondering, “What happens if I skip this step?”
Skipping the callus process can lead to mushy leaves and no new roots.
Once you see that dry edge forming, you know you’re ready to move on.
Preparing the Soil
After selecting healthy leaves for propagation, the next crucial step is preparing the soil. Many gardeners worry about what type of soil to use and how to ensure optimal conditions for root development.
Choosing the Right Soil Mix
For Kalanchoe propagation, a well-draining soil mix is essential. Here’s what you should consider:
- Cactus or Succulent Mix: This type of soil is specifically formulated to provide excellent drainage, which is vital for Kalanchoe.
- Perlite or Pumice: Adding these materials improves aeration and drainage, preventing root rot.
- pH Level: Aim for a slightly acidic to neutral pH (around 6.0 to 7.0) to promote healthy growth.
Preparing the Soil
Once you have the right mix, it’s time to prepare the soil:
- Sterilization: If you’re using garden soil, consider sterilizing it to eliminate pests and diseases. You can do this by baking it in the oven at 180°F (82°C) for about 30 minutes.
- Moistening: Lightly moisten the soil before adding the leaves. This helps to create a conducive environment for root growth without waterlogging.
- Filling Containers: Use pots with drainage holes to prevent excess moisture. Fill them with your prepared soil mix, leaving some space at the top.
By ensuring your soil is ready, you set the stage for successful propagation.
Transitioning to Leaf Placement
With the soil prepared, it’s time to move on to placing the leaves on the soil. This step is where your hard work truly begins to pay off.
For more detailed guidance on Kalanchoe propagation, you can refer to our complete guide to Kalanchoe Mother of Thousands care and propagation. Additionally, if you’re interested in learning about the health benefits of Kalanchoe, check out our article on Kalanchoe Mother of Thousands top health benefits.
Placing Leaves on Soil
After allowing your Kalanchoe leaves to callus, it’s time to move on to the next step: placing the leaves on the soil. This crucial phase sets the stage for successful propagation.
How to Place Leaves on Soil:
- Choose the Right Position:
- Make sure the callused side of the leaf is facing downwards.
- Position the leaf flat against the soil surface.
- Spacing Matters:
- Leave enough space between each leaf to allow for air circulation.
- A gap of about 2-3 inches is ideal to prevent overcrowding.
- Gentle Pressure:
- Lightly press the leaf into the soil to ensure good contact.
- Avoid burying the leaf too deeply; it should rest on the surface.
- Soil Type:
- Use a well-draining soil mix, such as cactus or succulent soil.
- This helps prevent rot and encourages healthy root development.
Placing the leaves correctly is essential for encouraging new roots to form.
Providing Optimal Lighting
After ensuring your Kalanchoe leaves have successfully callused, the next crucial step is to provide optimal lighting.
Many plant enthusiasts wonder: How much light do my Kalanchoe cuttings really need?
- Bright Indirect Light: Kalanchoe thrives in bright, indirect sunlight. Direct sunlight can scorch the leaves, while too little light can hinder growth.
- Duration: Aim for about 12 to 14 hours of light daily. A consistent light schedule helps your cuttings establish roots faster.
- Artificial Lighting: If natural light is limited, consider using grow lights. LED or fluorescent lights can effectively supplement your plants’ light needs.
- Rotation: Rotate your cuttings every few days to ensure even exposure to light. This promotes balanced growth.
I recall a time when I neglected the lighting aspect, thinking my Kalanchoe would be fine near a window. It turned out that the direct sunlight caused the leaves to wilt.
To avoid this, keep an eye on your plants and adjust their position as needed. For more detailed advice, check out our complete care guide for Kalanchoe Beharensis and learn about the causes and solutions for Kalanchoe leaves curling.
Watering Once Roots Develop
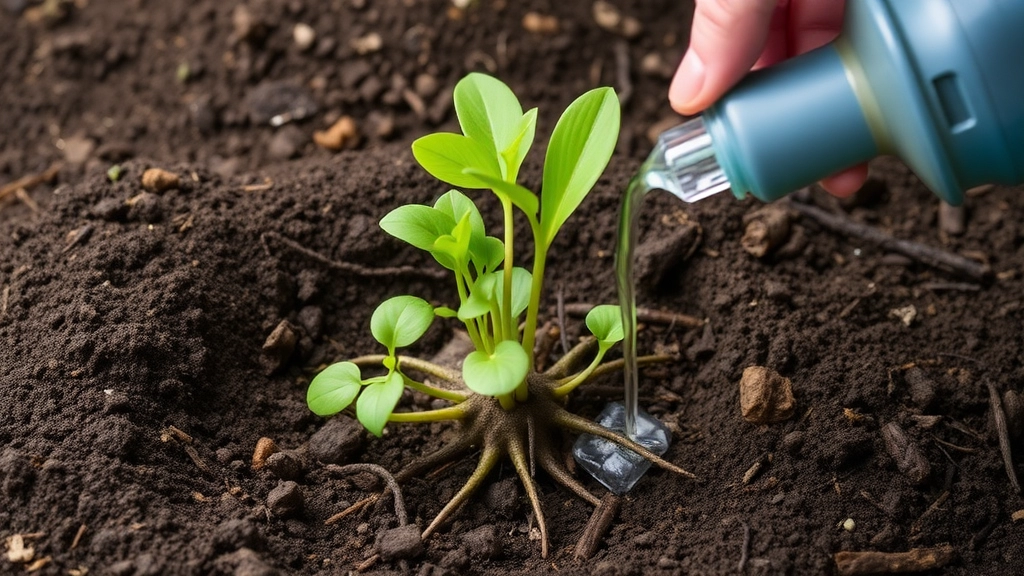
So, you’ve been patient, and those little roots are finally starting to show. What’s next?
Watering is crucial at this stage.
You don’t want to drown your new Kalanchoe plants, but they do need a drink to thrive. Here’s how I approach it:
- Check the soil moisture: Stick your finger about an inch into the soil. If it feels dry, it’s time to water.
- Use room temperature water: Cold water can shock the roots, so let it warm up a bit first.
- Water gently: Aim for the base of the plant. You want to moisten the soil without soaking it.
- Avoid overwatering: Kalanchoe plants prefer to be on the drier side. If the leaves start to yellow, you might be giving too much.
- Frequency: Water every 1-2 weeks, but always keep an eye on the soil.
Once you’ve got the watering routine down, your little plants will start to flourish.
Transplanting and Growing New Plants
After nurturing your Kalanchoe leaves through the initial stages, it’s time to focus on transplanting and growing new plants. This step is crucial as it sets the foundation for your Kalanchoe’s future growth.
### Caring for New Kalanchoe Plants
So, you’ve successfully propagated your Kalanchoe leaves and now you’re staring at those little green beauties. What’s next?
Caring for new Kalanchoe plants is crucial for their growth and overall health.
#### Light and Temperature
– **Bright, Indirect Light**: Kalanchoe loves the sun, but too much direct light can scorch those tender leaves.
– **Consistent Temperature**: Keep them in a warm spot, ideally between 18-24°C.
#### Watering
– **Check the Soil**: Before you water, poke your finger into the soil. If it’s dry, it’s time for a drink.
– **Don’t Overdo It**: Kalanchoe is a succulent, so they prefer to be on the drier side. For more tips, check out our [optimal watering tips for healthy florist Kalanchoe](https://planthq.org/optimal-watering-tips-for-healthy-florist-kalanchoe/).
#### Fertilizing
– **Feed Sparingly**: Use a cactus or succulent fertiliser every 4-6 weeks during the growing season.
– **Dilute It**: Always dilute your fertiliser; Kalanchoe can be sensitive to strong nutrients.
#### Pests and Diseases
– **Watch for Trouble**: Keep an eye out for mealybugs and aphids. A gentle wipe with a damp cloth can help.
– **Good Airflow**: Ensure your plants aren’t too crowded to prevent fungal issues.
#### Repotting
– **When to Repot**: If you notice roots coming out of the drainage holes, it’s time for a bigger pot.
– **Use Well-Draining Soil**: Always opt for a cactus mix or add perlite to regular potting soil. For more guidance, see our [complete guide to caring for Kalanchoe Mother of Millions plant](https://planthq.org/complete-guide-to-caring-for-kalanchoe-mother-of-millions-plant/).
Caring for your new Kalanchoe plants is all about balance and attention.
FAQs on Propagating Kalanchoe Leaves
What is the first step in propagating Kalanchoe leaves?
The first step is to let the leaves callus before planting. This process is crucial to prevent rot when you place them in the soil.
How do I allow Kalanchoe leaves to callus?
To allow Kalanchoe leaves to callus, follow these steps:
- Find a Dry Spot: Look for a warm, dry area in your home, such as a windowsill.
- Lay Them Flat: Place the leaves flat on a paper towel or a clean surface to help air circulate around them.
- Time is Key: Let them sit for about 2-3 days until the cut ends dry and form a protective layer.
What happens if I skip the callus process?
Skipping the callus process can lead to mushy leaves and no new roots, making successful propagation unlikely.
How should I place the callused leaves on the soil?
After the leaves have callused, follow these steps to place them on the soil:
- Choose the Right Position: Ensure the callused side of the leaf is facing downwards and position it flat against the soil surface.
- Spacing Matters: Leave about 2-3 inches between each leaf to allow for air circulation and prevent overcrowding.
- Gentle Pressure: Lightly press the leaf into the soil to ensure good contact, but avoid burying it too deeply.
- Soil Type: Use a well-draining soil mix, such as cactus or succulent soil, to prevent rot and encourage healthy root development.
When should I start watering the Kalanchoe leaves?
Once you see little roots developing, it’s time to start watering. Watering is crucial at this stage to help the new plants thrive.
How should I water the Kalanchoe leaves once roots develop?
Here are some tips for watering Kalanchoe leaves once roots develop:
- Check the soil moisture: Stick your finger about an inch into the soil. If it feels dry, it’s time to water.
- Use room temperature water: Cold water can shock the roots, so let it warm up a bit first.
- Water gently: Aim for the base of the plant to moisten the soil without soaking it.
- Avoid overwatering: Kalanchoe plants prefer to be on the drier side. If the leaves start to yellow, you might be giving too much water.
- Frequency: Water every 1-2 weeks, but always keep an eye on the soil.
References
-
How to Propagate Kalanchoe
-
Kalanchoe Leaf Propagation
-
Kalanchoe Plant Care Tips